Hi there, my name is Margie, and today I am very happy to share with you on how I like
to set up my personal-size ring planner using Cocoa Daisy’s personal size inserts… In
the last year, I have tried many different types, sizes and styles of planners. And each
time I tried something new, I always craved for the month to be over so I can go back
into to my personal-size ring planner. For me, there is so much freedom in this size and
style – I can add, move things around and change just about anything.
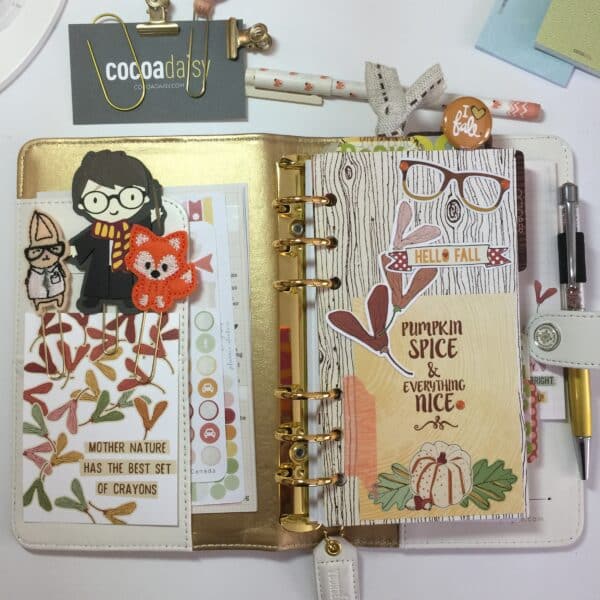
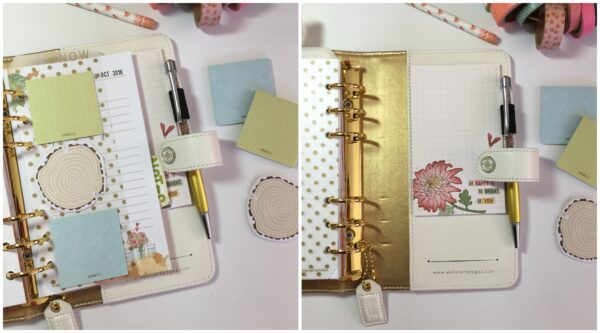
Every month, the first thing I like to do is decorate my front dashboard using one from
Cocoa Daisy’s kit. Sometimes I’ll add some of the stickers and/or die-cuts that came in
the kit too. It makes me happy to have some sort of theme to look at throughout the
month every time I open my planner. I do tend to stick with what I decorate with, and
usually add bits and pieces to it as the month goes by.
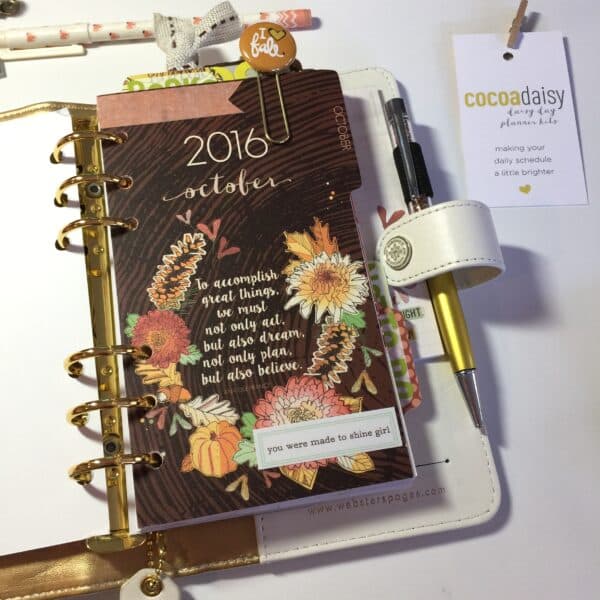
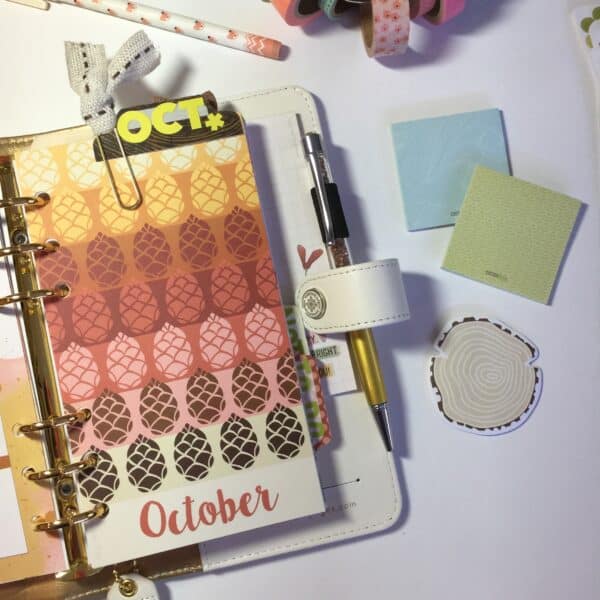
Next, I like to setup the month’s divider. In this case, you’ll see I’ve used Cocoa Daisy’s
October kit… I sometimes like to add a bit of décor to the divider – and I always include
a planner clip. Just because I do like to have additional ways of getting to the important
things in my planner; and I do love to add as much décor as I can!
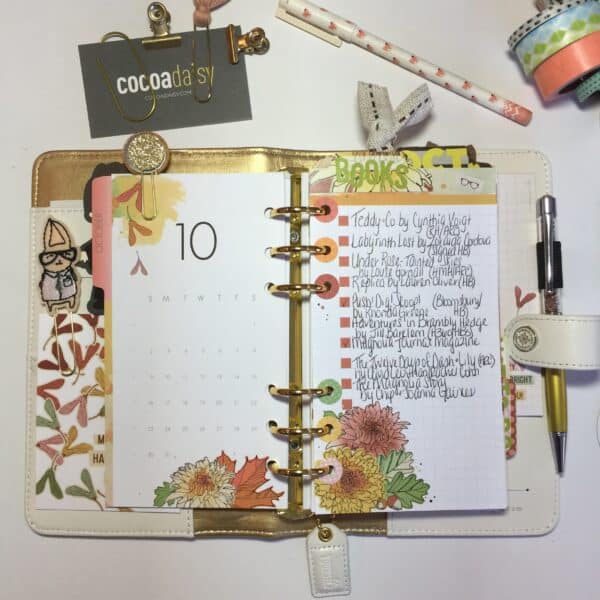
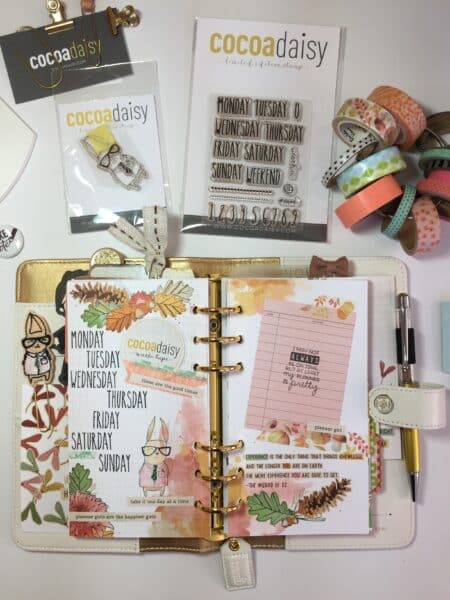
I then move onto the bullet-list page that is included in the inserts.
I like having my month on 2-pages in the front. Therefore, this ‘list page’ is the first page
that I see… A little about me, I am a book nerd and book blogger, so it is very important
to me to have a spot to list the books I purchase and/or receive from publishers to read
and review during the month. It helps me keep track of what I have on my bookshelves,
what books I need to read now versus at a much later date, any tours I am helping in,
etc. It saves me a lot of time for searching my lists, especially when I am out and I
receive an updated email, etc. I can quickly reference to the info here.
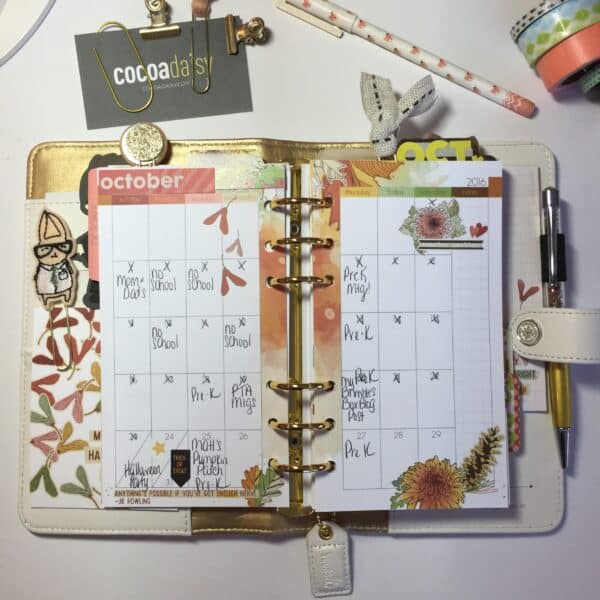
Next, is my month on 2-pages, on more commonly known as MO2P…
I do very little decorating here and only add in the utmost important dates and holidays
to reference to…
I do love having numerous dashboards and dividers!
I use a divider to keep my planning pages separate from the above, and from my daily
pages, notes, address book and book related things. That’s about 5 dividers and one or
two dividers I prepare every month…
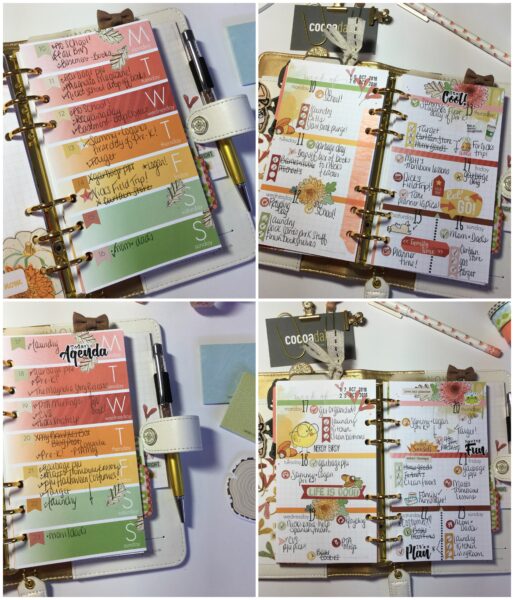
My weekly overview pages are where I brain-dump and list out all the things I need to
remember during the week. Little décor happens here. It’s where I like to plan it all out
ahead of time.
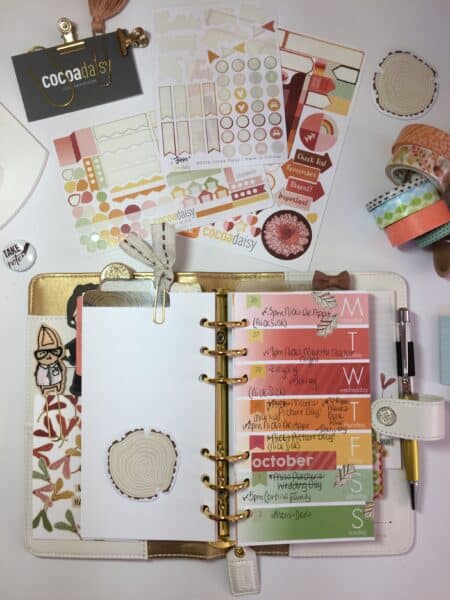
As you can see in the following pics, I have a weekly page overview before every week-
on-two- pages (WO2P) to help me organize my weeks in detail.
Here is an example on how I use the weekly before the WO2P…
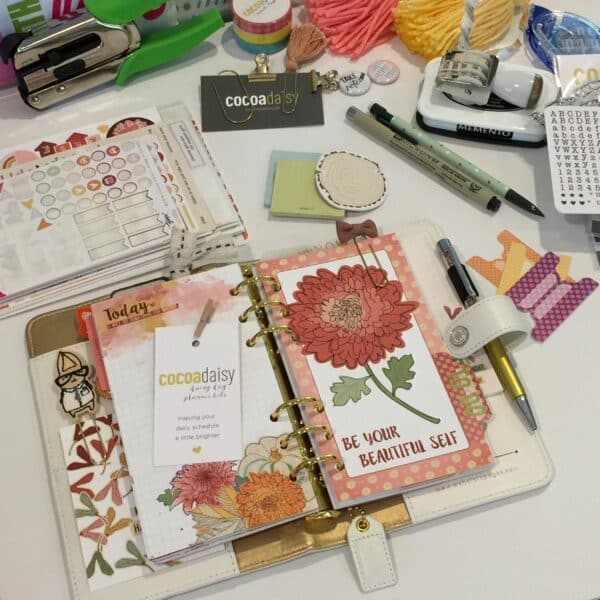
In between these pages, are blank decorative pages that we all know and love! On
these pages, I tend to do Currently’s, write quotes, lists, journal, stamp/color and
more…
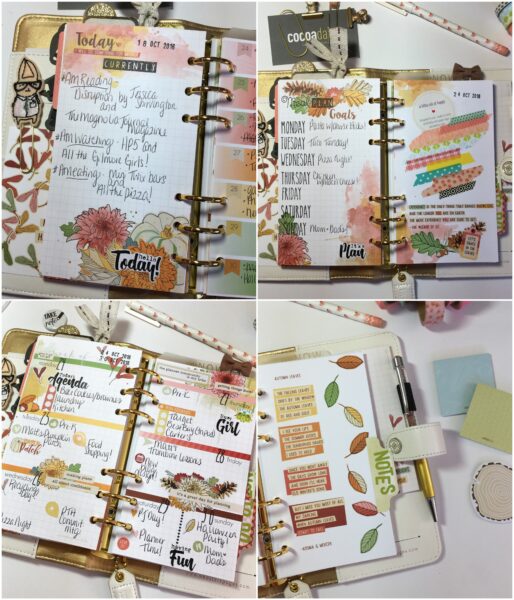
Stamping in my planner is one of my most favorite things!
I try to do it as often as I can, especially when organizing my schedule, but it’s so much
fun to add fun things and décor just to make me happy.
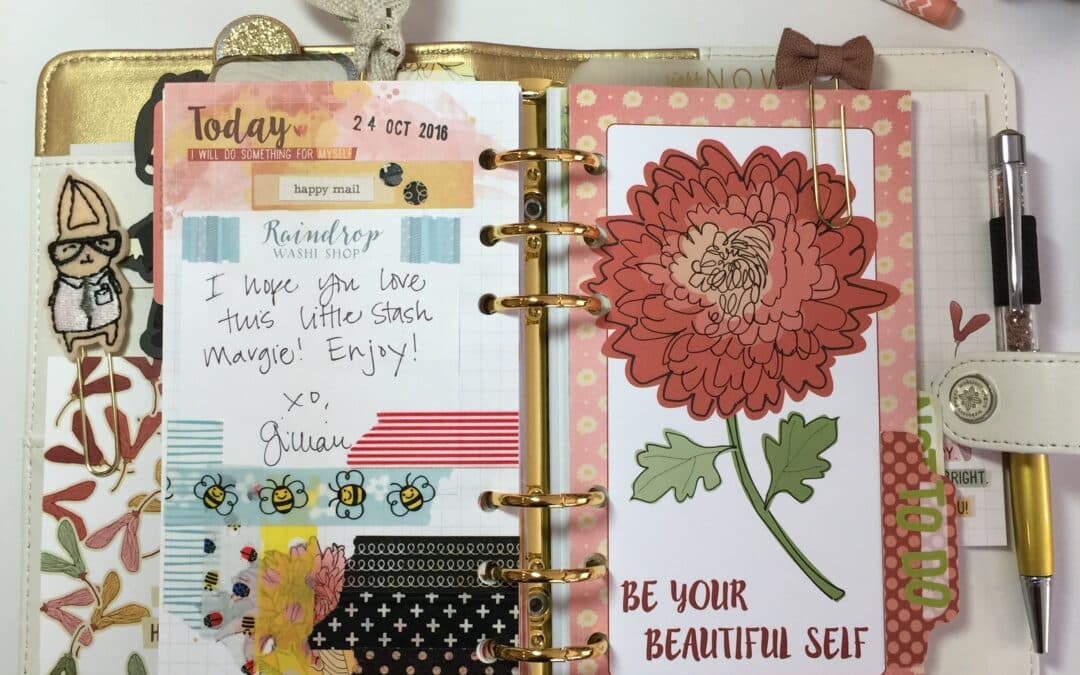
I love to document and keep little notes and RAK that I receive too!
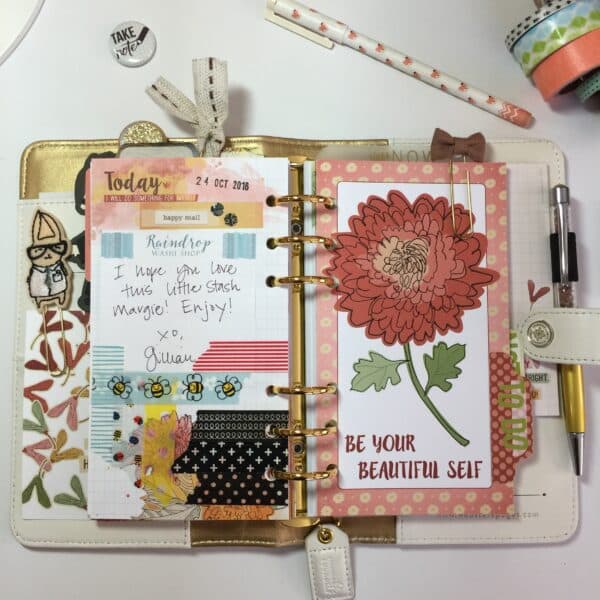
I also like to make sure I have plenty of sticky-notes inside my planner. I use a plastic or
laminated bookmark and add the stickies right onto it. I have also added sticky notes to
the back of my dashboards and dividers – anywhere that I can stick a few sheets, I do it!
Some encouraging tips:
– Don’t be afraid to try something new! At least once a week I try to plan a little
differently or document something new. Your planner, believe it or not, is like
a journal or diary. Add personal touches to it – punch hole in an invite and
add it in, test out your pens or markers, doodle, etc.
– Decorate as much or as little as you want! Don’t hold back – use all those
pretty dashboards, dividers, stickers and more! Don’t hoard them because
you’re afraid to ruin them, there is nothing that you can do wrong.
– And lastly, it’s your planner! Don’t be intimidated by anyone or anyone else’s
planning style. Even if you have “nothing to plan”, you can still do many things
with it – let your creativity flow! And most importantly, always have fun!