Jennie McGarvey: Adding Inserts to a Discbound Memory Planner
Supplies Mentioned:
The Happy Planner Classic Size Page Protectors
The Happy Planner Snap-in Sticker Sheet Page Protectors
The Happy Planner Mini Page Protectors
Natasha Pytlik: Adding Inserts to a Ring Bound Memory Planner
One component that has remained consistent throughout my time as a memory planner is that I love to add additional items that I punch and add right into my memory planners. I like to punch and add memorabilia-type elements, like a ticket from a special event or a card from a dear friend that I want to save and cherish.
But that was just the beginning, now I am hooked on adding different sized layouts, mostly 6×8 or Traveler’s Notebook size. These layouts hold all types of memories, from the everyday moments to highlighting special events where I have tons of photos. Adding an insert to my planner pages also gives me an opportunity to stretch my creativity and use my beautiful Cocoa Daisy supplies.
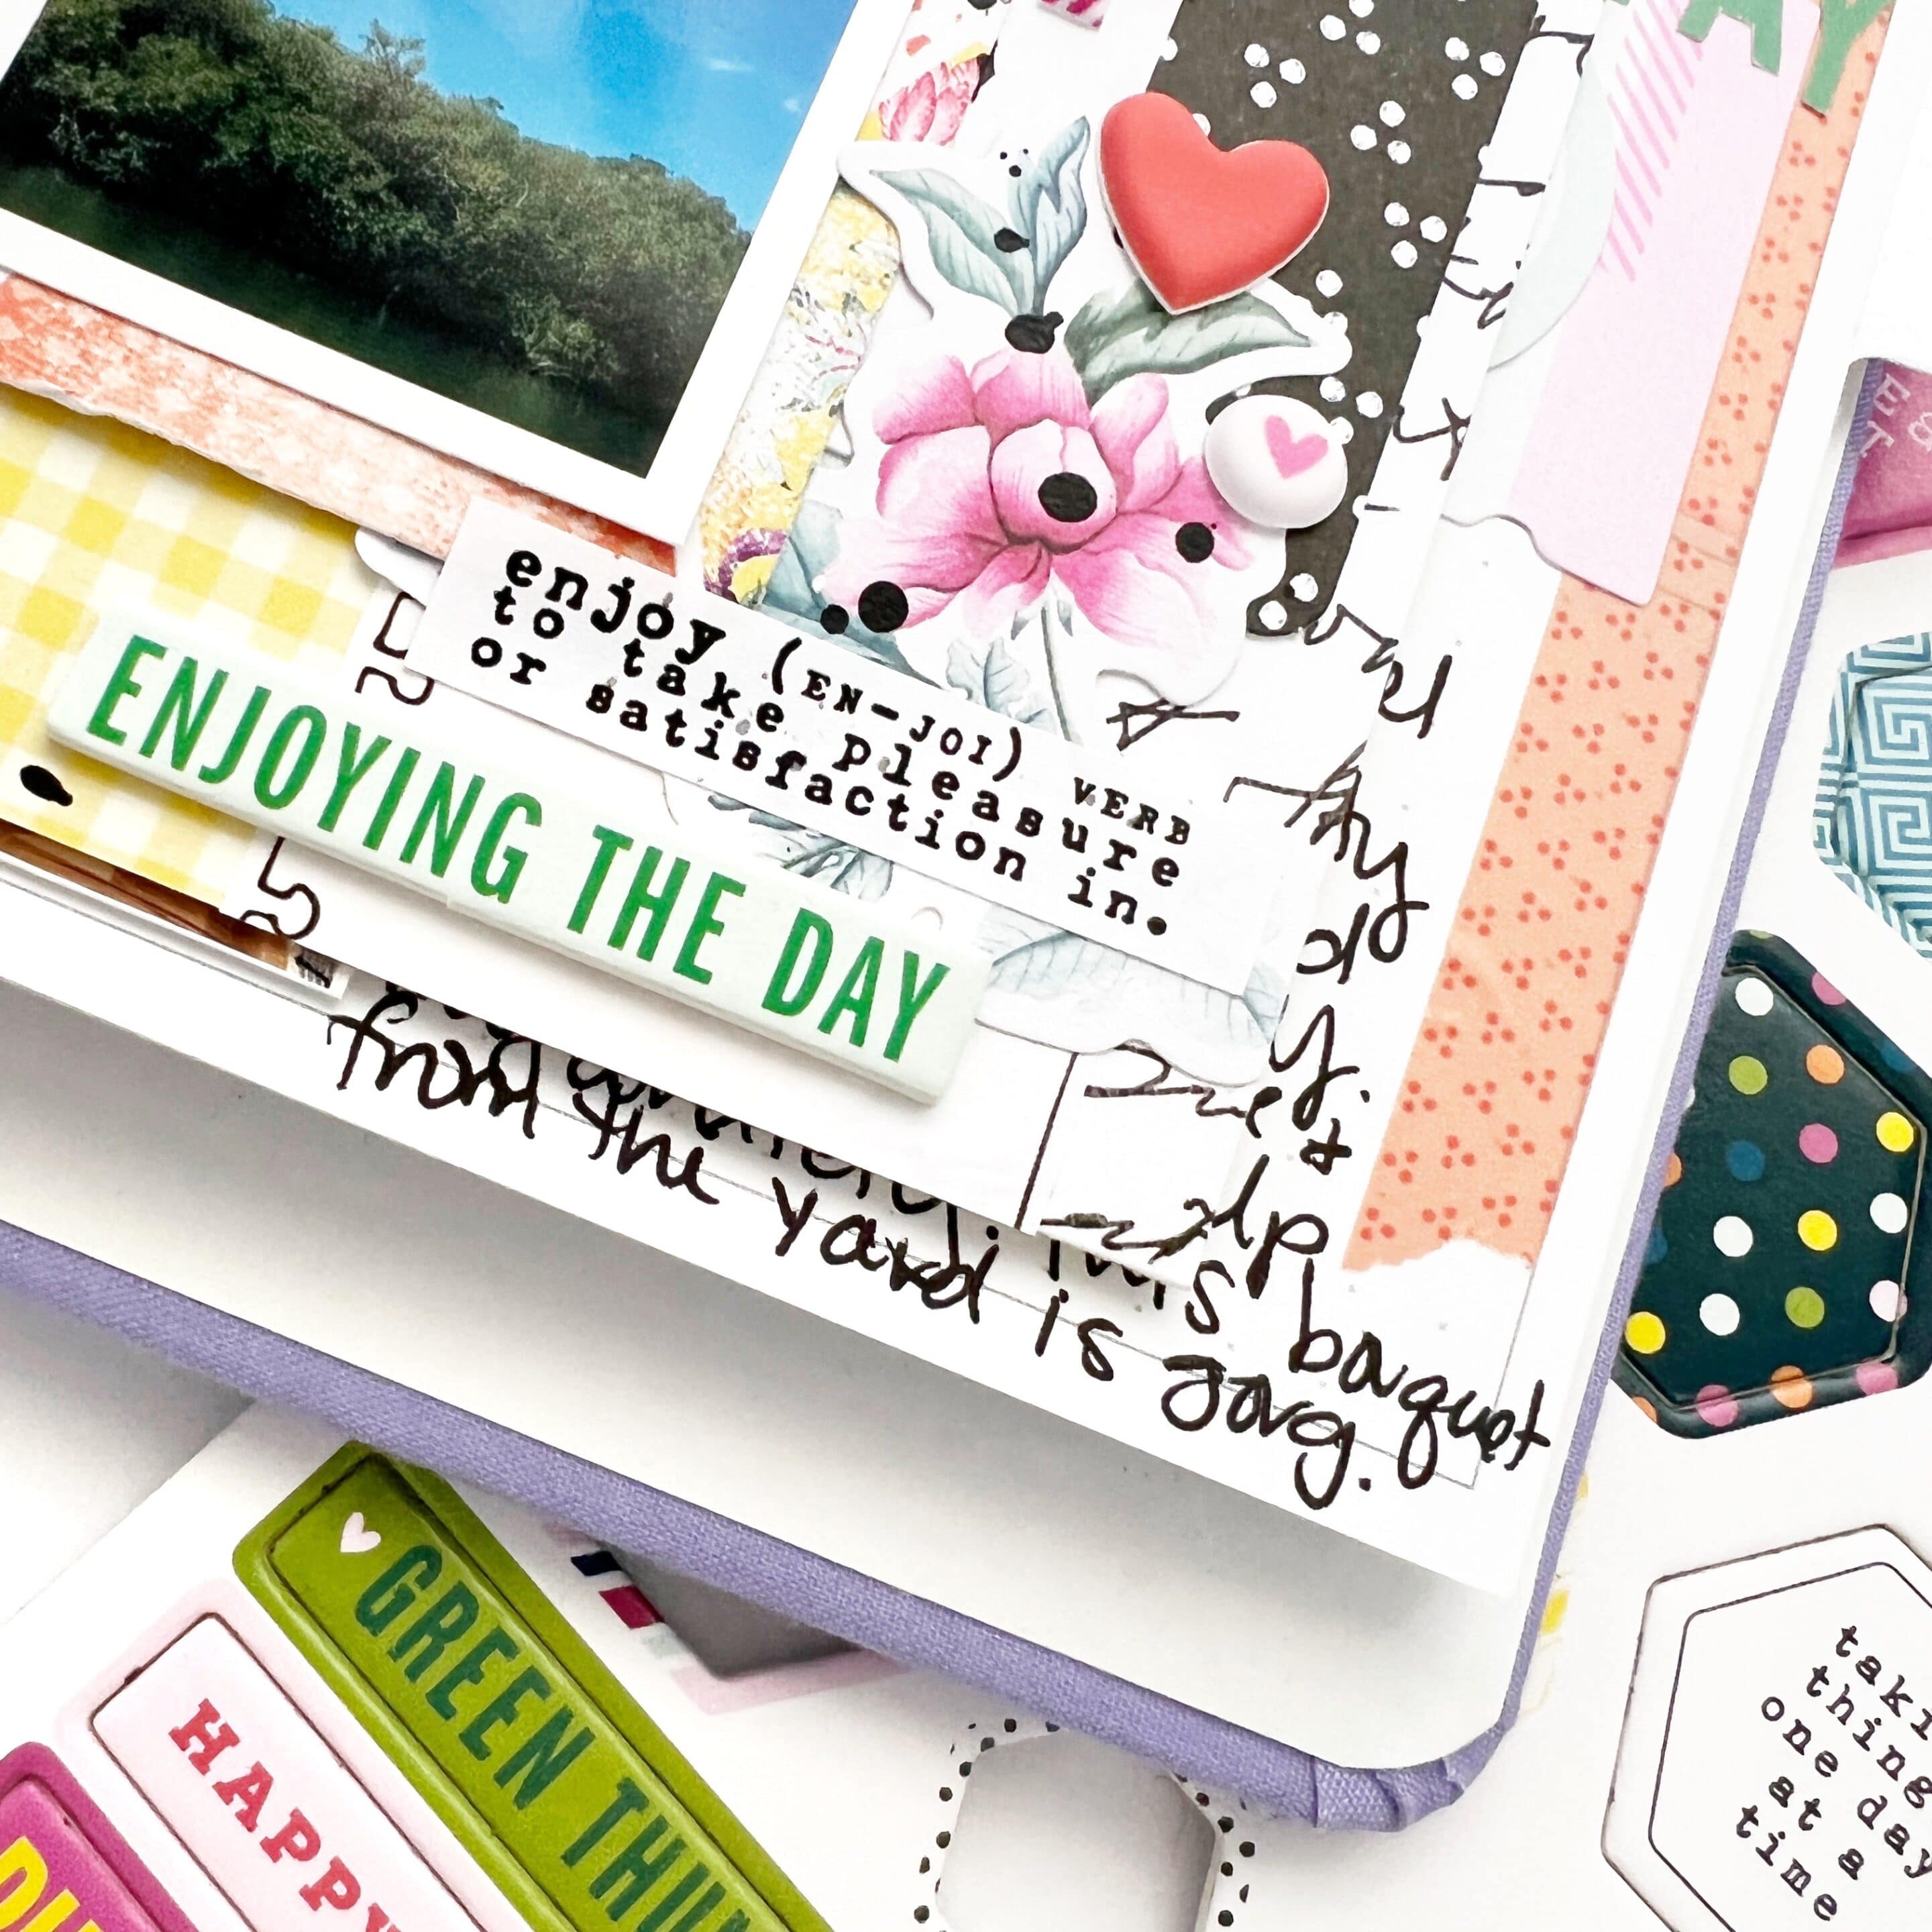
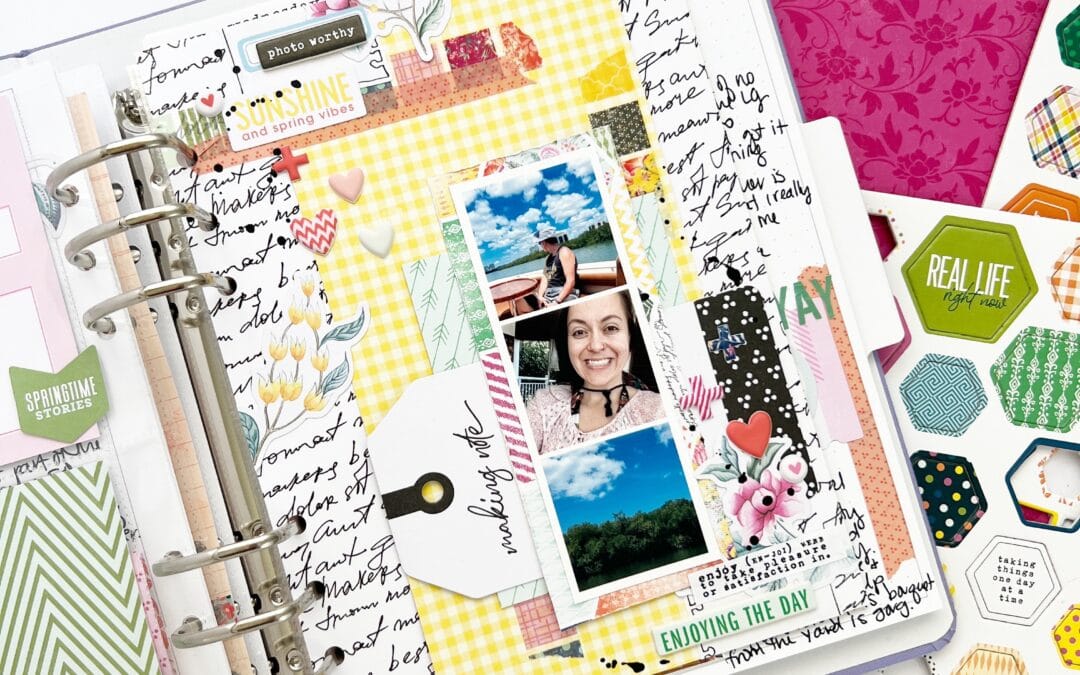
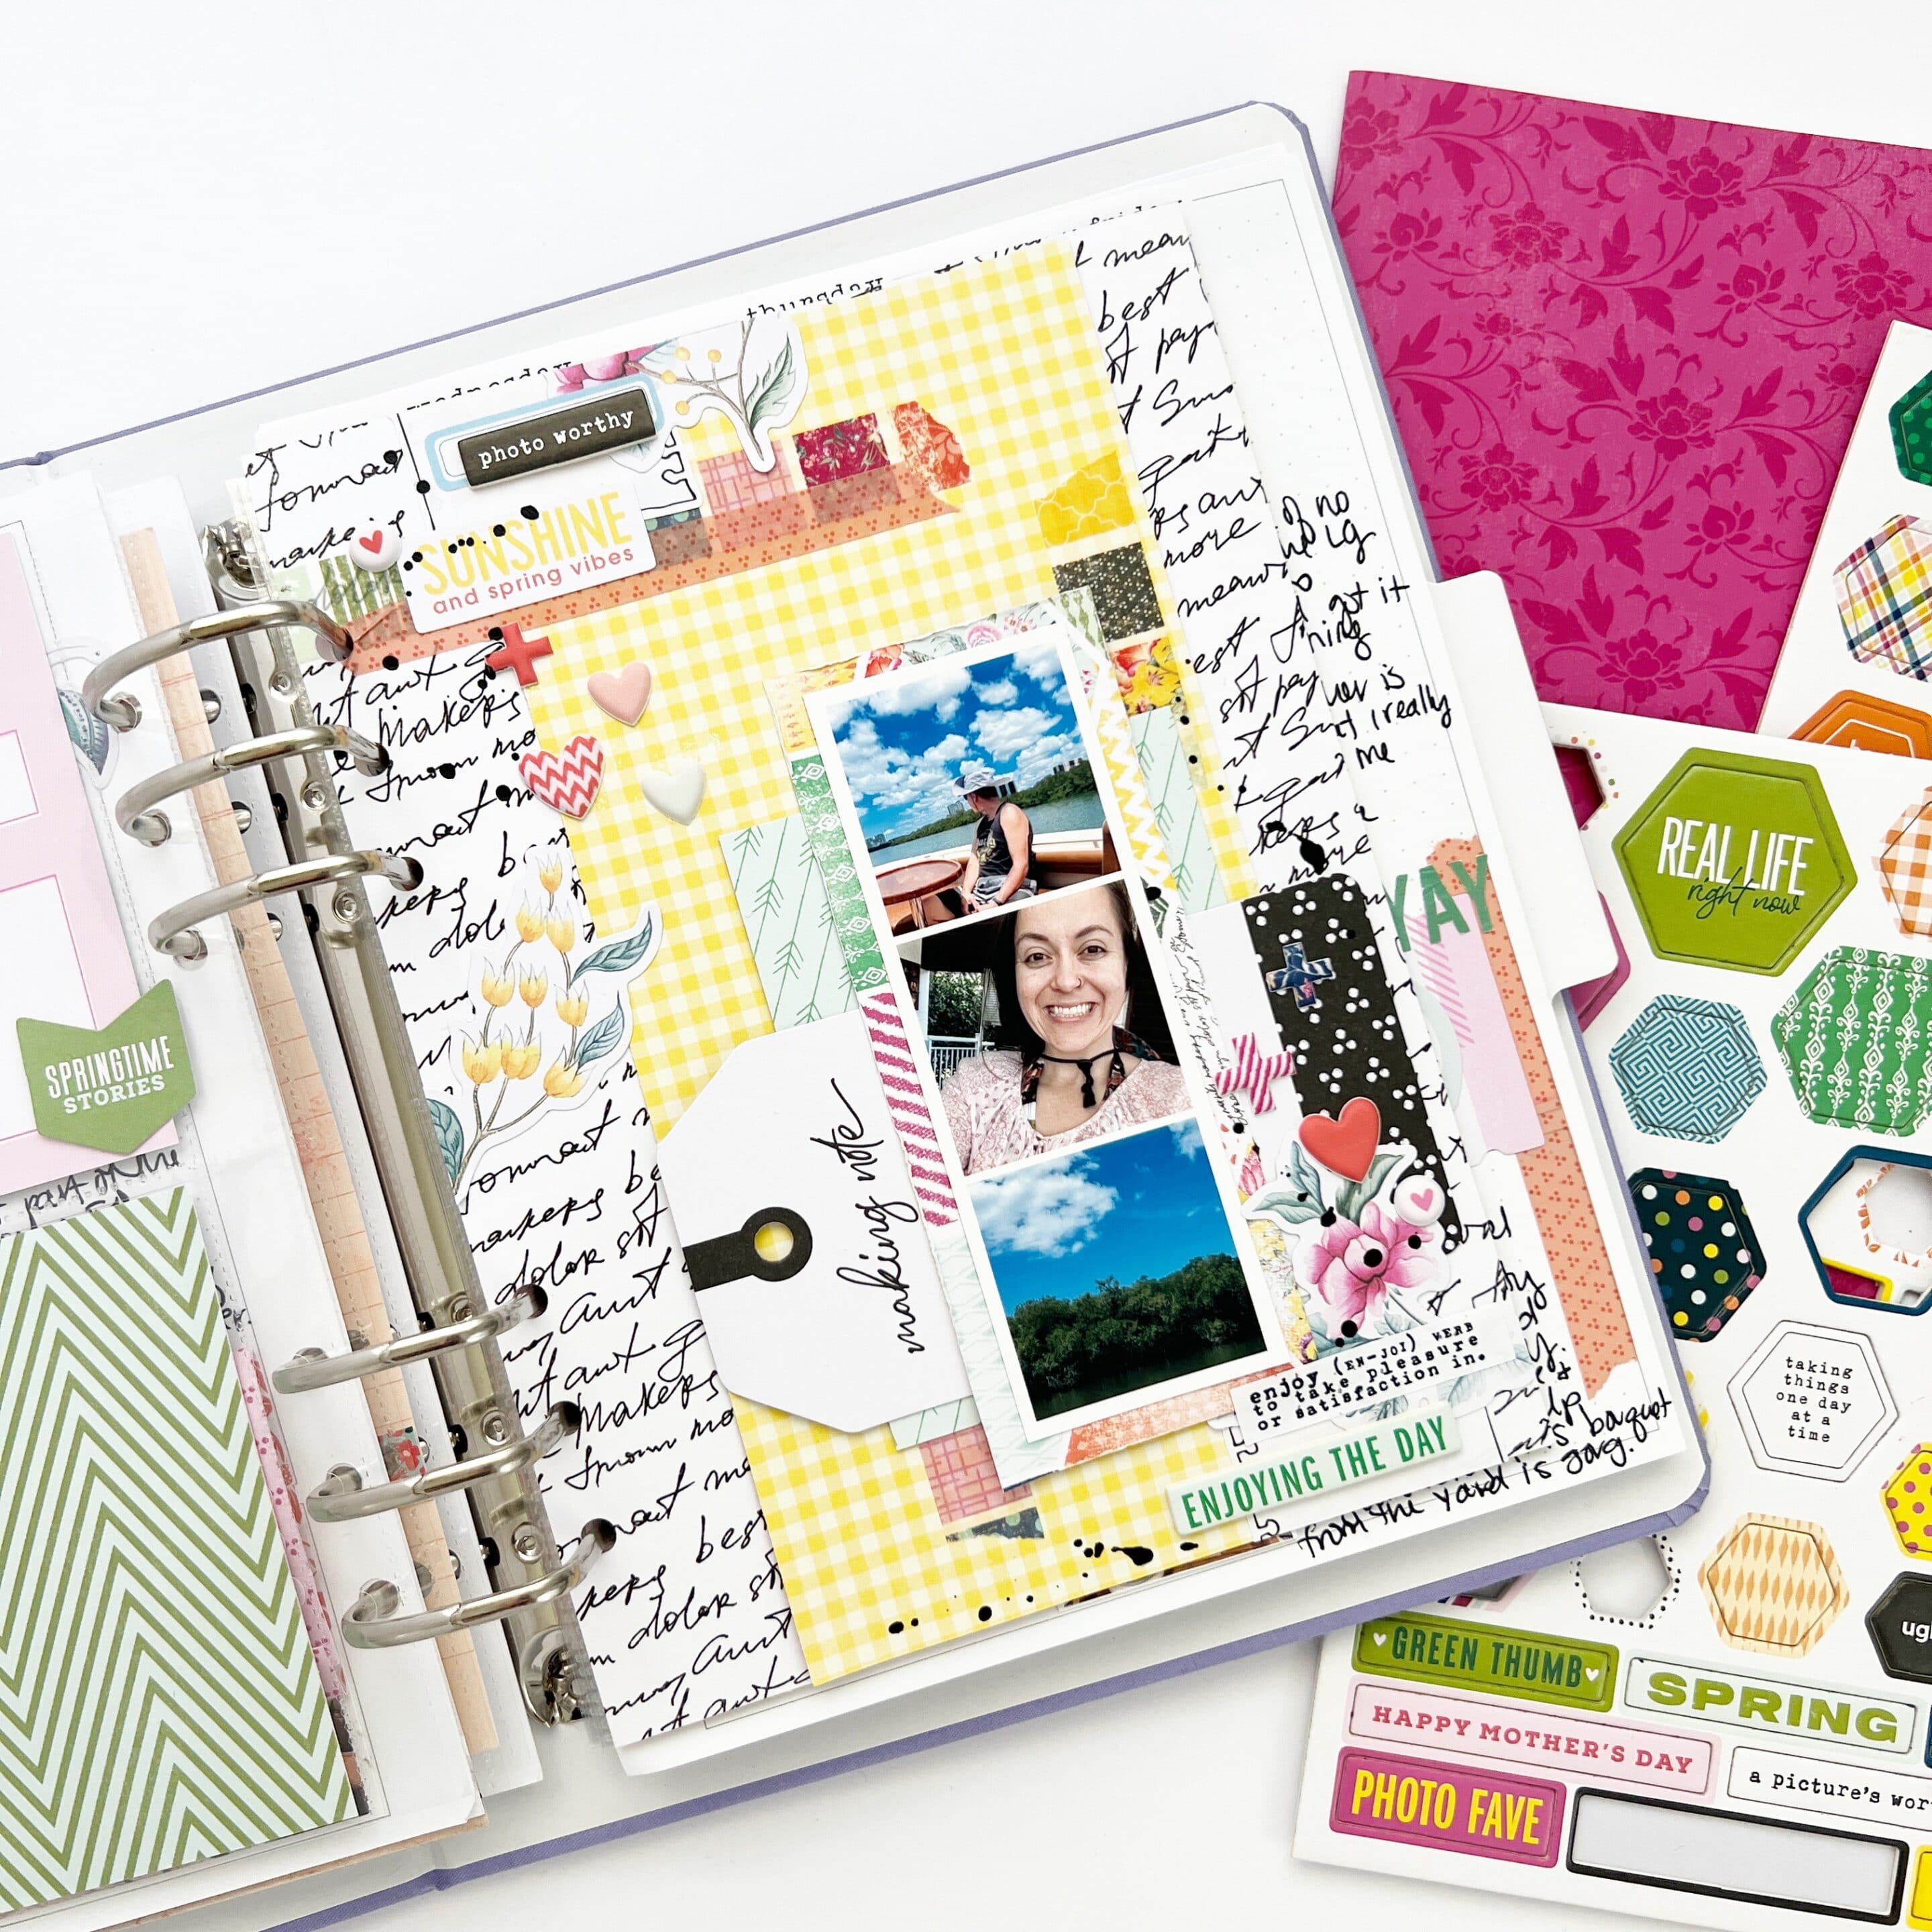
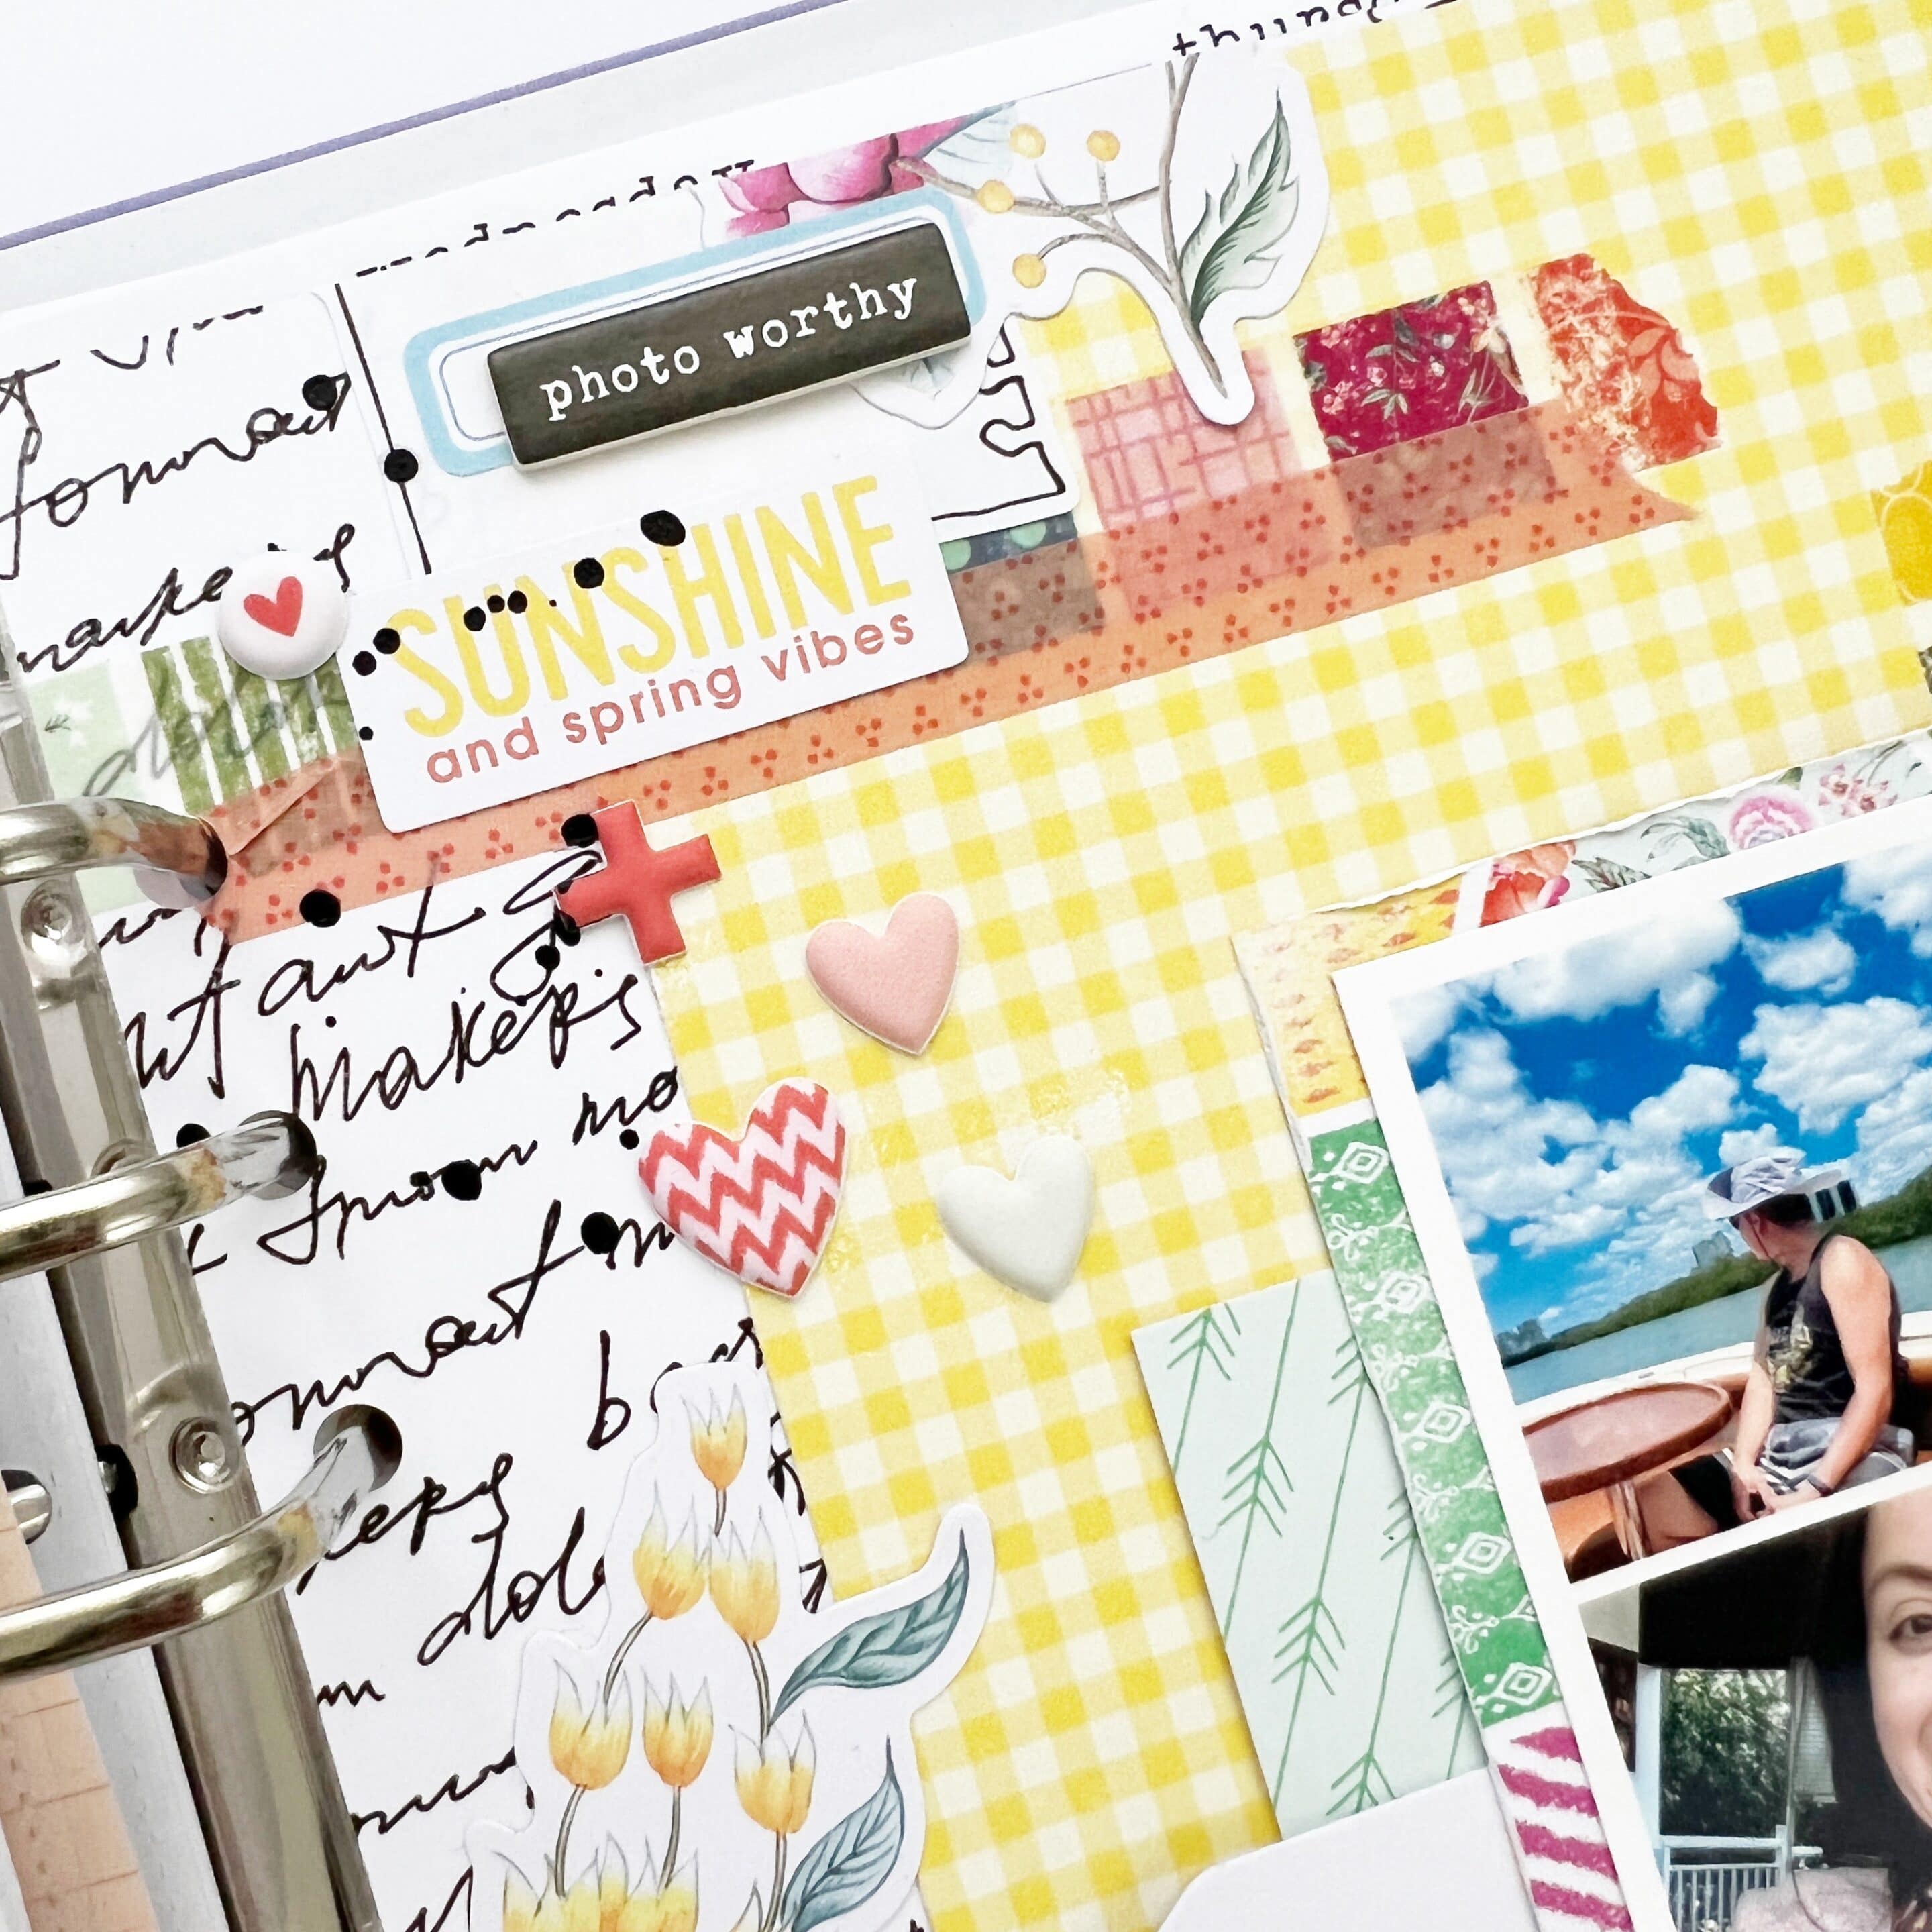
For today’s project, I am sharing a new 6×8 style layout using the bright and colorful Afternoon Tea Collection. I am using products from a variety of kits to bring this layout together Afternoon Tea Modern Memory Keeping Kit, Afternoon Tea Classified: Memory Keeping Kit, and Afternoon Tea Daisy Add-On Sticker Kit. For my supplies, I wanted to use one of the black and white pattern papers in the background to help provide contrast and balance to all of the colors used. I also pulled the bright yellow gingham patterned paper to emphasize the “sunshine and spring vibes.” For my weekly spread this week, I did not use much yellow, but including these photos in their own layout gives me an opportunity to use a color story that isn’t present in the weekly spread. It stands alone, but as it’s created with the same collection it still creates a cohesive look.

Don’t forget that with inserts, you can pop them in and out of your planners/ albums easily so they are a great way to add those fun dimensional elements without the fear of a bumpy writing surface in the future. You can just remove the layout insert to journal the future weeks, and then put it back afterward! It’s a win, win.
Rachel Newman: Adding Inserts to a Coil or Bound Memory Planner
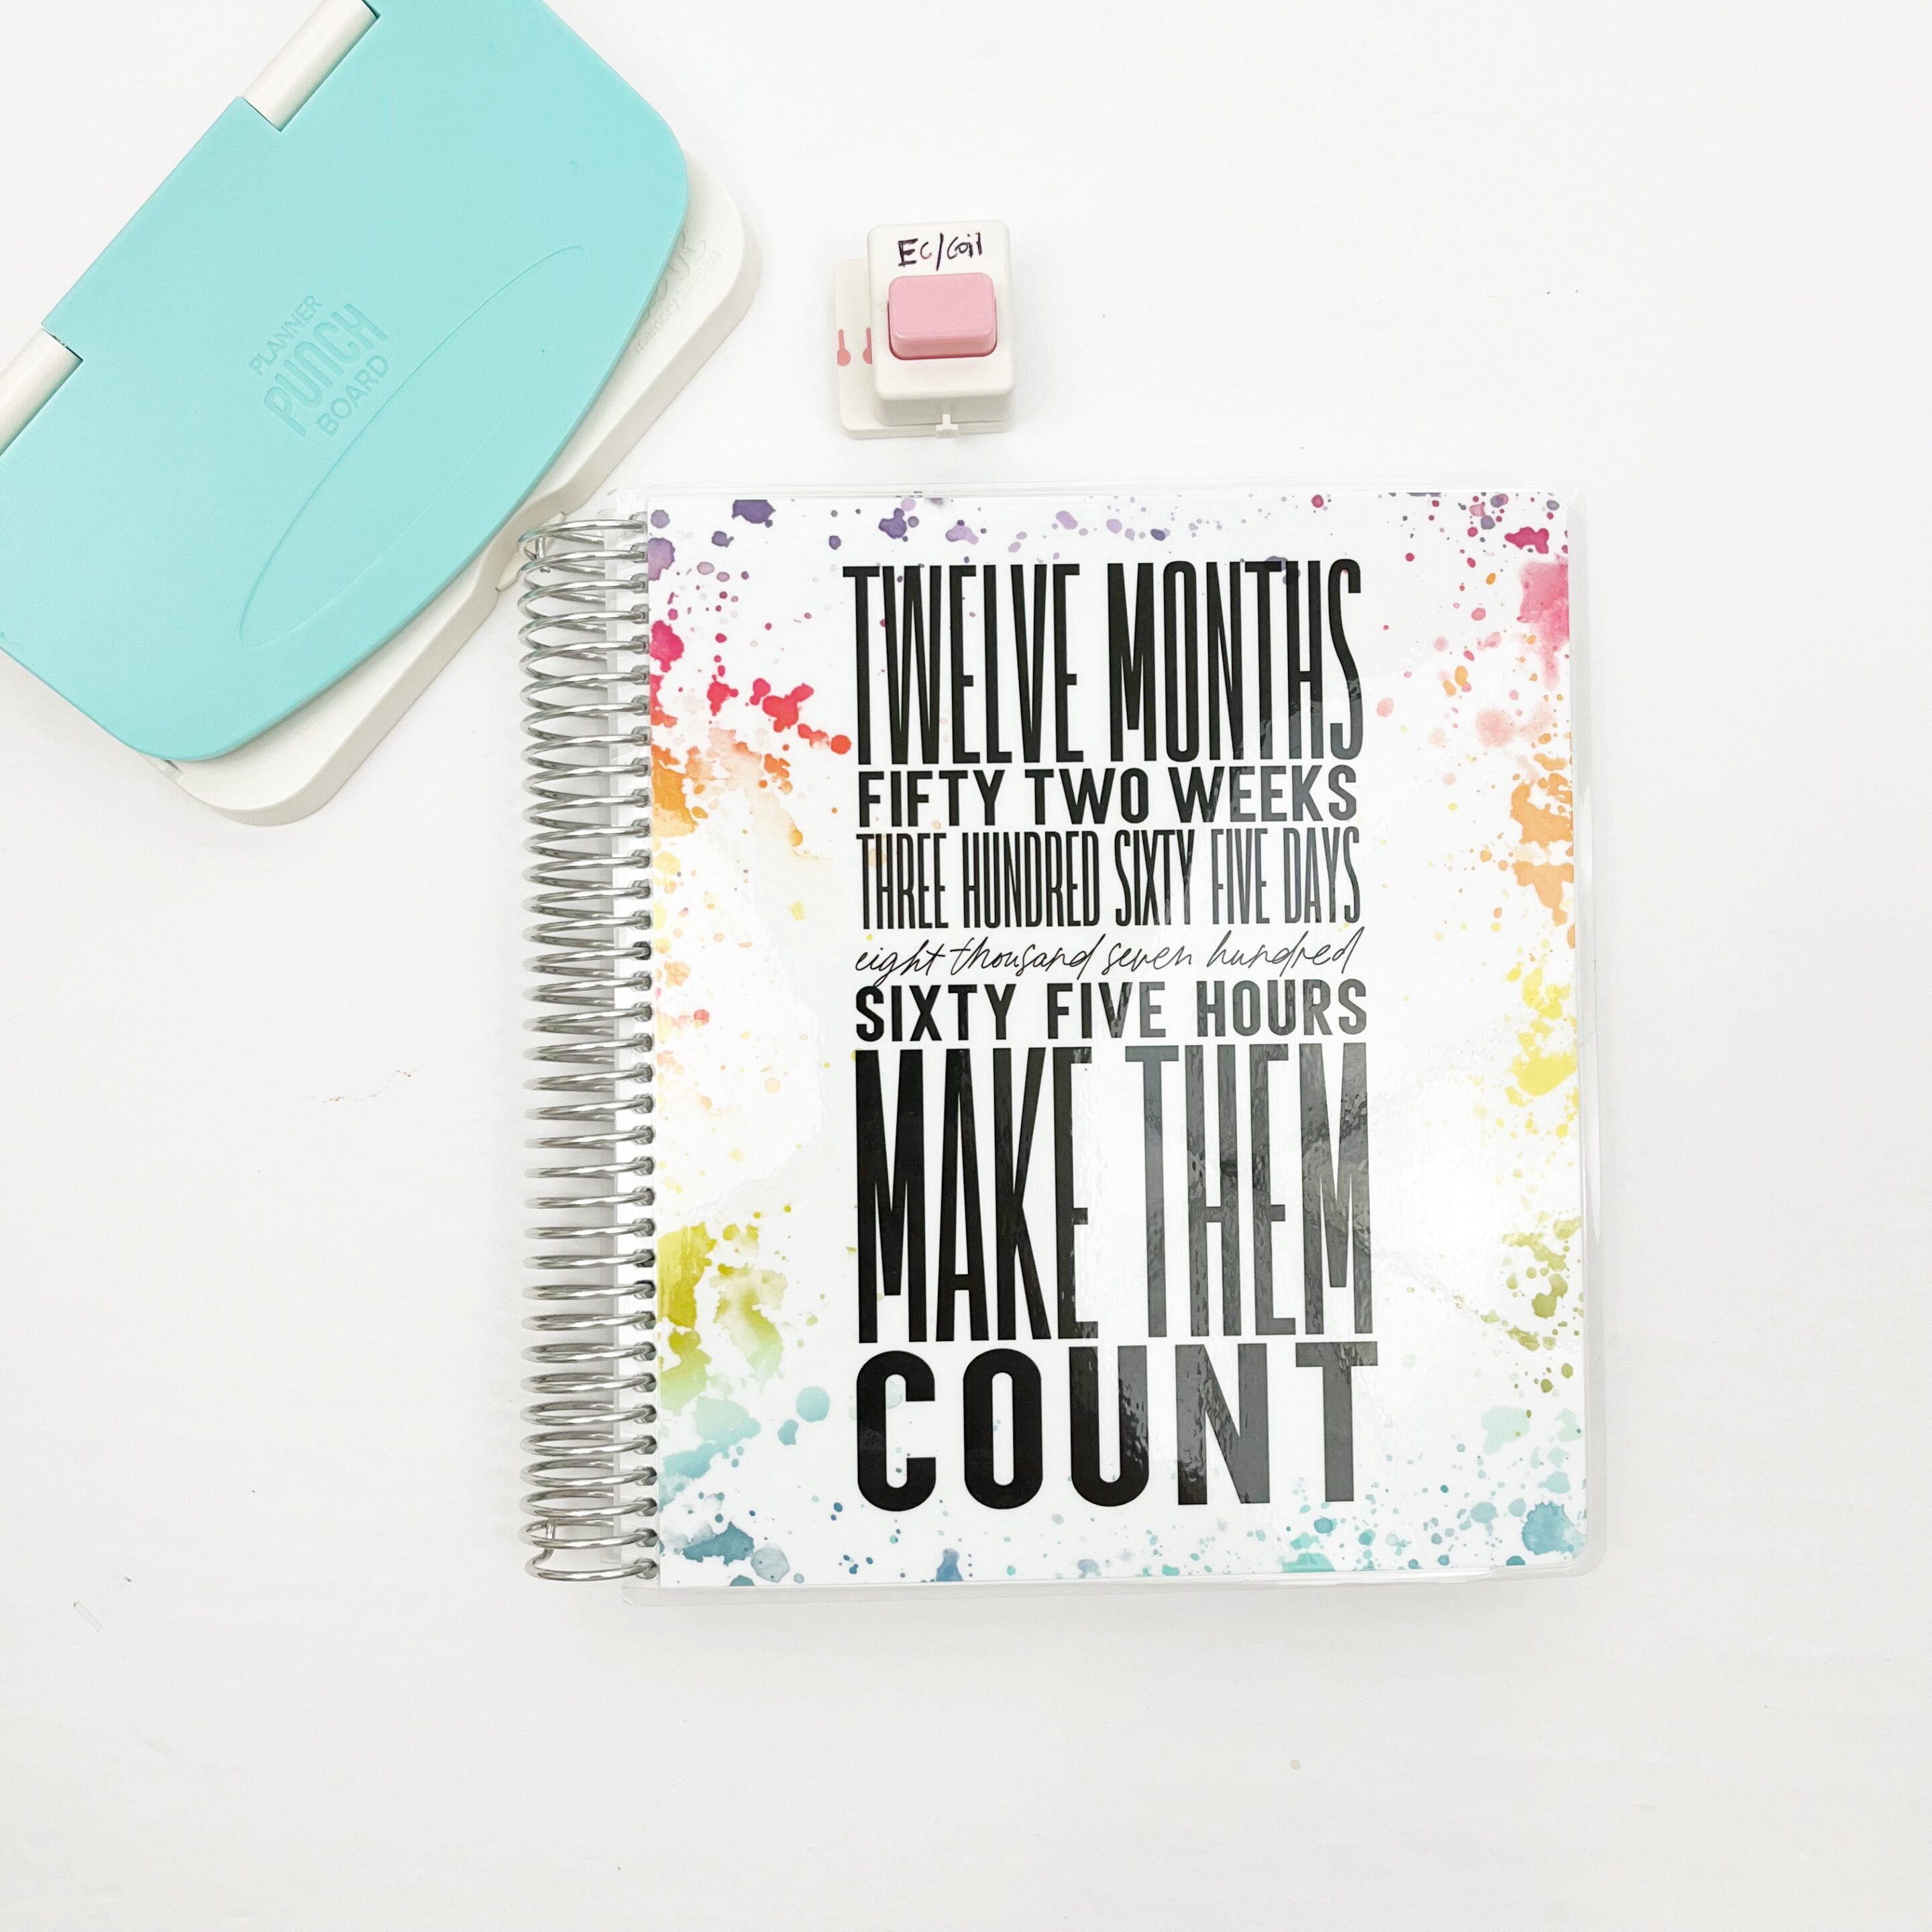
As shared in previous lessons, I have dabbled in many different planner systems and know the challenges and opportunities they provide. I’m currently using a bound notebook-style memory planner for 2022, but in 2021, I tried the Coiled Daisy Planner. This style is the one that gives people the most pause when it comes to additional inserts. Rest assured, it is not impossible; you just need the right tools! Meet the We R Memory Keepers Planner Punch Board Bundle! This tool is wonderful not just for coil punching but for rings and discs, too! Normally, the punch board is sold separately from the coil and discs punch. Luckily for us, it is sold as a bundle in the Cocoa Daisy store! Once you have this handy tool, you can add inserts into your memory planner to your heart’s content.
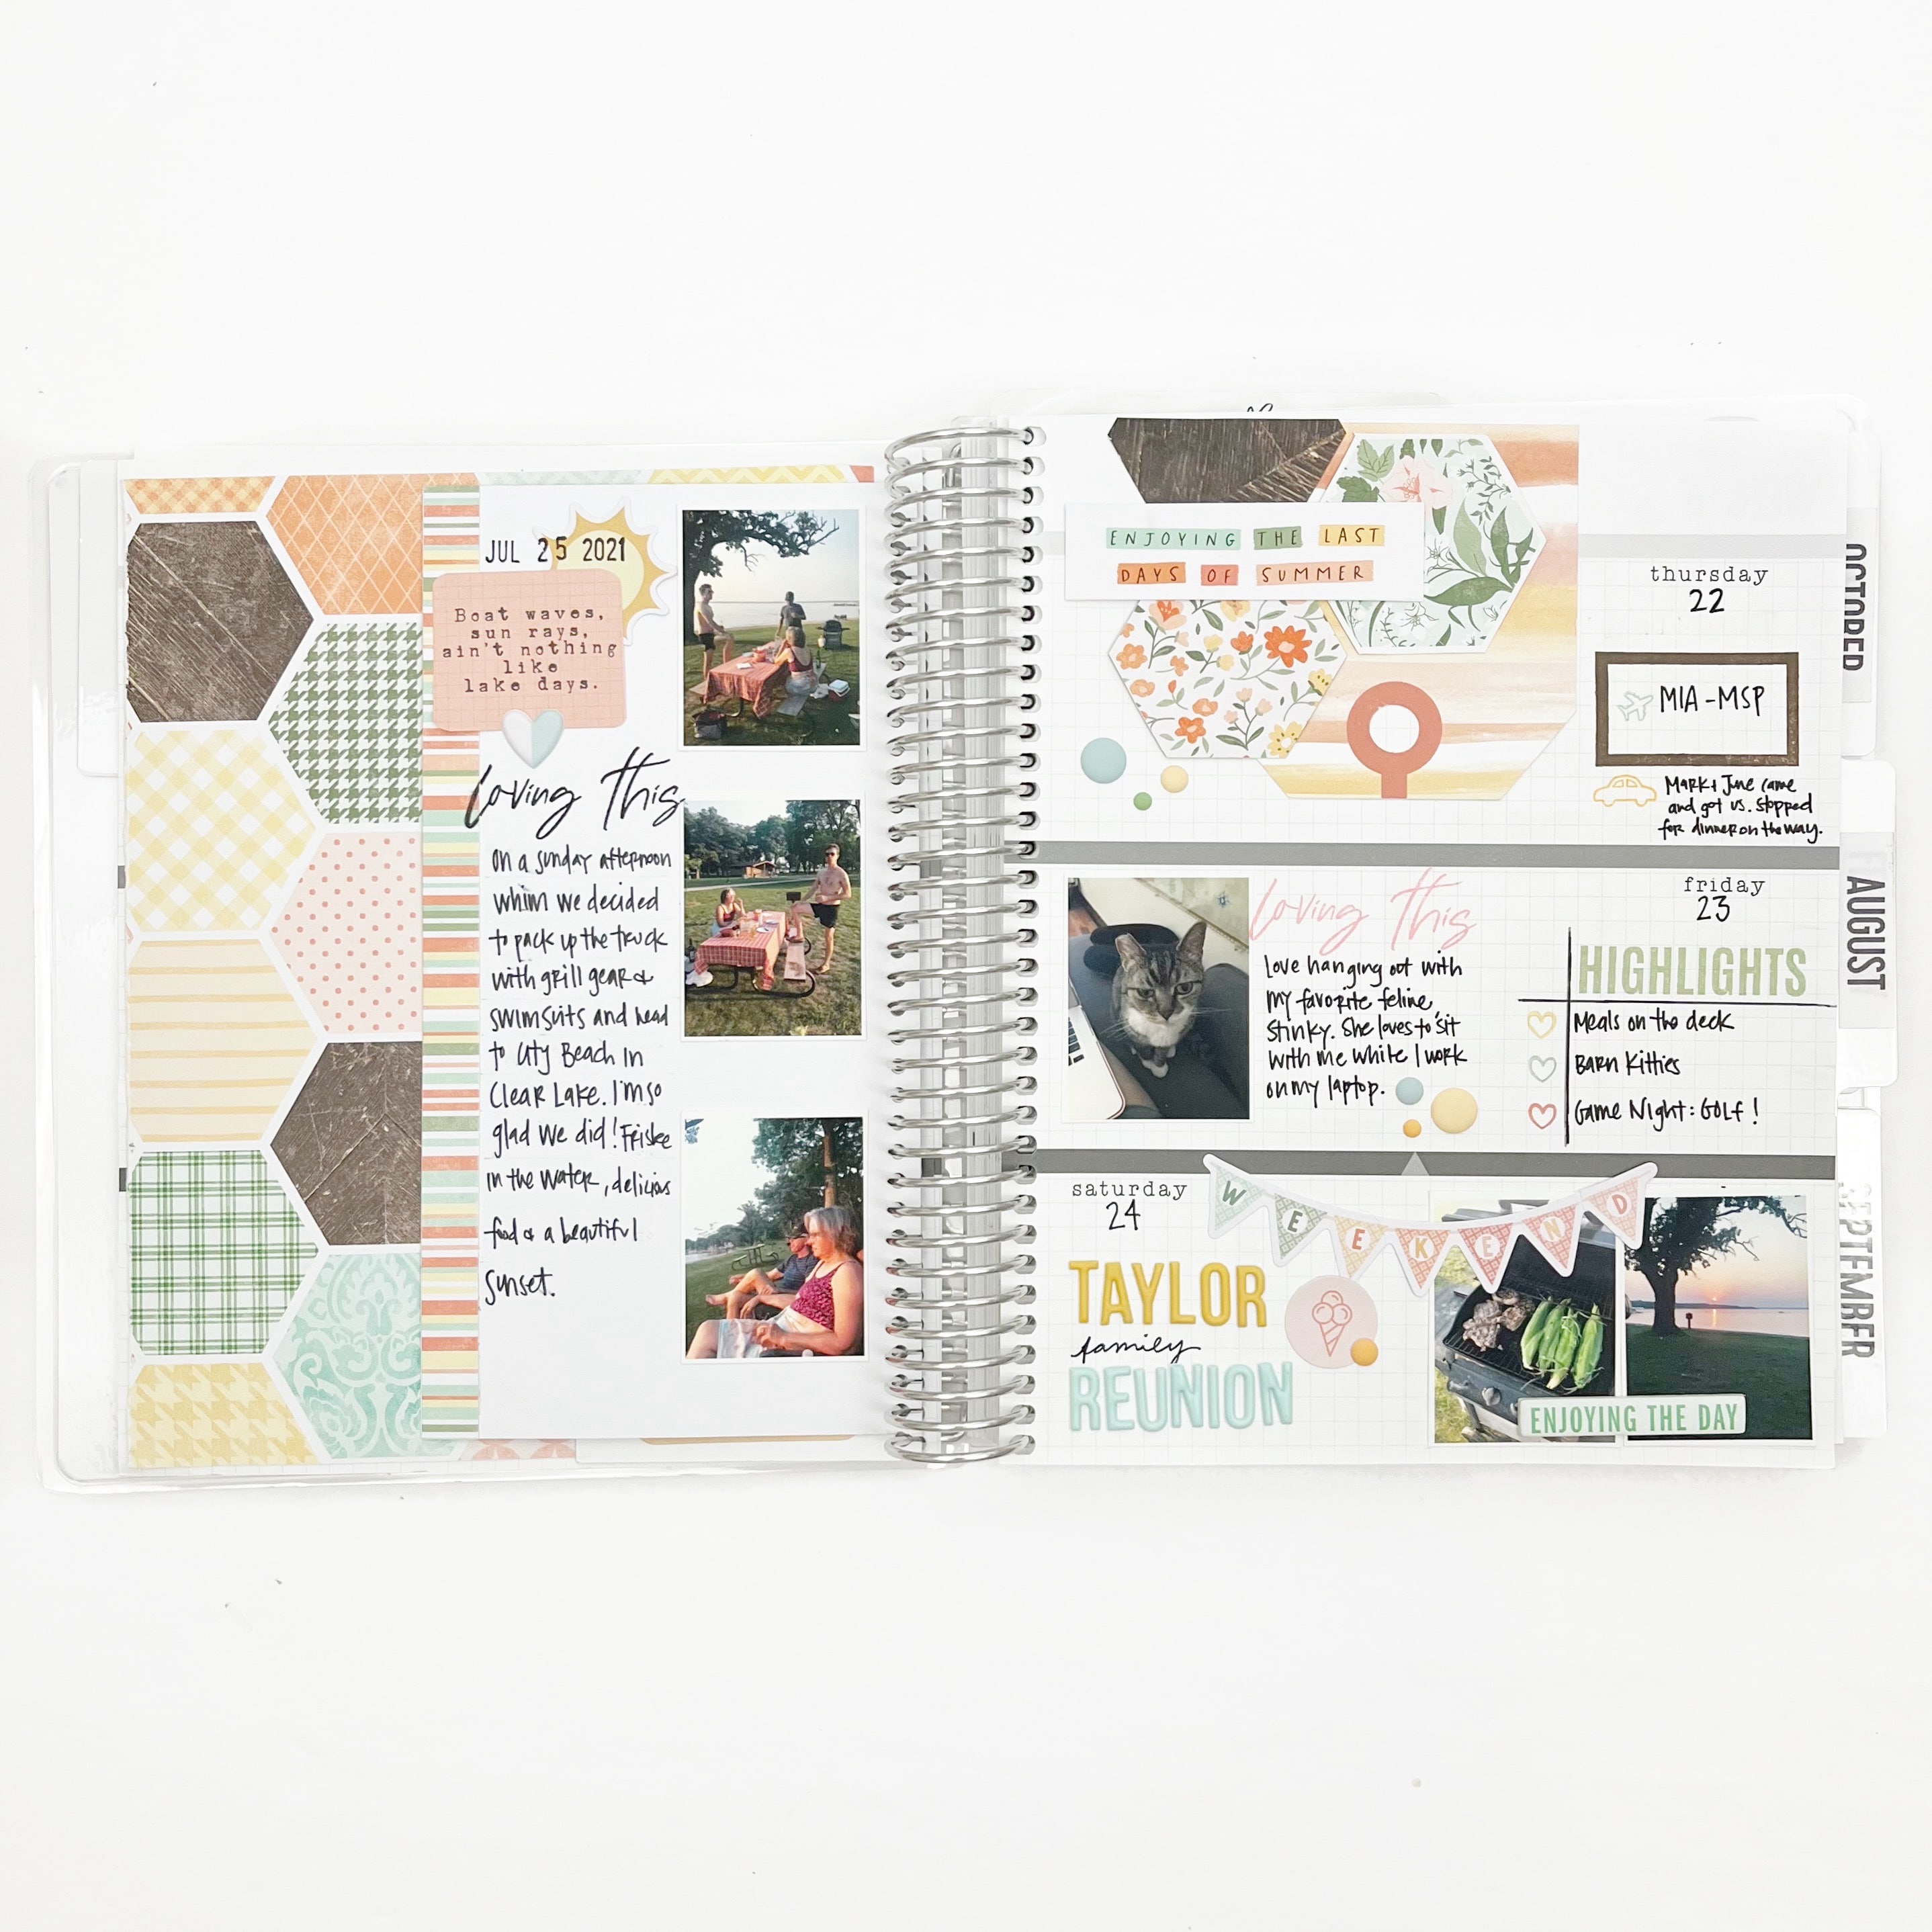
If you are stuck on a memory planner spread, consider starting with the add-on insert as a creative jumpstart. It was almost a year since this week happened and I was having a hard time completing it. By starting with the additional inserts, I got the spark I needed to return to this week and finish the spread.

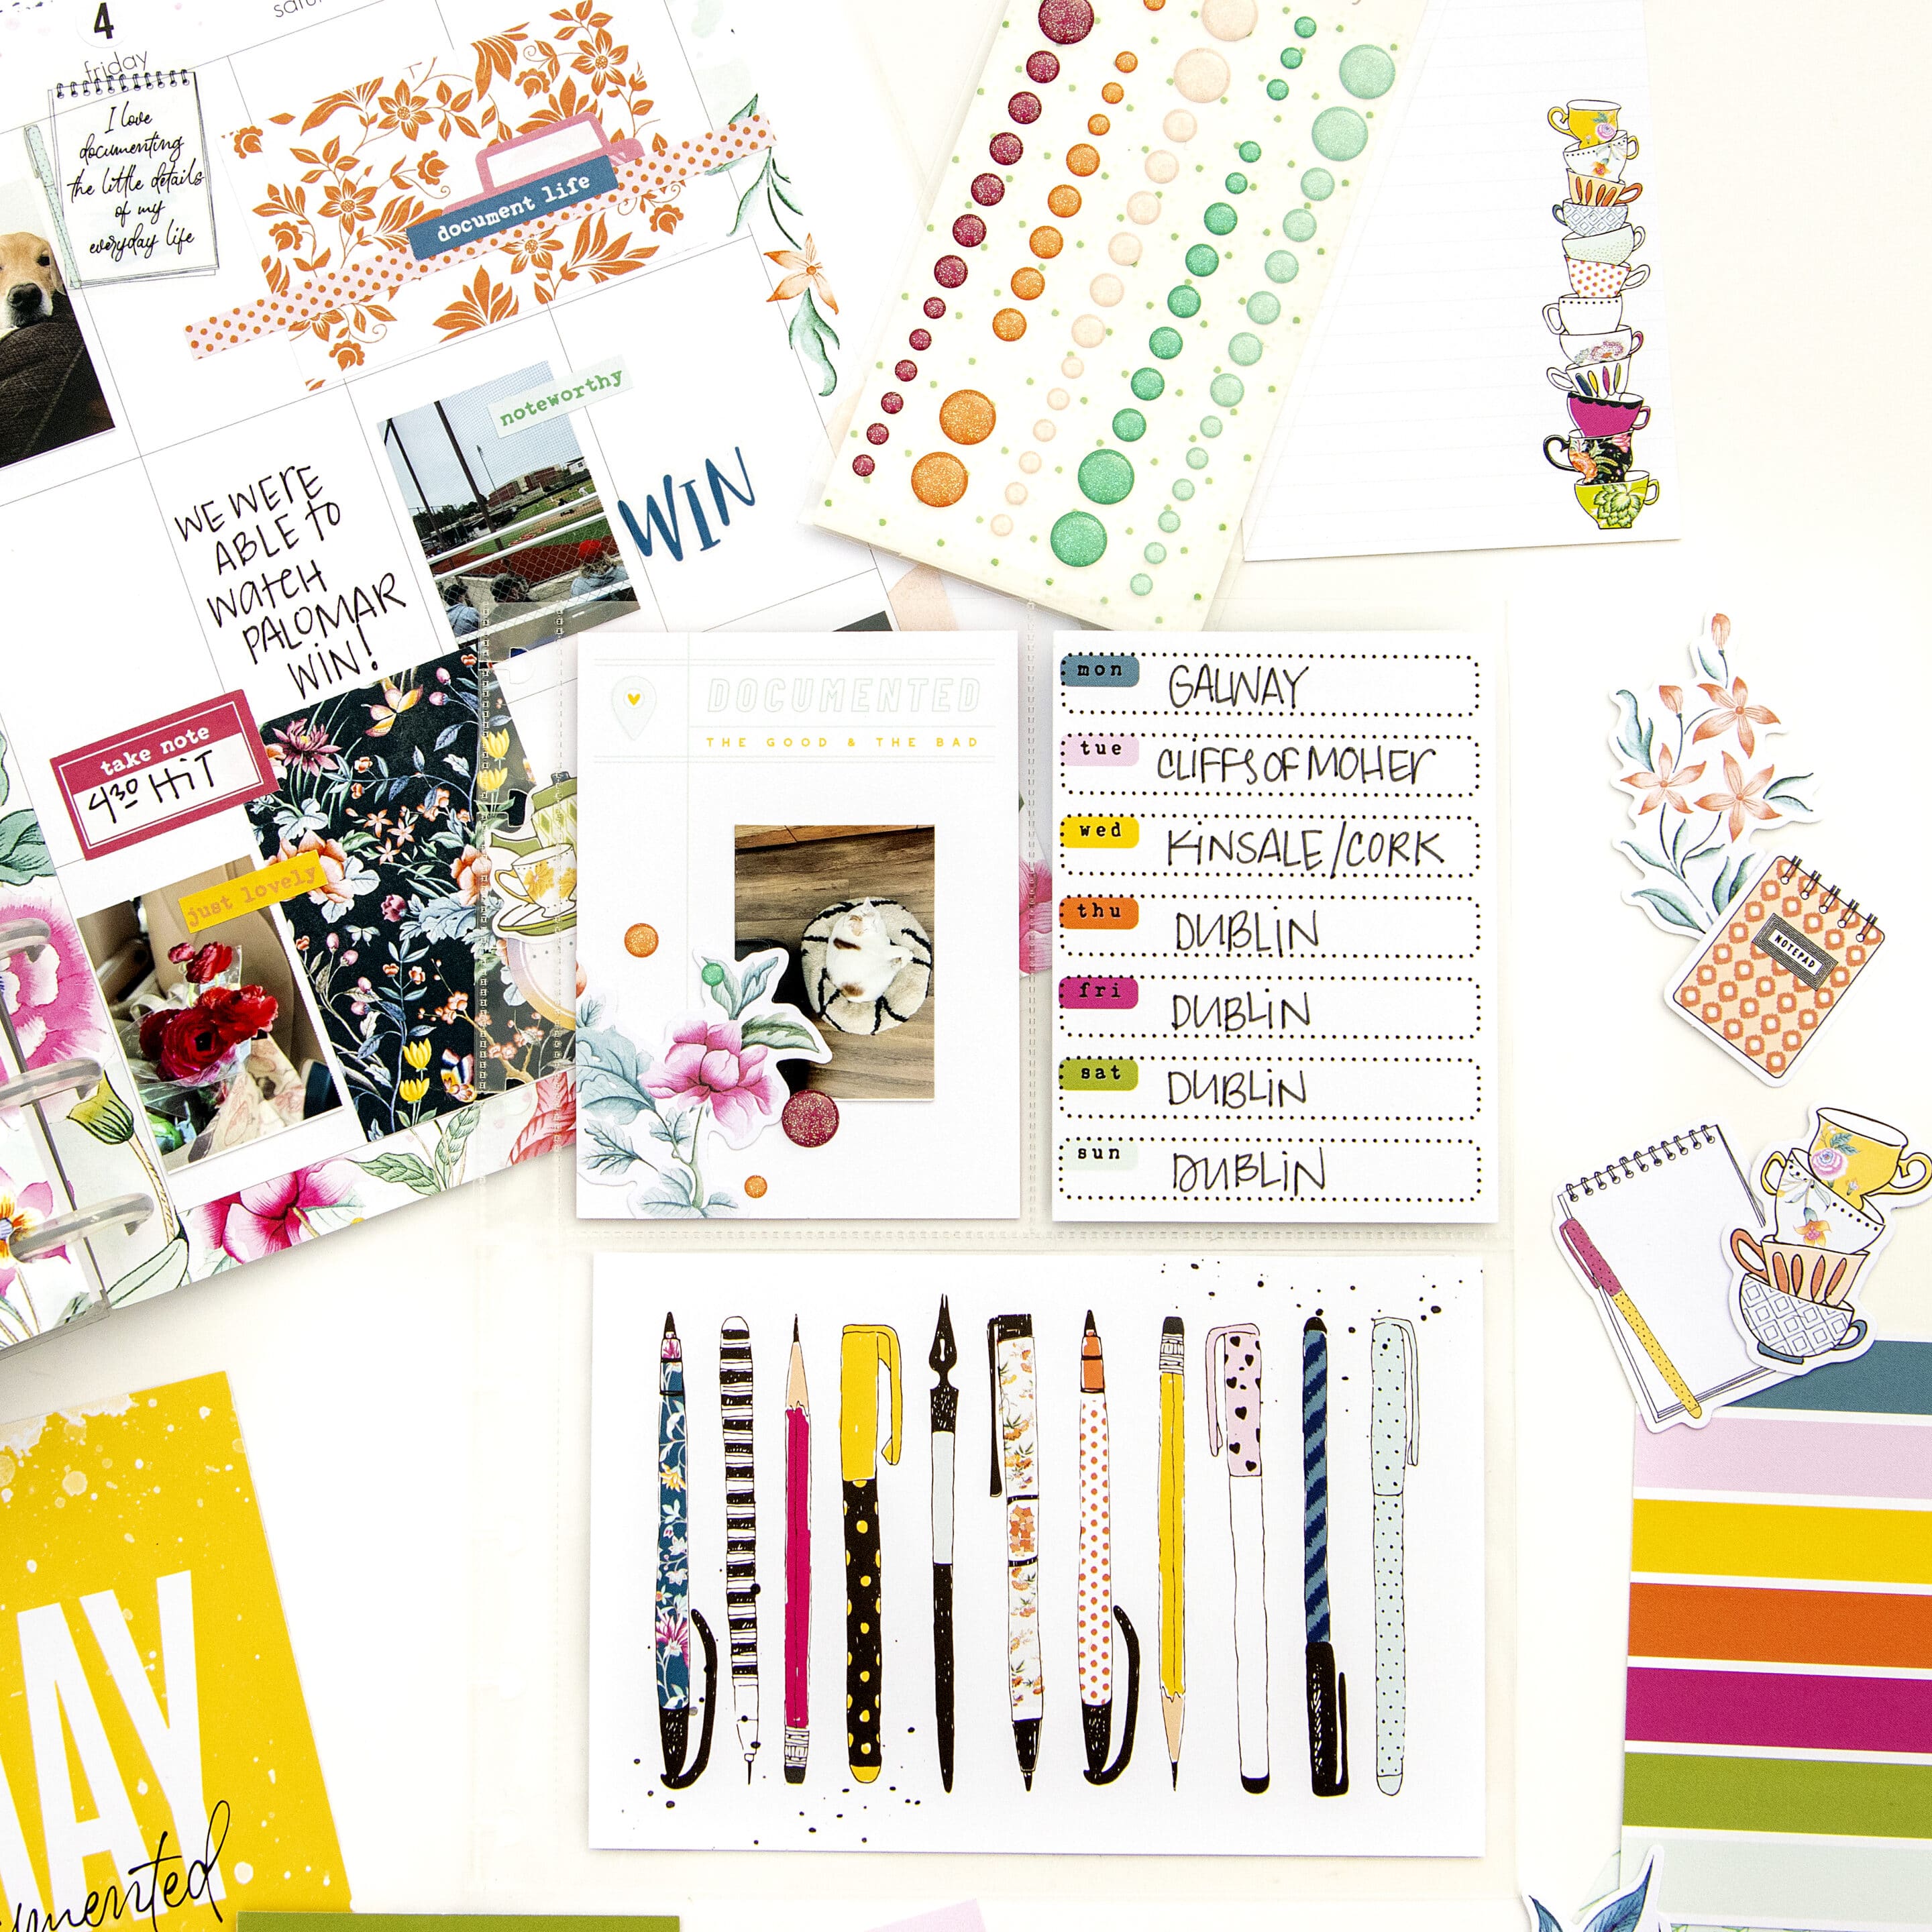
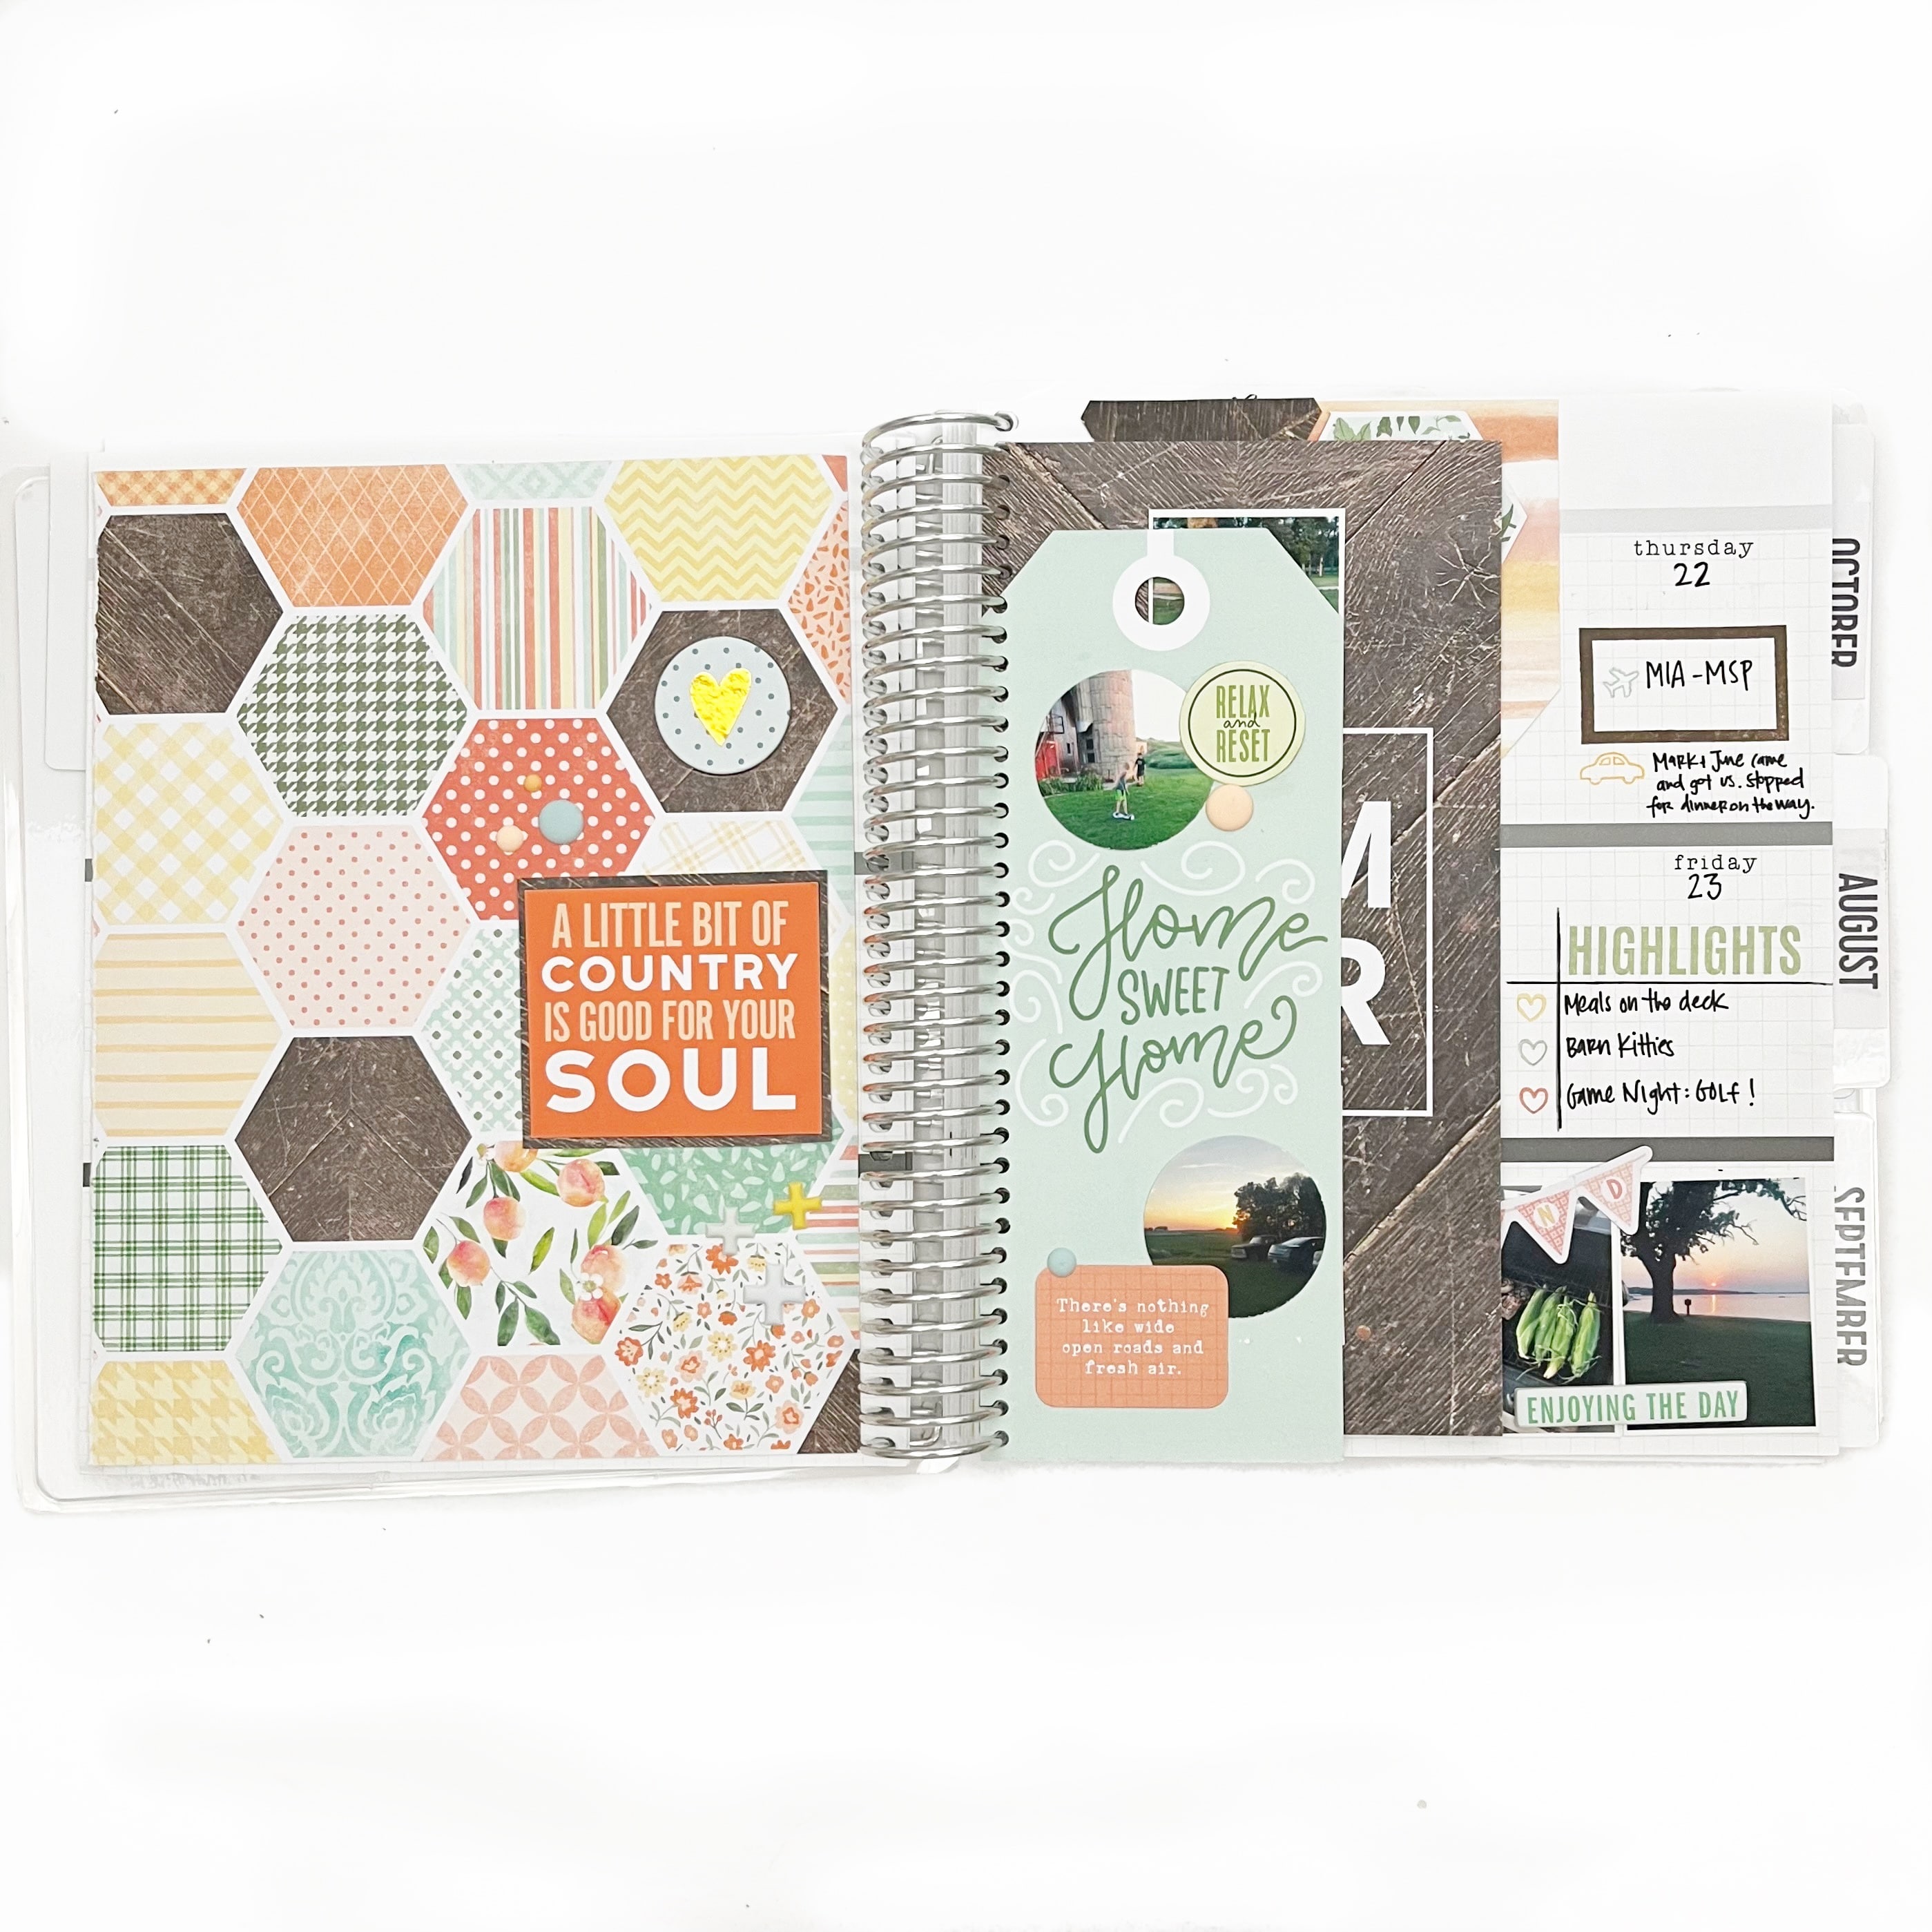
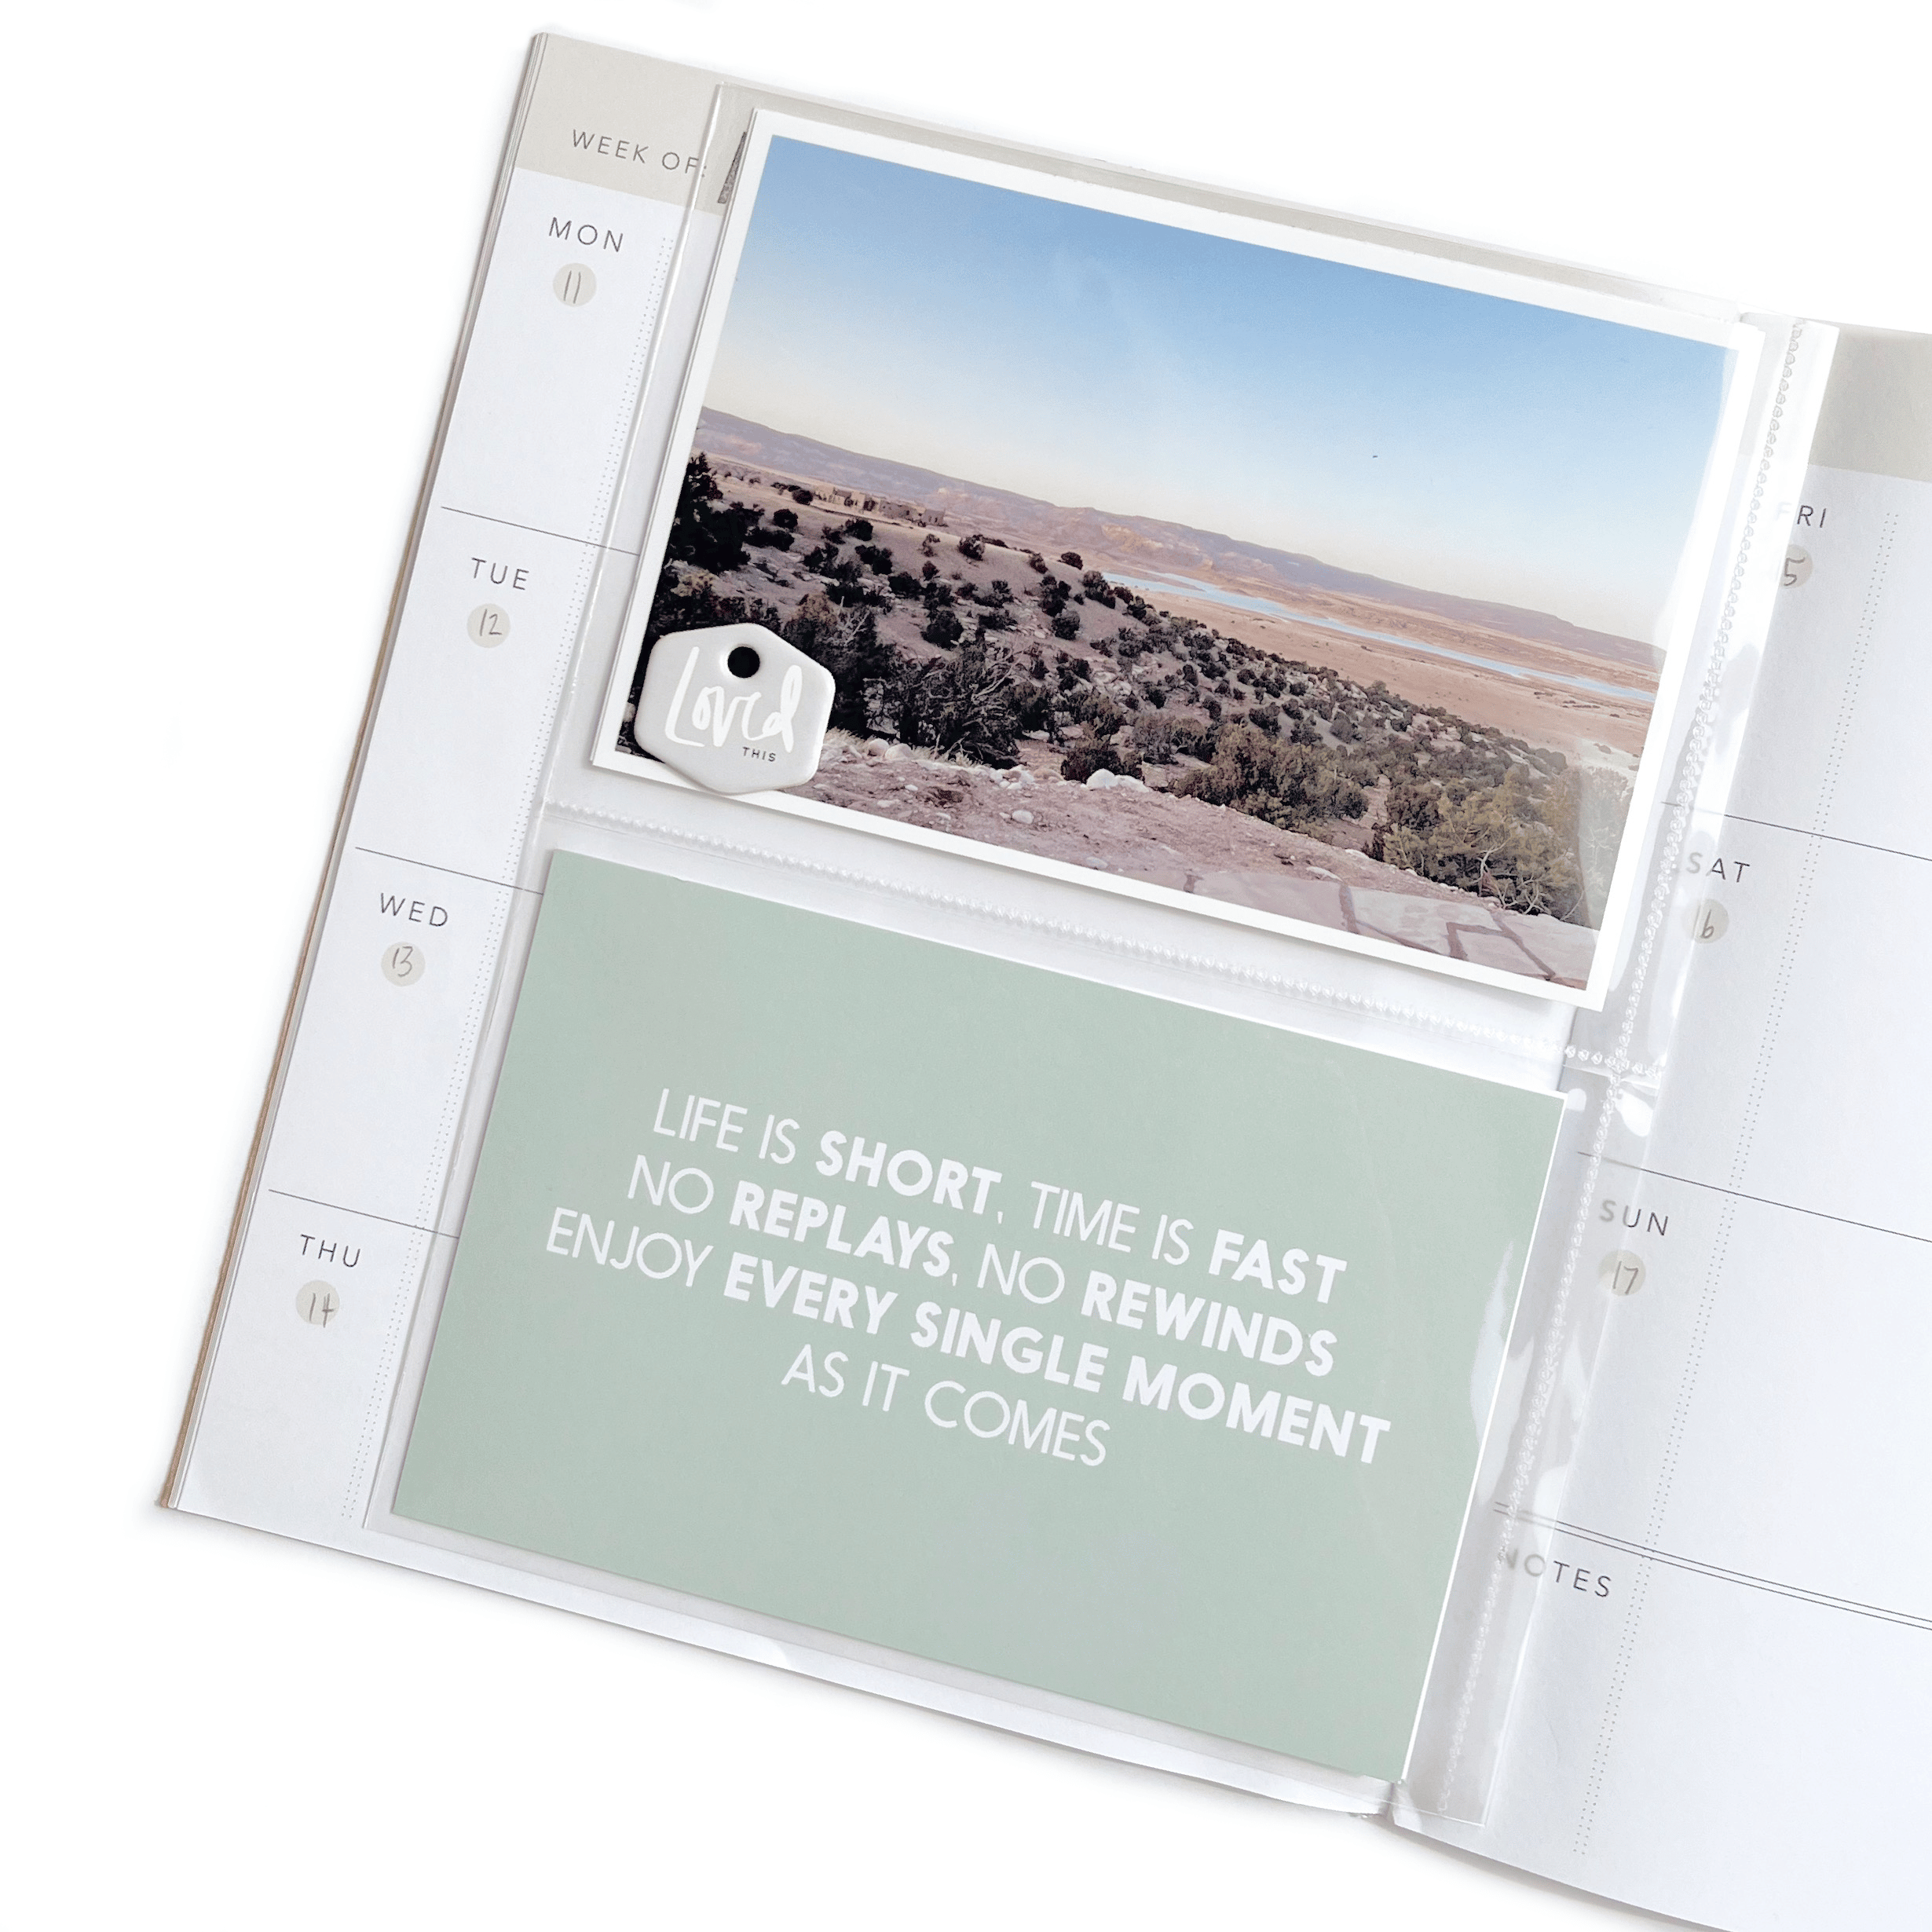
One of my favorite products for additional inserts is the large tag that typically arrive in the Classified: Memory Keeping Kit. They are small enough to not overwhelm the page but large enough as a foundation for extra photo’s, journaling, or memorabilia.
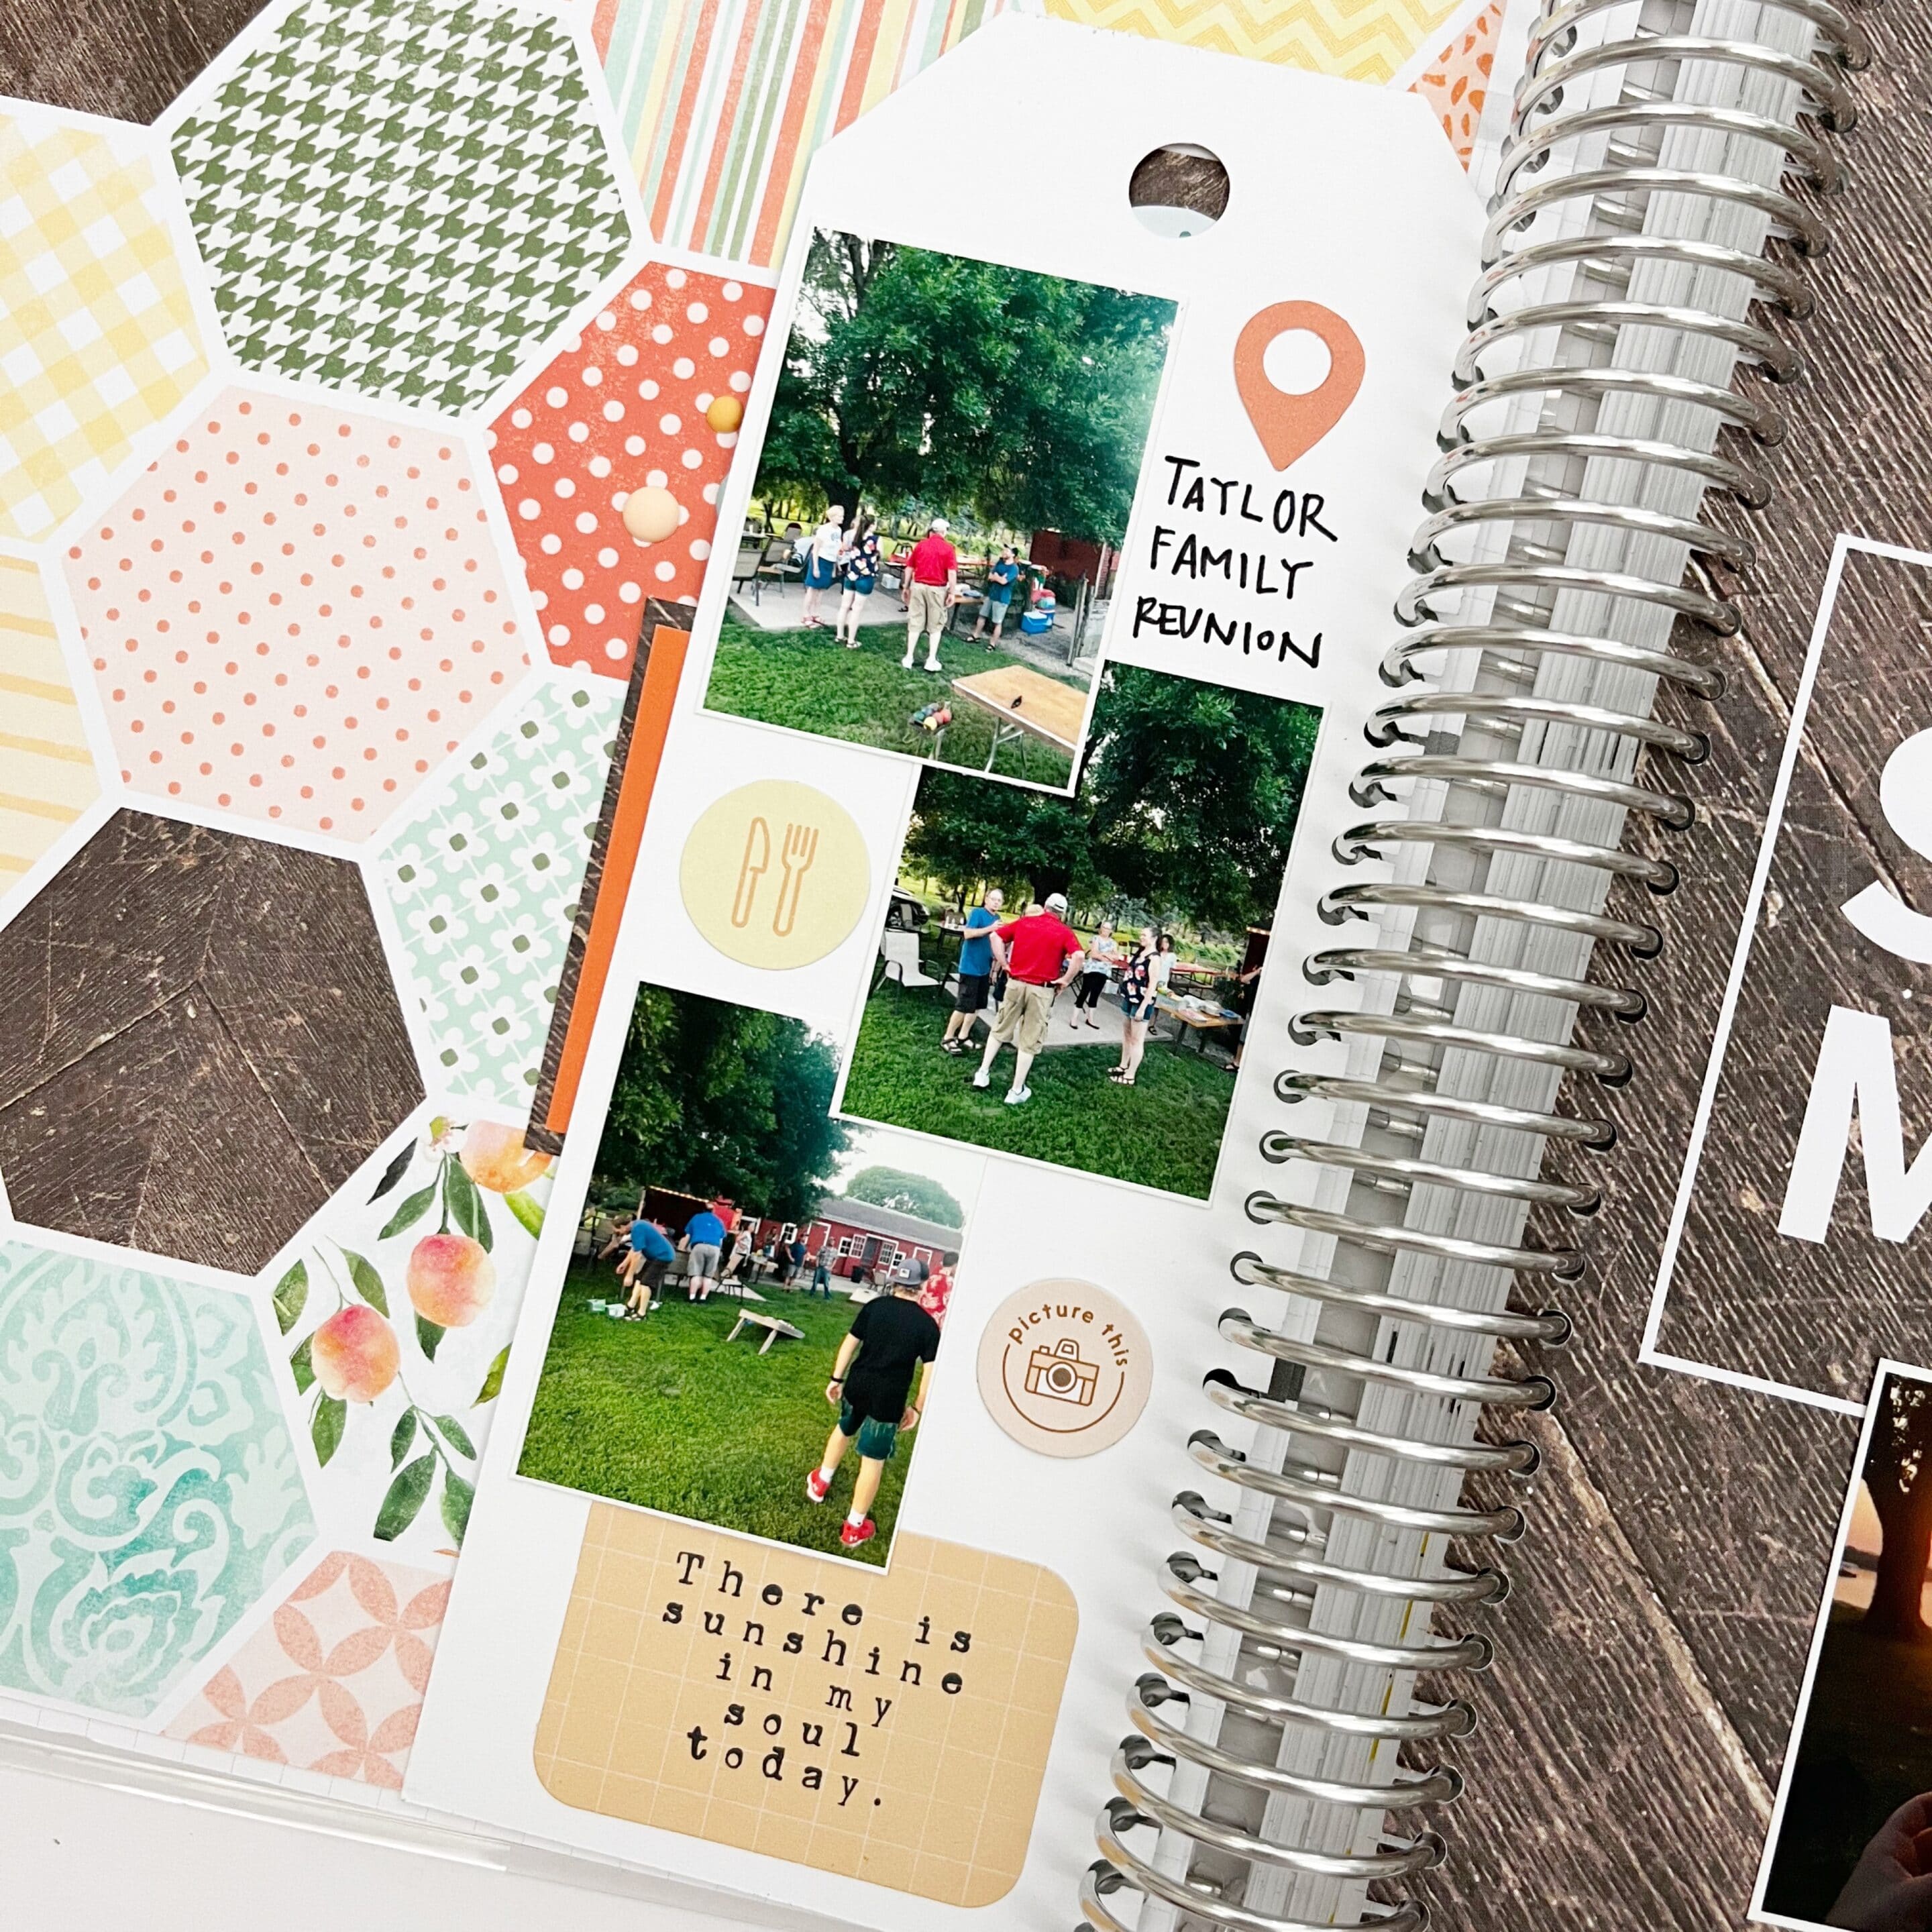
I included five photos on this tag and embellished it with a few die cuts. I even had room for important details.
I also love to add the large cards found in the Traveler’s Notebook Memory Keeping Kit. Like the tags, the size provides room for all the extras and space to still see most of the page underneath.

If you are like Natasha, you want to keep all your documenting in one place. That said, you may also get the itch to create a small scrap scrapbooking layout about a stand-out memory from the week. These cards are the perfect place to do that!
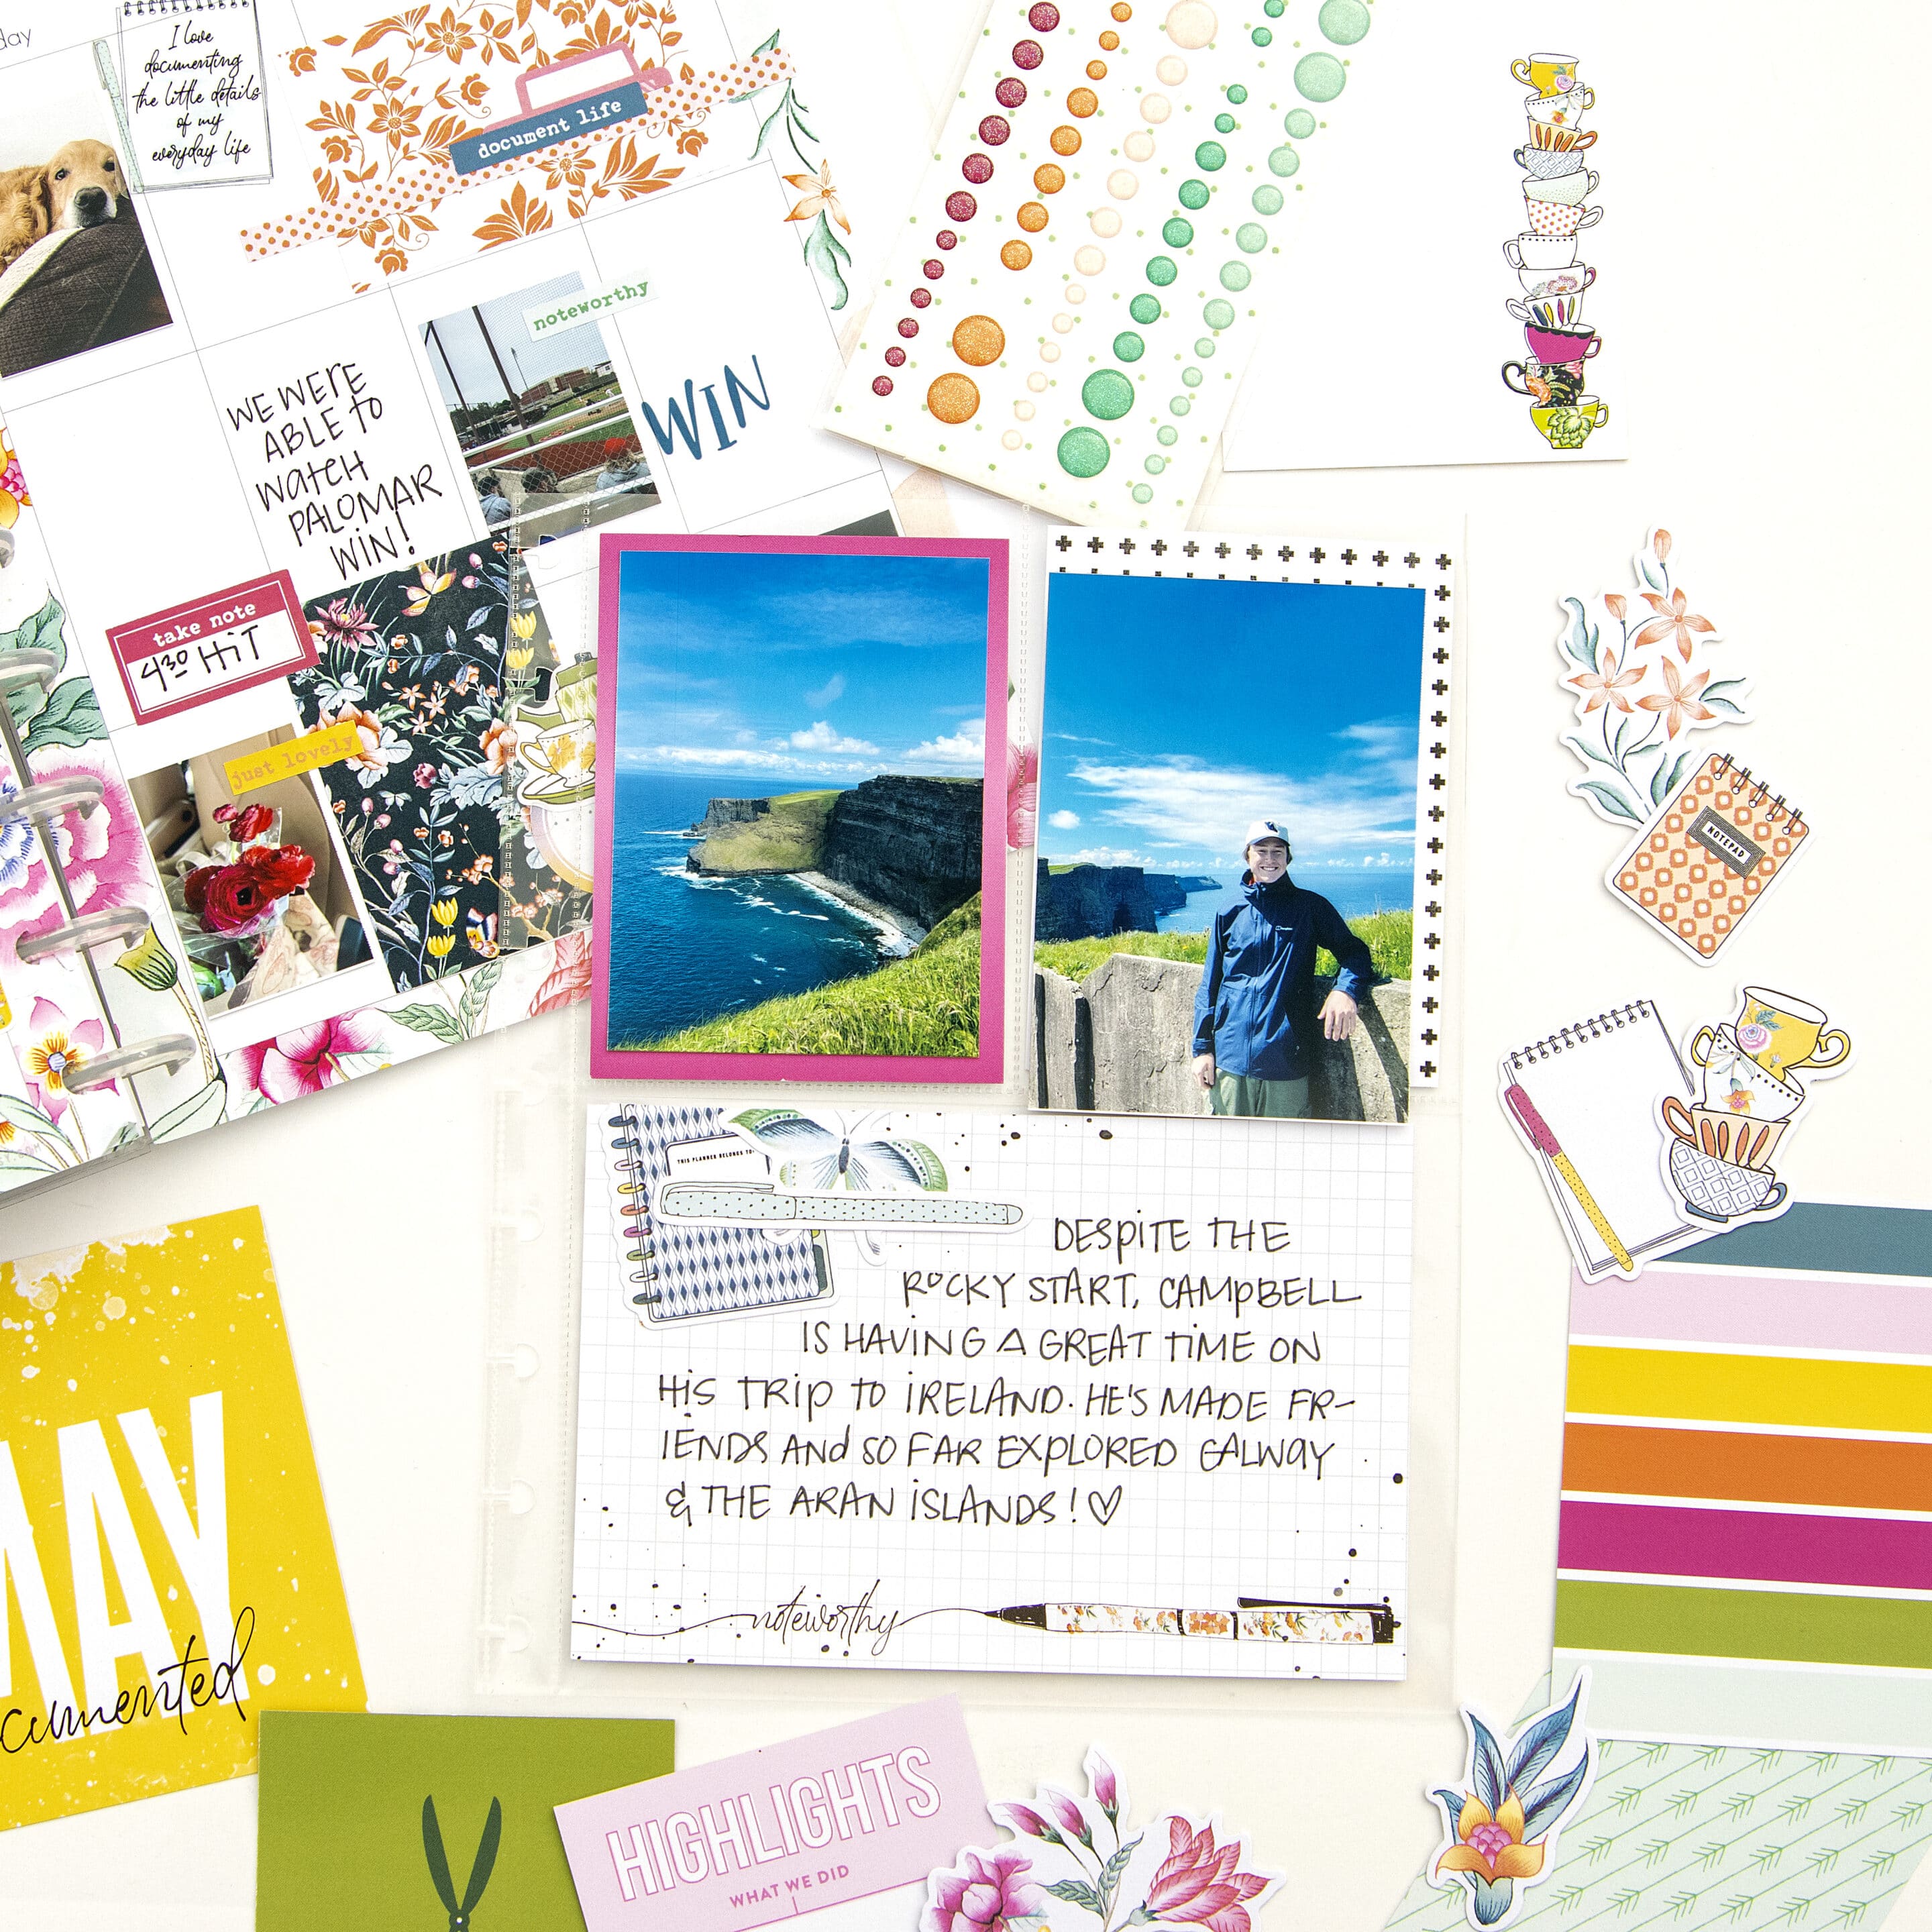
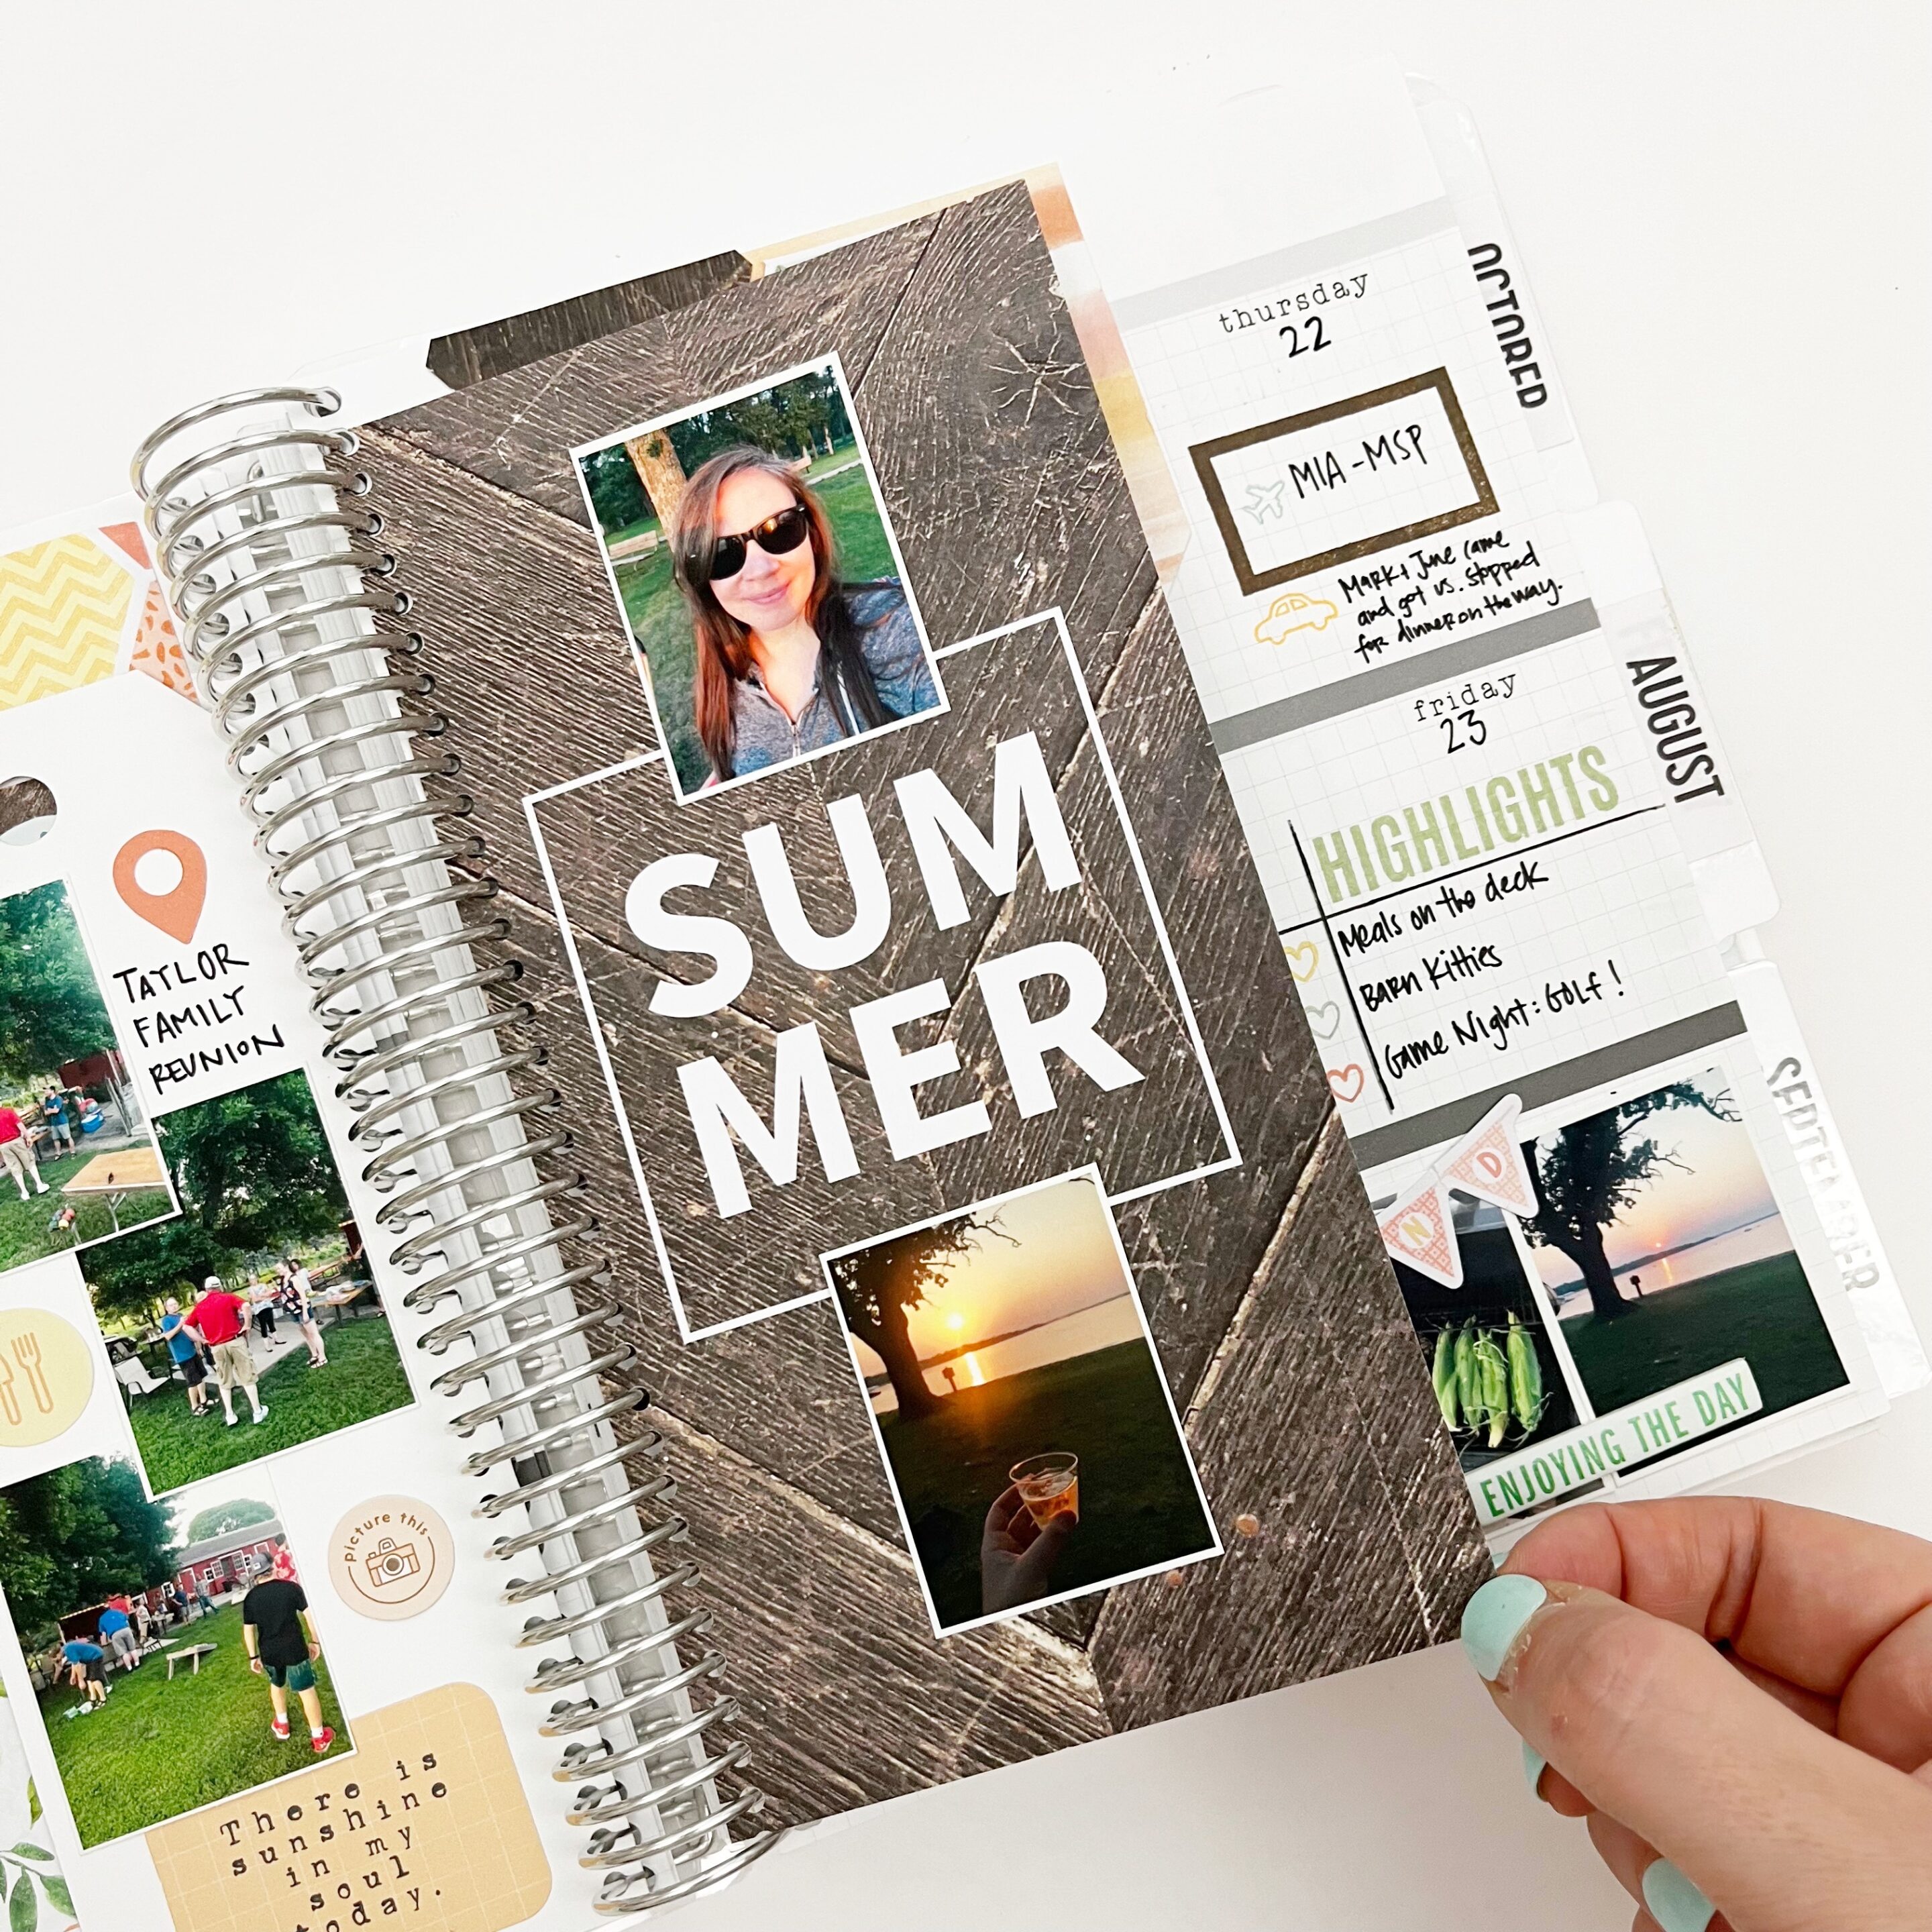
There are no complicated tools needed for including inserts into this bound notebook. That’s right, all you need is a little tape. If you can tape it, you can add it!
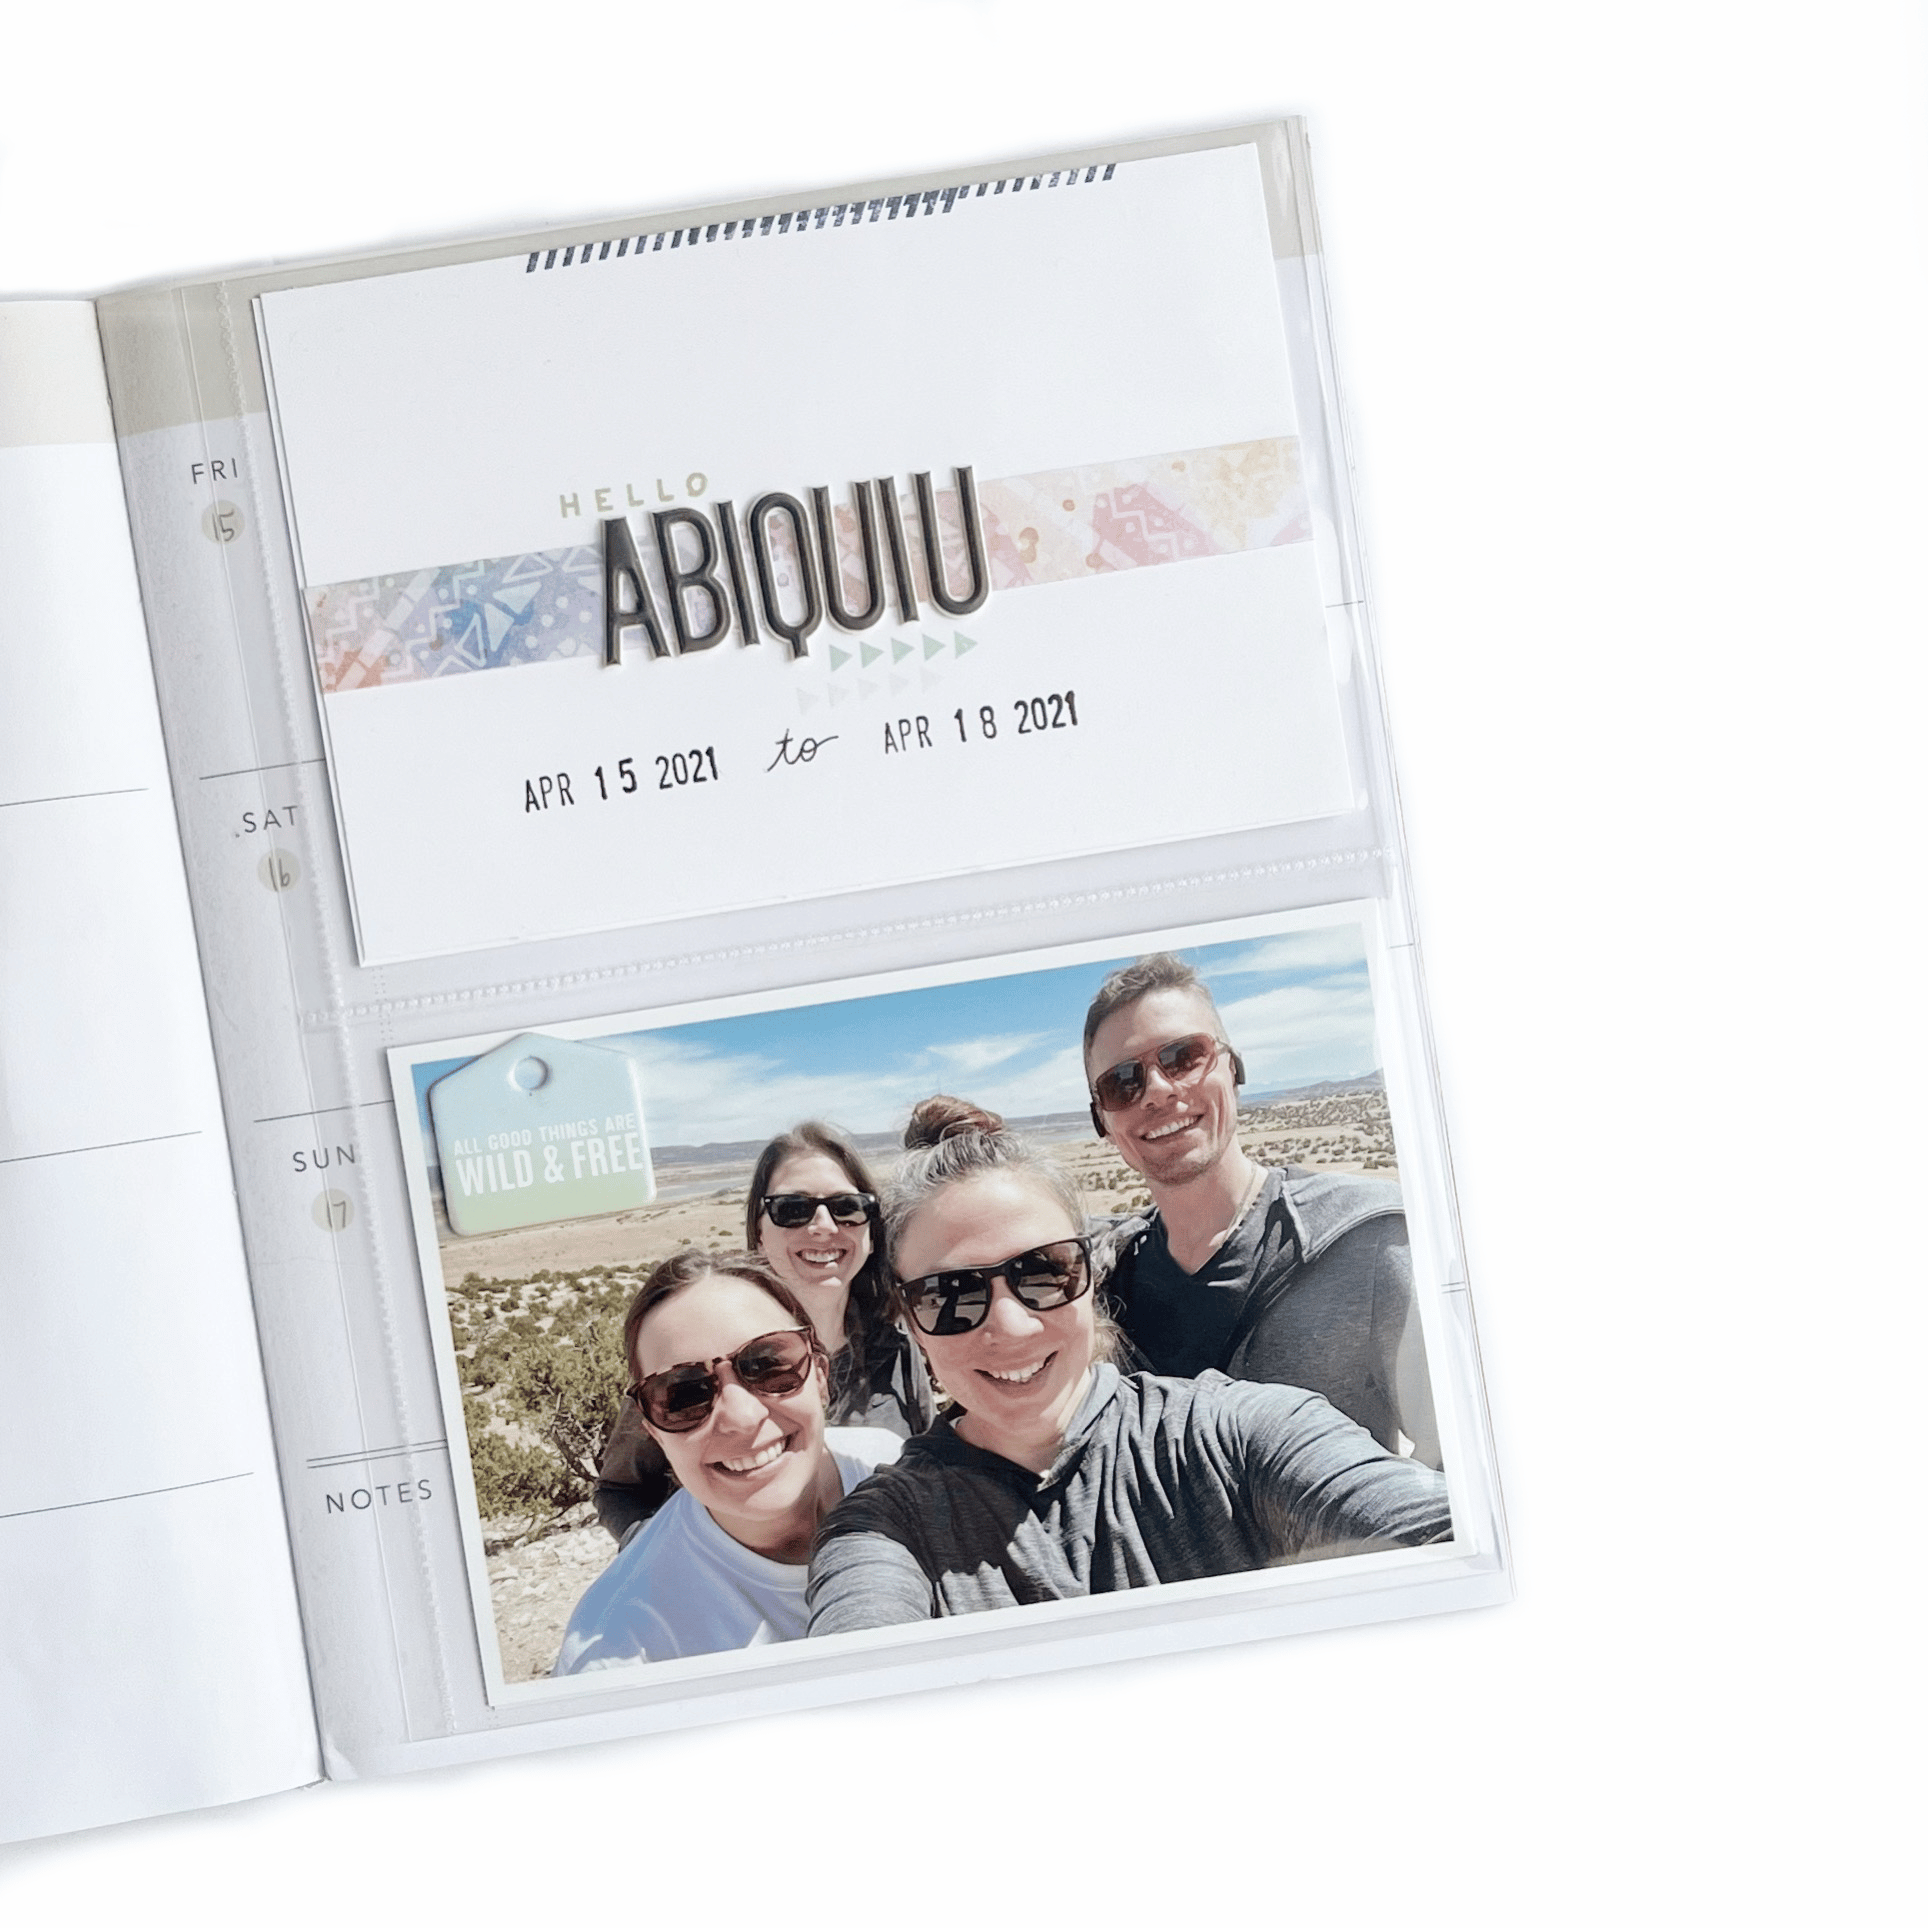
One of the best parts about additional inserts, like pocket pages, is the ability to enlarge special photos. To kick off my trip documenting, I included a large photo of our travel companions, right when we arrived at our beautiful Airbnb in Abiquiu, NM. I included a simple title card with items from a previous collection and called it done. Again, it is ok to start with the extra inserts and create from there.
For the flip side of the pocket page, I kept it simple with another 4×6 photo and a pocket card found in the Modern Memory Keeping Kit. If you love pocket cards and have a few pocket pages in your stash, pull them out and add them to your memory planner!
We hope you have enjoyed this class! Leave a comment and let us know what lessons, tips, and techniques you enjoyed most. Stay connected with us by tagging @cocoa_daisy on social media or posting to the Cocoa Daisy Fan Page. Make sure to visit our Pinterest page and the Cocoa Daisy YouTube Channel for more inspiration.
I really enjoyed the classes! Right now I do pocket pages. Which I love because it uses my paper! I might go to the memory planning style next year just to do something different! I did a mini book for May which was fun and I do TN for days when we do an activity and I have lots of pictures… again something different!
I loved all the ideas and fun ways to decorate, stamp and add extra pages! Thank you!
I’m so glad have enjoyed the class! Yes, most of the tips and techniques for memory planning can carry over into other paper crafting endeavors!
Thank you for this class. I really enjoyed learning about stamping. I have stamped in the past and this class gave me some great ideas. My memory planning has been all over the place and I really want to focus and get back to the consistency I had with scrapbooking.
Such a wonderful class! I loved the wide variety of planner styles that you covered, as well as the personal design approaches of the different instructors, all of whom were fantastic. Thank you so much. I am definitely inspired!
That’s wonderful to hear! Thank you for joining our class!
Does anyone make pocket pages/page protectors for the Classic Happy Planner? I’ve been looking everywhere but can’t find them.
I believe Cloth and Paper makes discbound pocket pages. You might also be able to find some on etsy.