For my contribution this week I wanted to take you step by step through the process I use each month when setting up my planner. Because I find myself with less and less time for creating scrapbook pages or mini albums I find that I can soothe my creative soul by using my supplies in my planner, it gives me a little bit of time for creative play and I’m using my stash so it’s a win – win in my book!
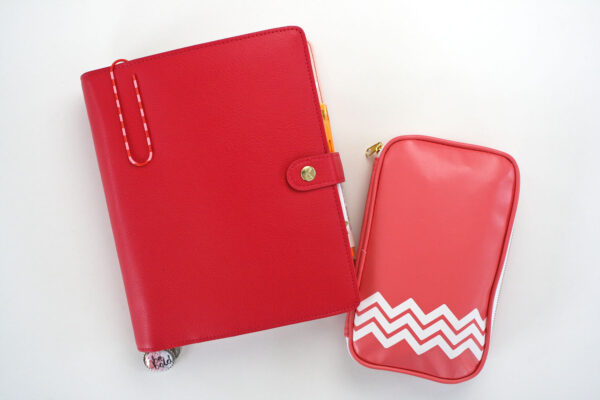
The first thing I do is decide which planner and pencil pouch I’m going to use for the month, I always try to color coordinate with my CD planner pages, so for June I went with the raspberry planner from Kikki K. and a pencil pouch from Webster’s Pages.
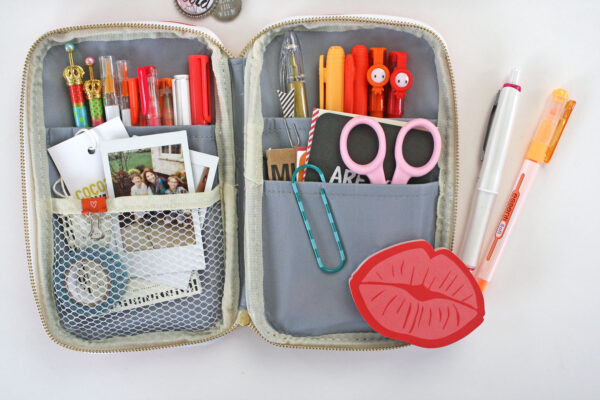
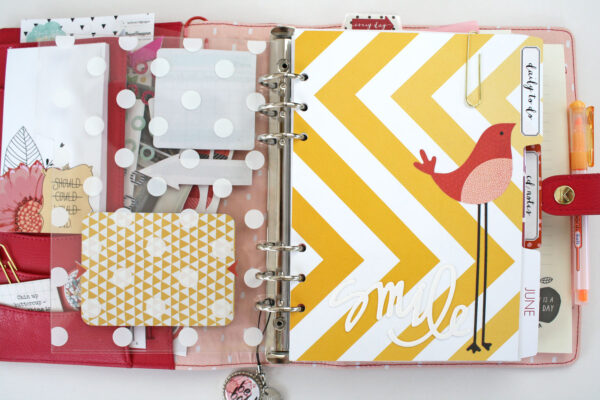
Here is a little peek at what I put in my pencil pouch. I add pens and highlighters that are part of the month’s color scheme, along with some note cards, washi tape, my little scissors, post its and of course a few pics.
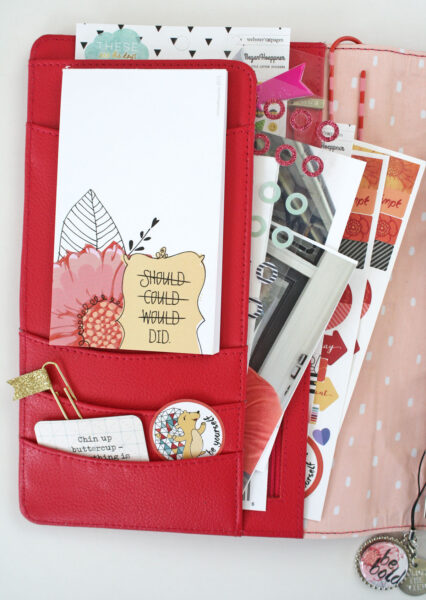
Most planners have a few pockets to hold stickers and notepads, and part of why I love my Kikki K. planners are the great pockets! I add the Day Planner notepad, stickers, a few clips, photos and pretty bits.
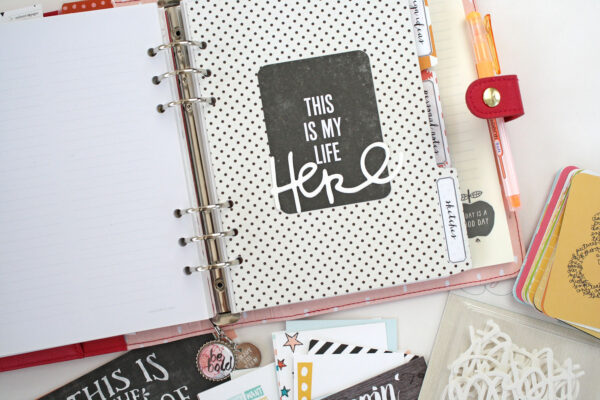
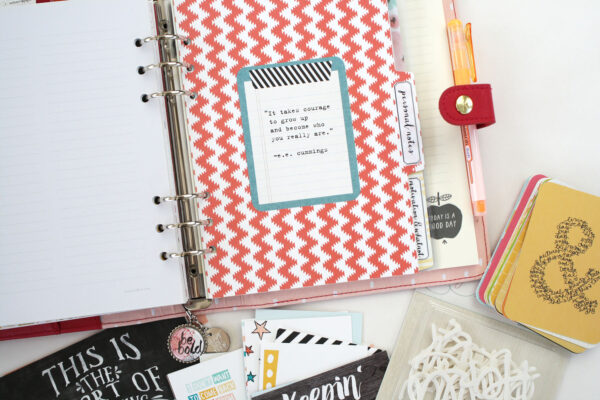
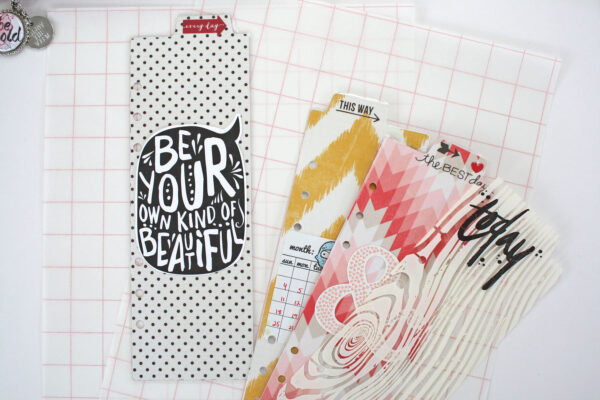
Next I want to set up my divider pages. Again using my CD planner pages as my color guide I dig through my patterned paper stash and use the free Divider page and bookmark cut file to cut my divider pages, easy peasy.
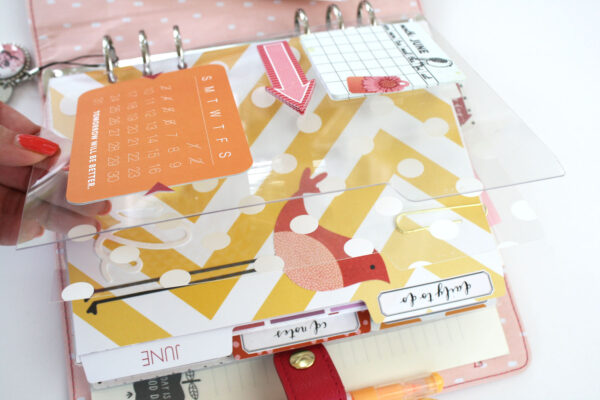
Along with the patterned paper divider pages I added a clear acrylic tab or “dashboard” to hold an assortment of post it notes and a fun little planner card.
I love using the clear acrylic sheets and patterned acetate sheets in my planner, I think it’s the mini album creator in me coming through. But I think that’s what is so fun about decorating your planner, you can use your creativity however you want!
Here is a look at how I decorated some of my divider pages. I used, some Dear Lizzy watercolor words, die cuts and of course journaling cards.
I threw in another clear acrylic page to hold a few pictures.

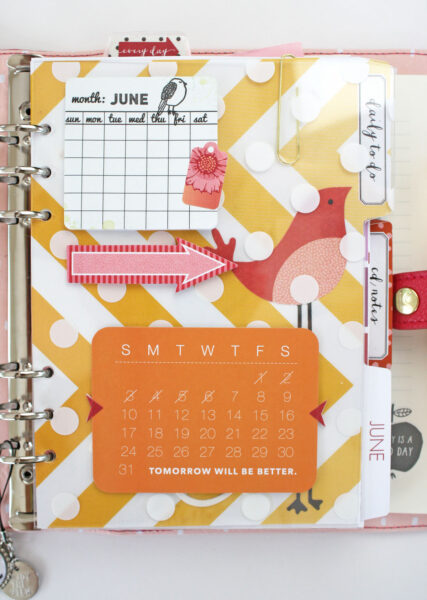
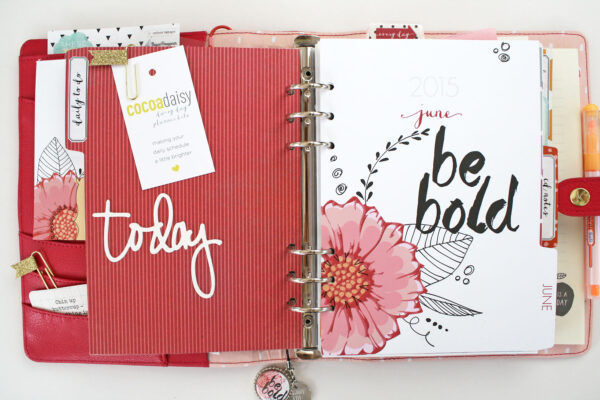
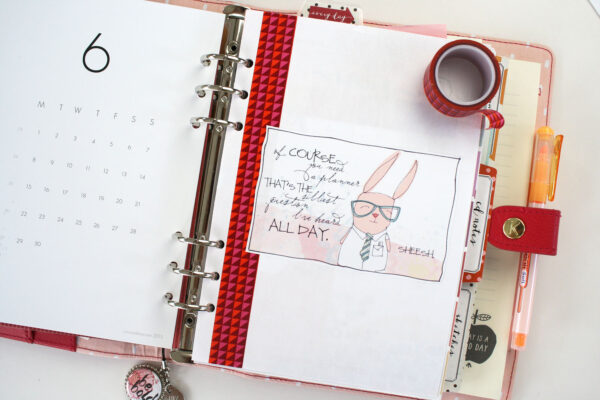
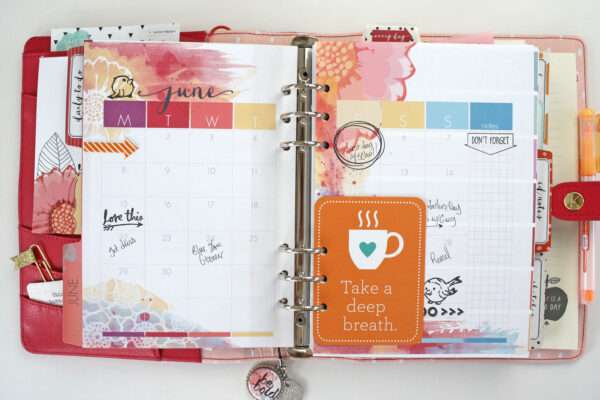
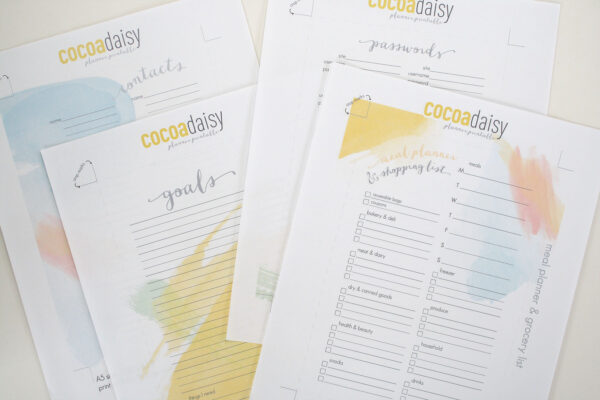
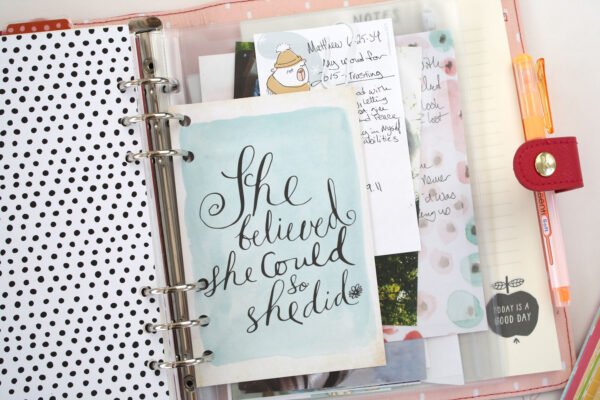
Once I have my dividers all done I start adding my planner pages. Every month we offer a free Month at a Glance printable that coordinates with our planner pages, so I print it off and dress it up with some washi tape, stickers and a few stamped images. [Ed. note: Month at a Glance is now printed in our pages, so we no longer include them in the printable.] I also inserted a journaling card (I like to add journaling cards throughout my planner. They are fun to flip through and add nice pops of color).
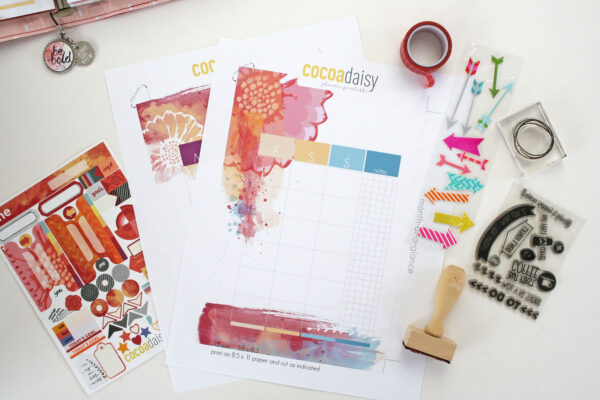
We also have a premium bundle of everyday printables for A5 planners and for Personal planners, love the grocery list/menu planner!!
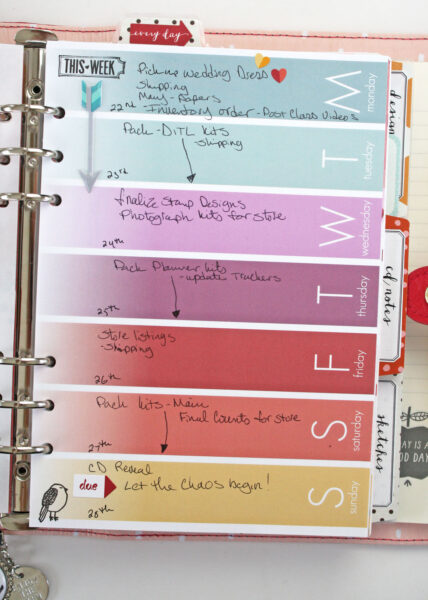
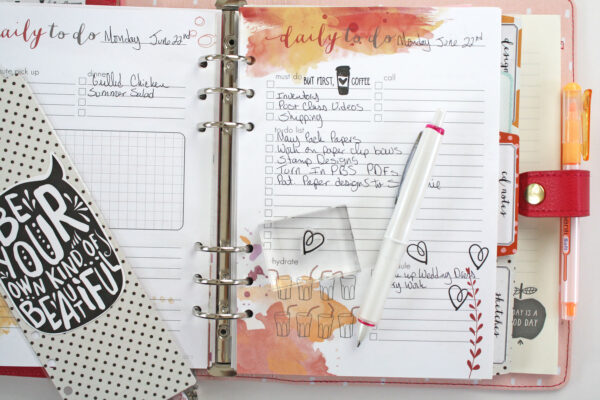
For my weekly planning I use the week at a glance and the daily pages, I rarely use the week in review pages since I like to have A LOT of room to write out my daily planning and because it changes hour by hour – literally! I usually just write out my initial thoughts of what I need to do that week on the week at a glance and then plan the next day or two out on my daily pages. I do not decorate my pages with much, a few stickers and some stamping is about all I add to mine. But that is what I love about our planner pages, there is enough variety that it covers just about any way you like to plan!
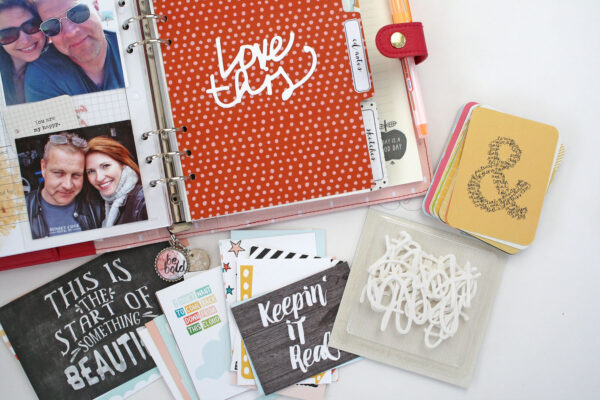
The free Divider page and bookmark cut file comes with a cute bookmark divider and each month I cut out a bookmark to coordinate with everything – again a great way to use your stash! Just cut it out, cover with laminate and then add stickers, die cuts or post it notes. You can also use patterned acetate to make a bookmark. For this month I cut out the “be your own kind of beautiful” from one of the CD journaling cards found in the Day in the Life kit. I also use rub-ons or stamp on them, just make sure you do your stamping BEFORE you laminate it 
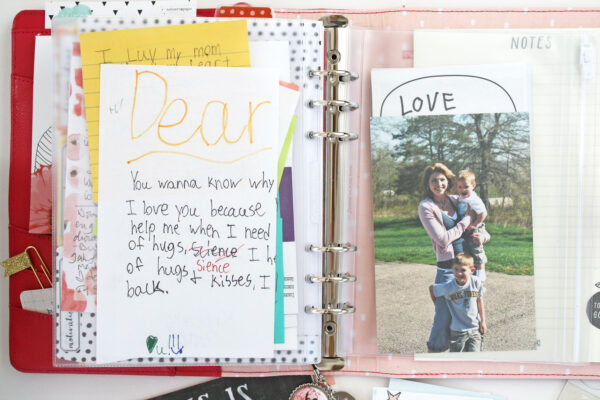
The last thing I keep in my planner, and frankly I think the most important section is my inspiration and motivation section. I keep my goals, my personal thoughts, ideas and the things that remind me of what is truly important. I have a couple clear pockets to hold pictures (I love this picture of my boys when they were just little guys), verses and love notes from my boys and Jeffrey. When the crazy chaos gets to me I just flip to this section, take a deep breath, and know it’ll all get done!
Thank you for letting me share my planner with you!! Please leave a comment if you have any questions about anything.