Welcome Back!
For this lesson, we are talking about all things journaling. Journaling is an important, but sometimes challenging part of the memory planning process. But it doesn’t have to be! Remember, you have permission to write as much or as little as you want in your memory planning. If you find your photos and decor tell the story for you, then great! Or maybe you love journaling and want to dedicate a memory planner to focus on words instead of photos. There is no right or wrong way to journal inside your memory planner. We have three examples today, and we hope you take away something useful for your own journaling practice within your memory planner.
Rachel Newman: Memory Planning in a Bullet-Journal
If you really enjoy journaling, why not make it the focus of your memory planner?
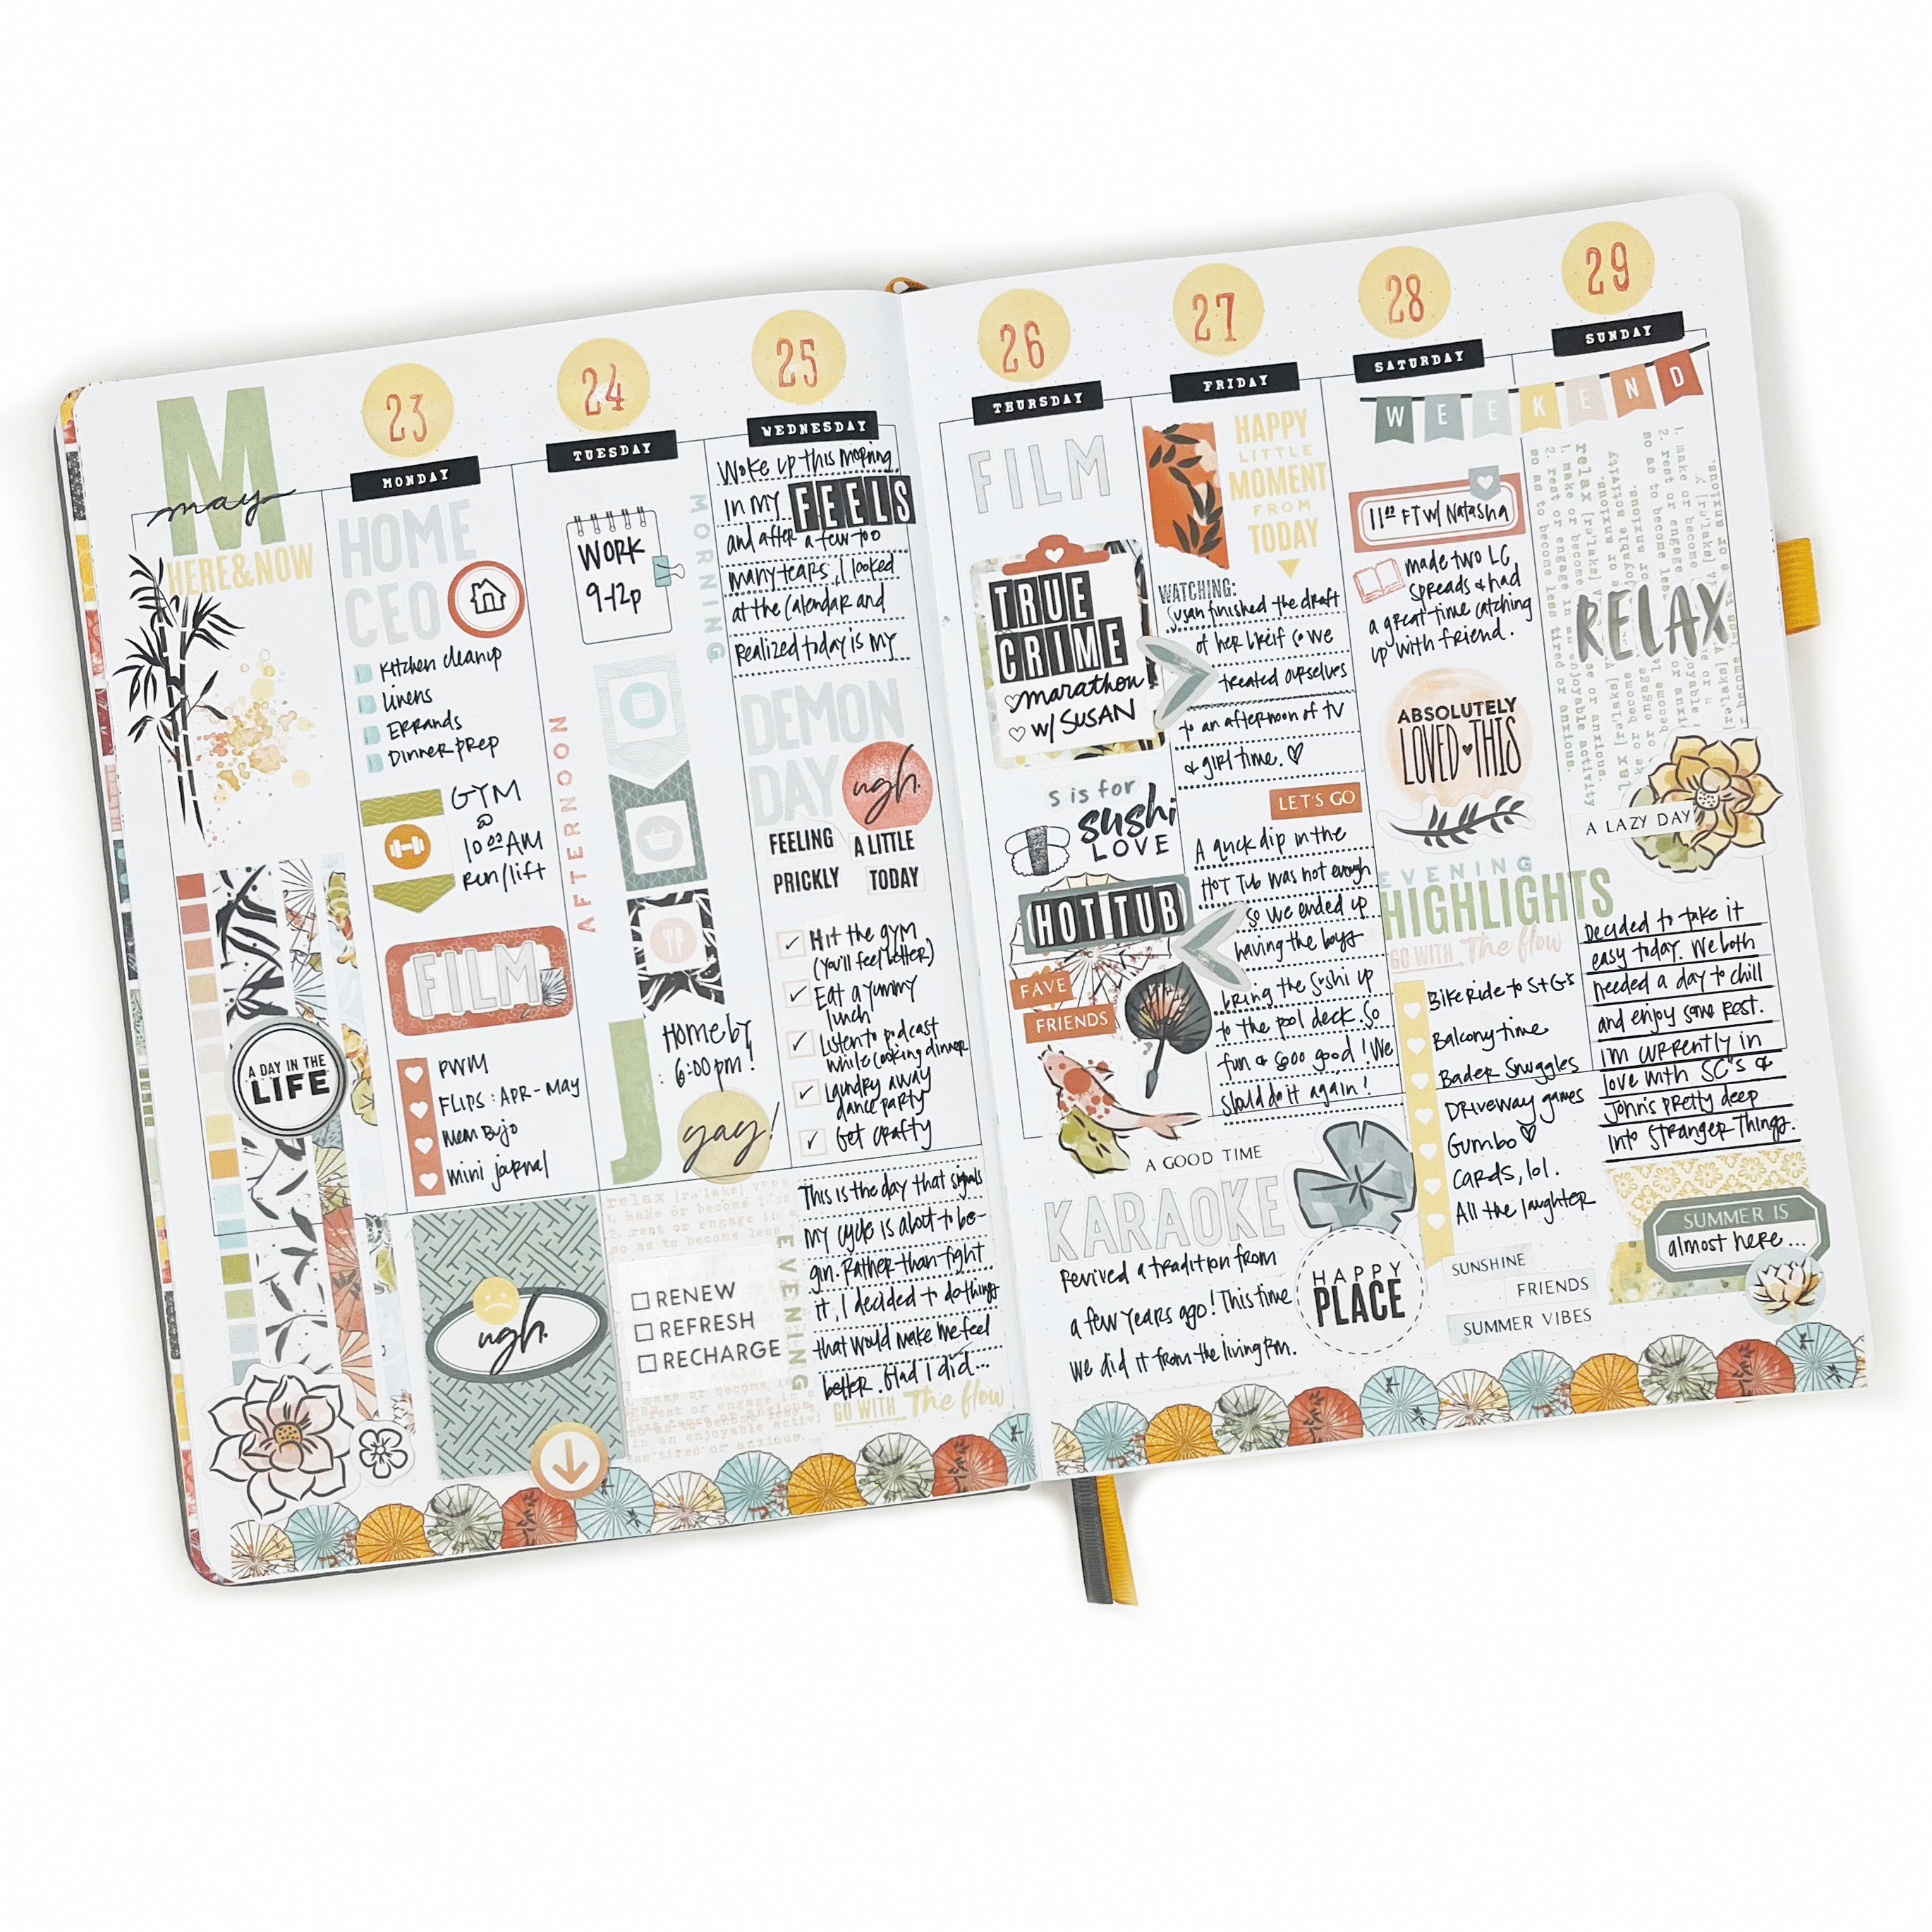
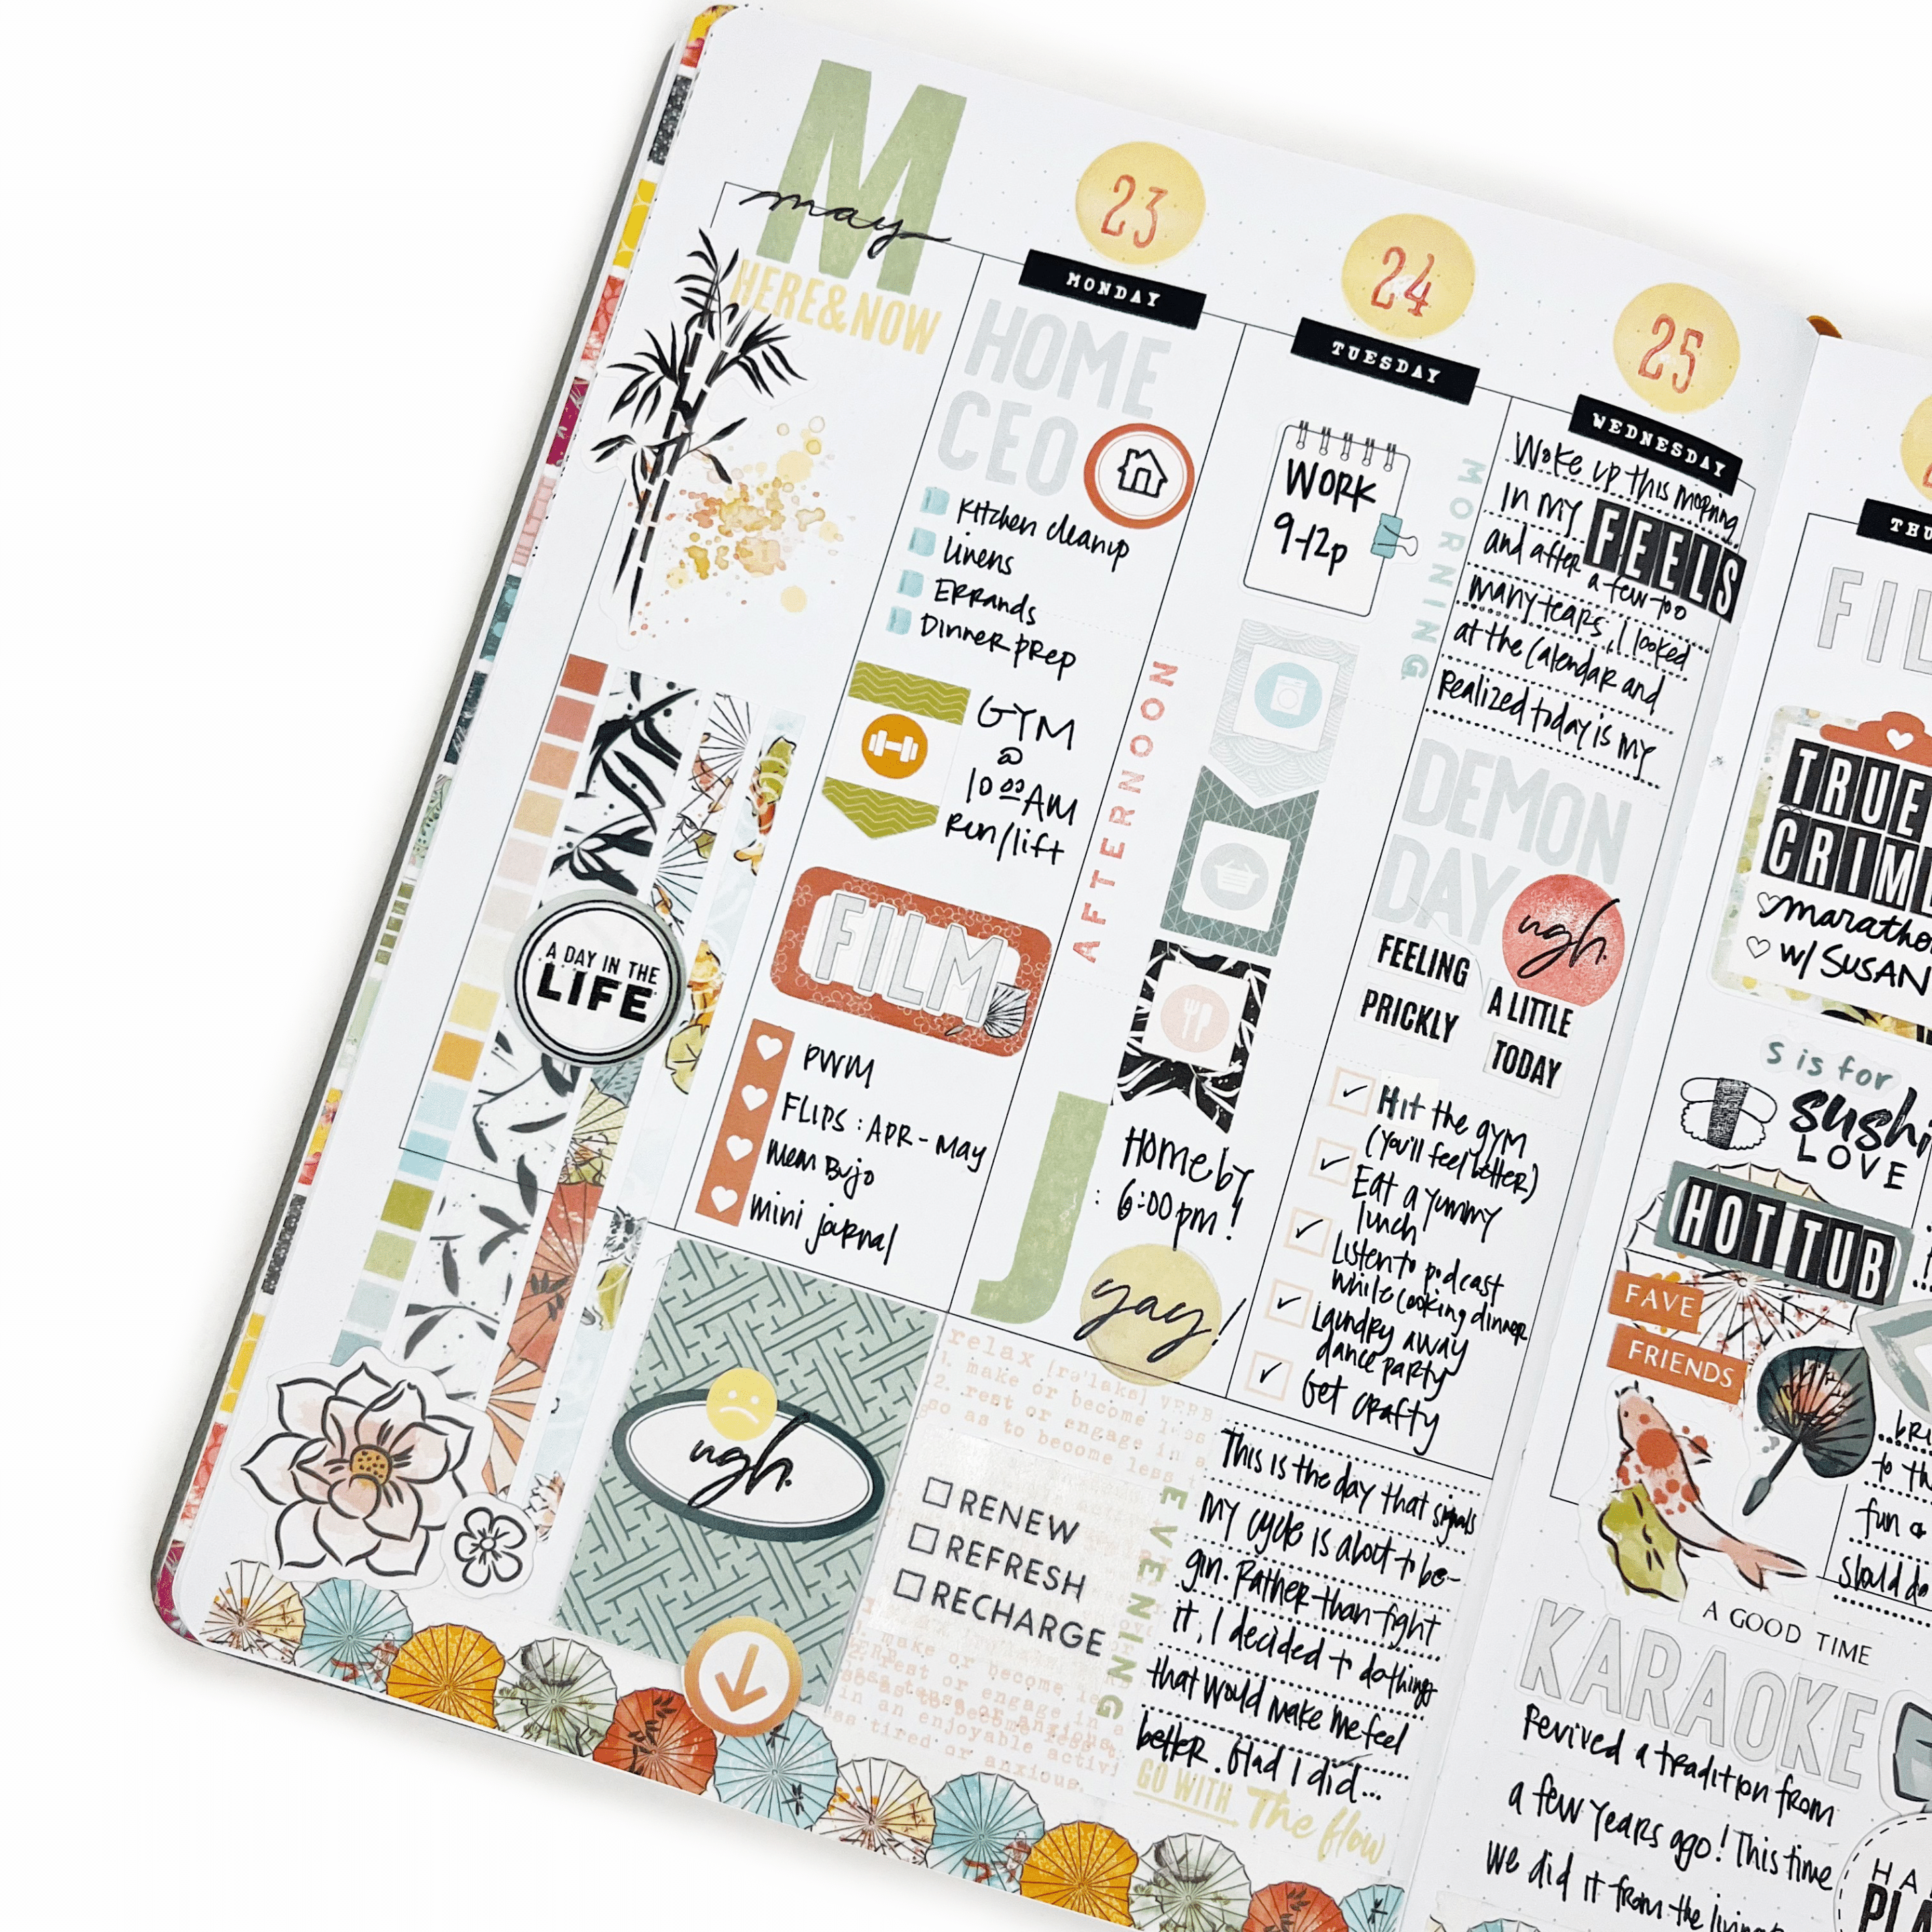
While I love having a memory planner with photos, I also love having a memory planner that is heavier on journaling and doesn’t rely on photos for storytelling and documenting. I stay consistent with my memory journal so that I am free to work on my memory planner at a later time. And while I do add some journaling to my memory planner, I find I’m freer with my stories and thoughts in this format.
Do you ever catch yourself feeling like your journaling has to look a certain way? The practice of journaling has an image that often goes with it: serious, contemplative with flowery prose and the perfect description. The truth is, journaling can be quite a bit simpler than that. And when I take the pressure off myself to say the “perfect” thing, I have so much more fun with the process.
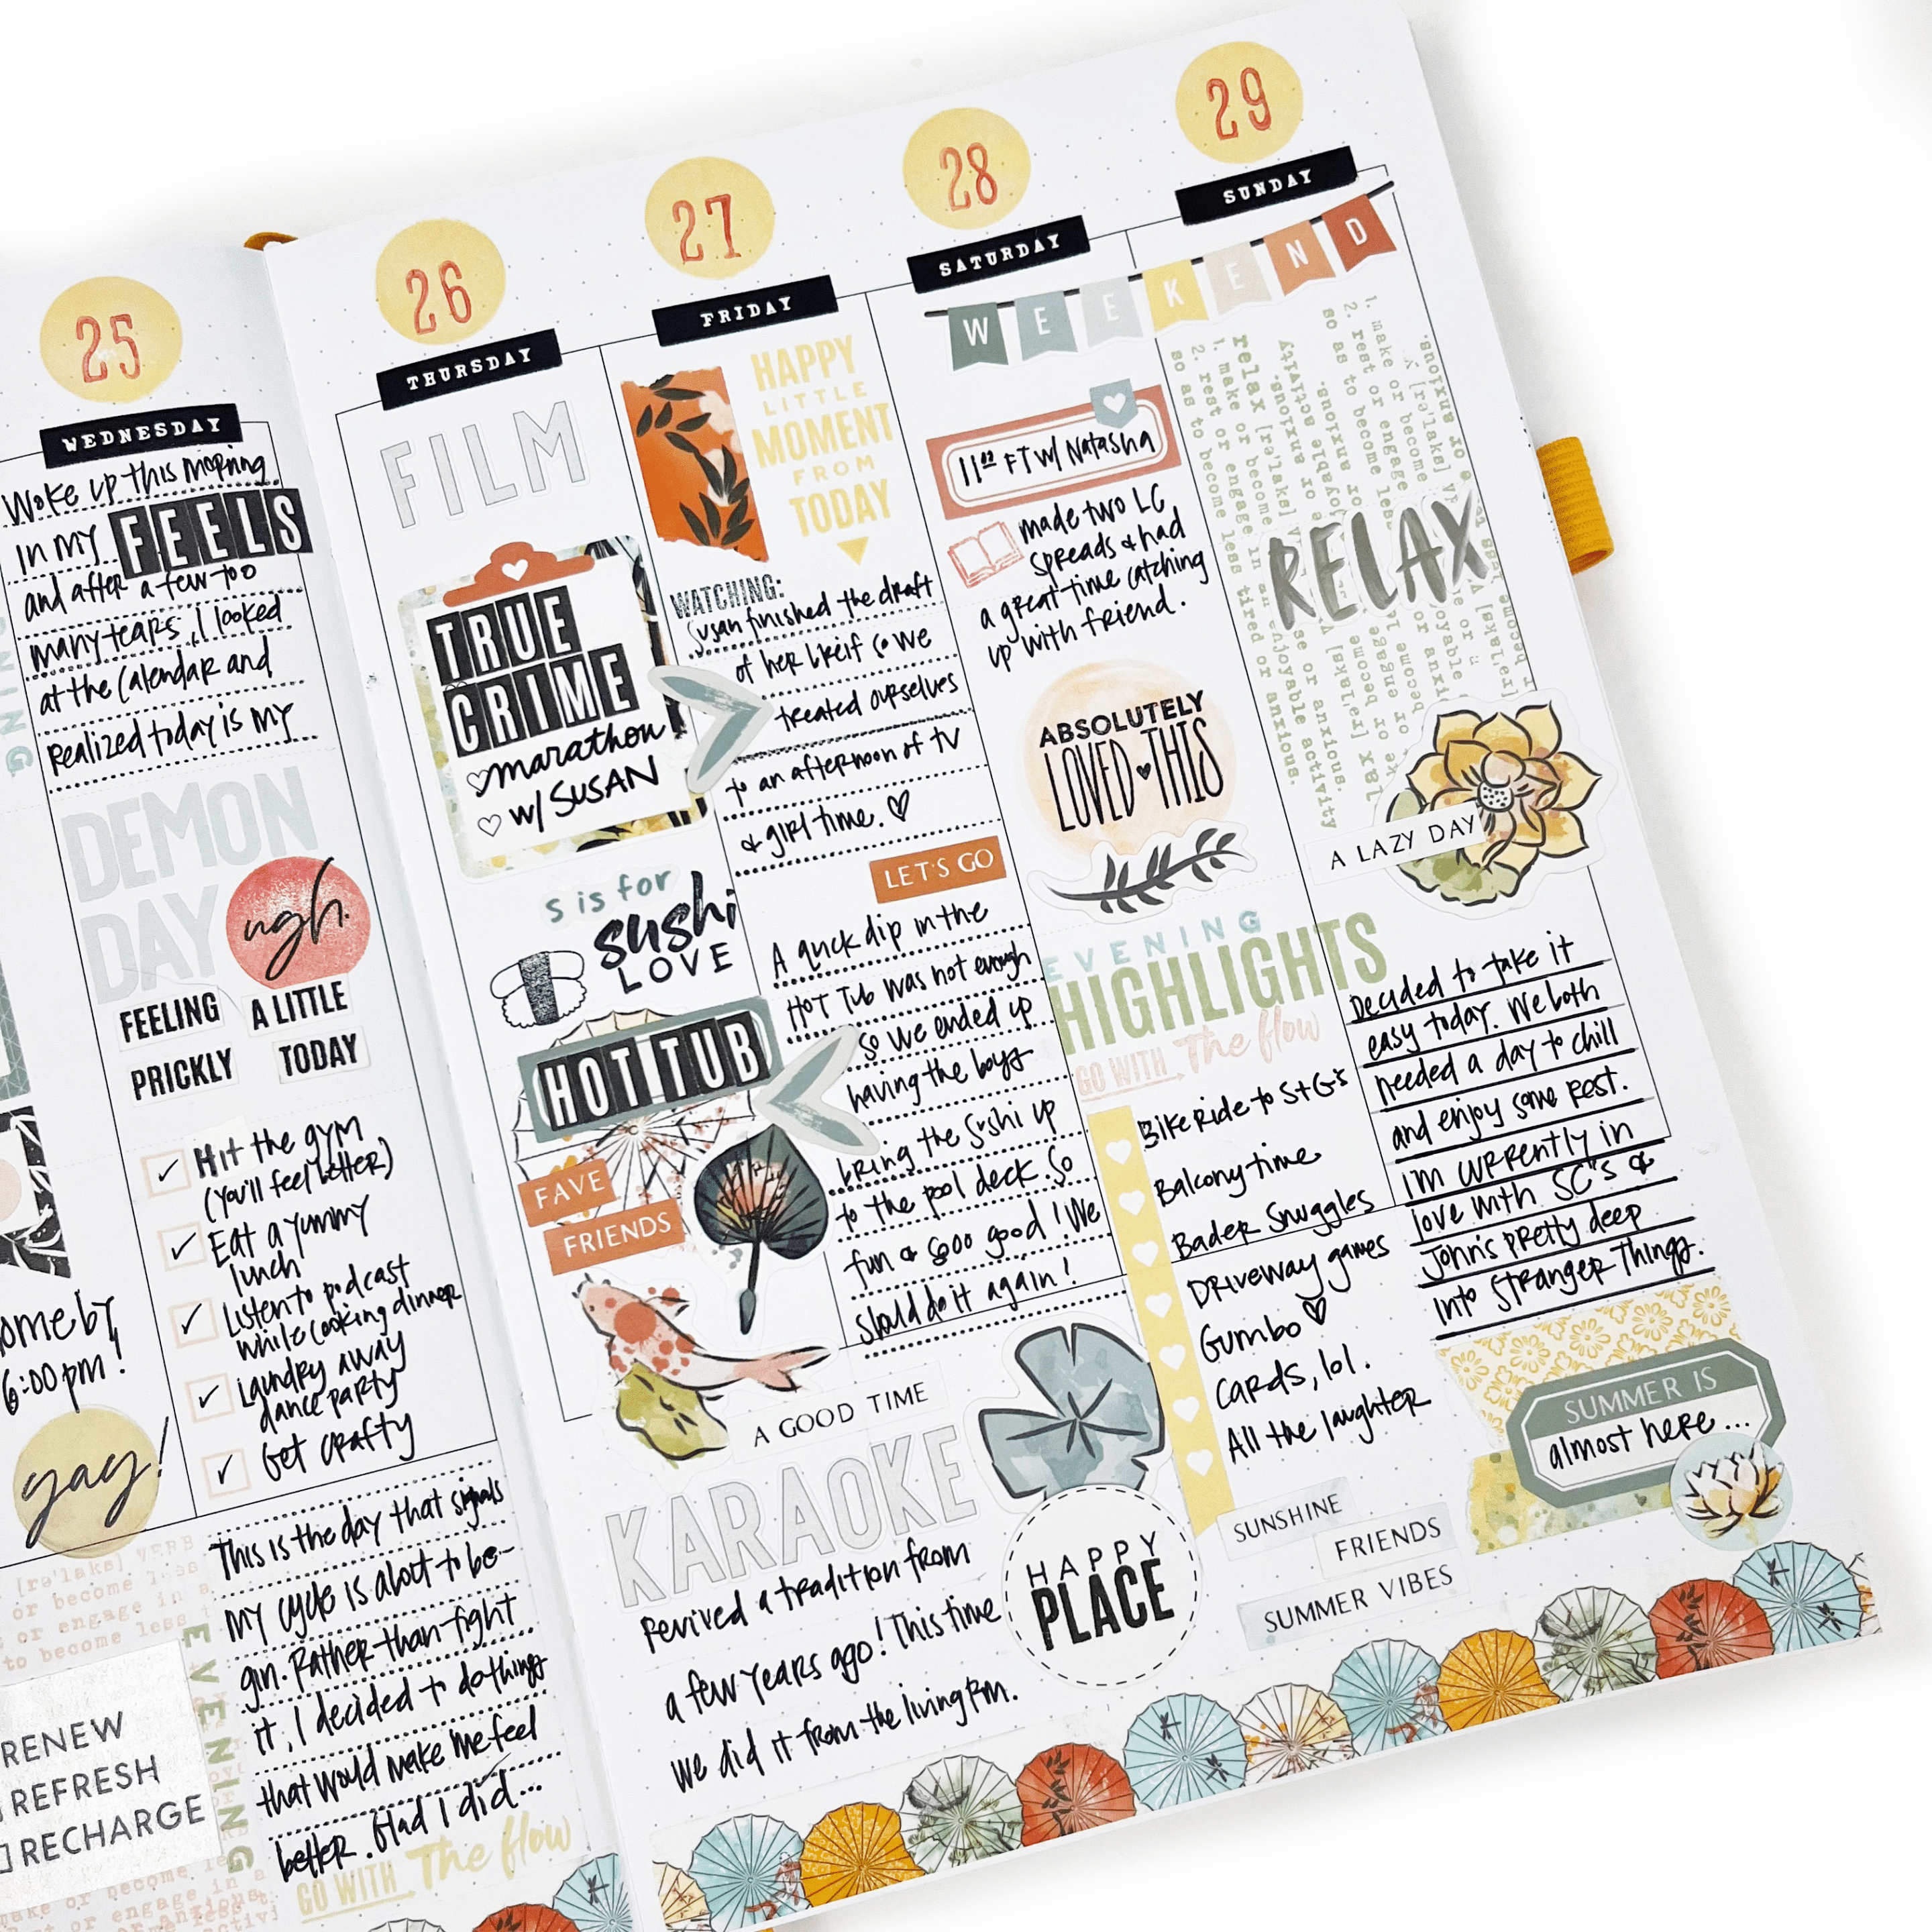
Whether you are just getting started or you’ve journaled for years, I have a few tips that hopefully will cement this practice for you. First, choose how frequently you want to work on journaling, and commit to it. I know that daily journaling in my memory bullet journal is not realistic, so I establish 2-3 times each week to capture and create.
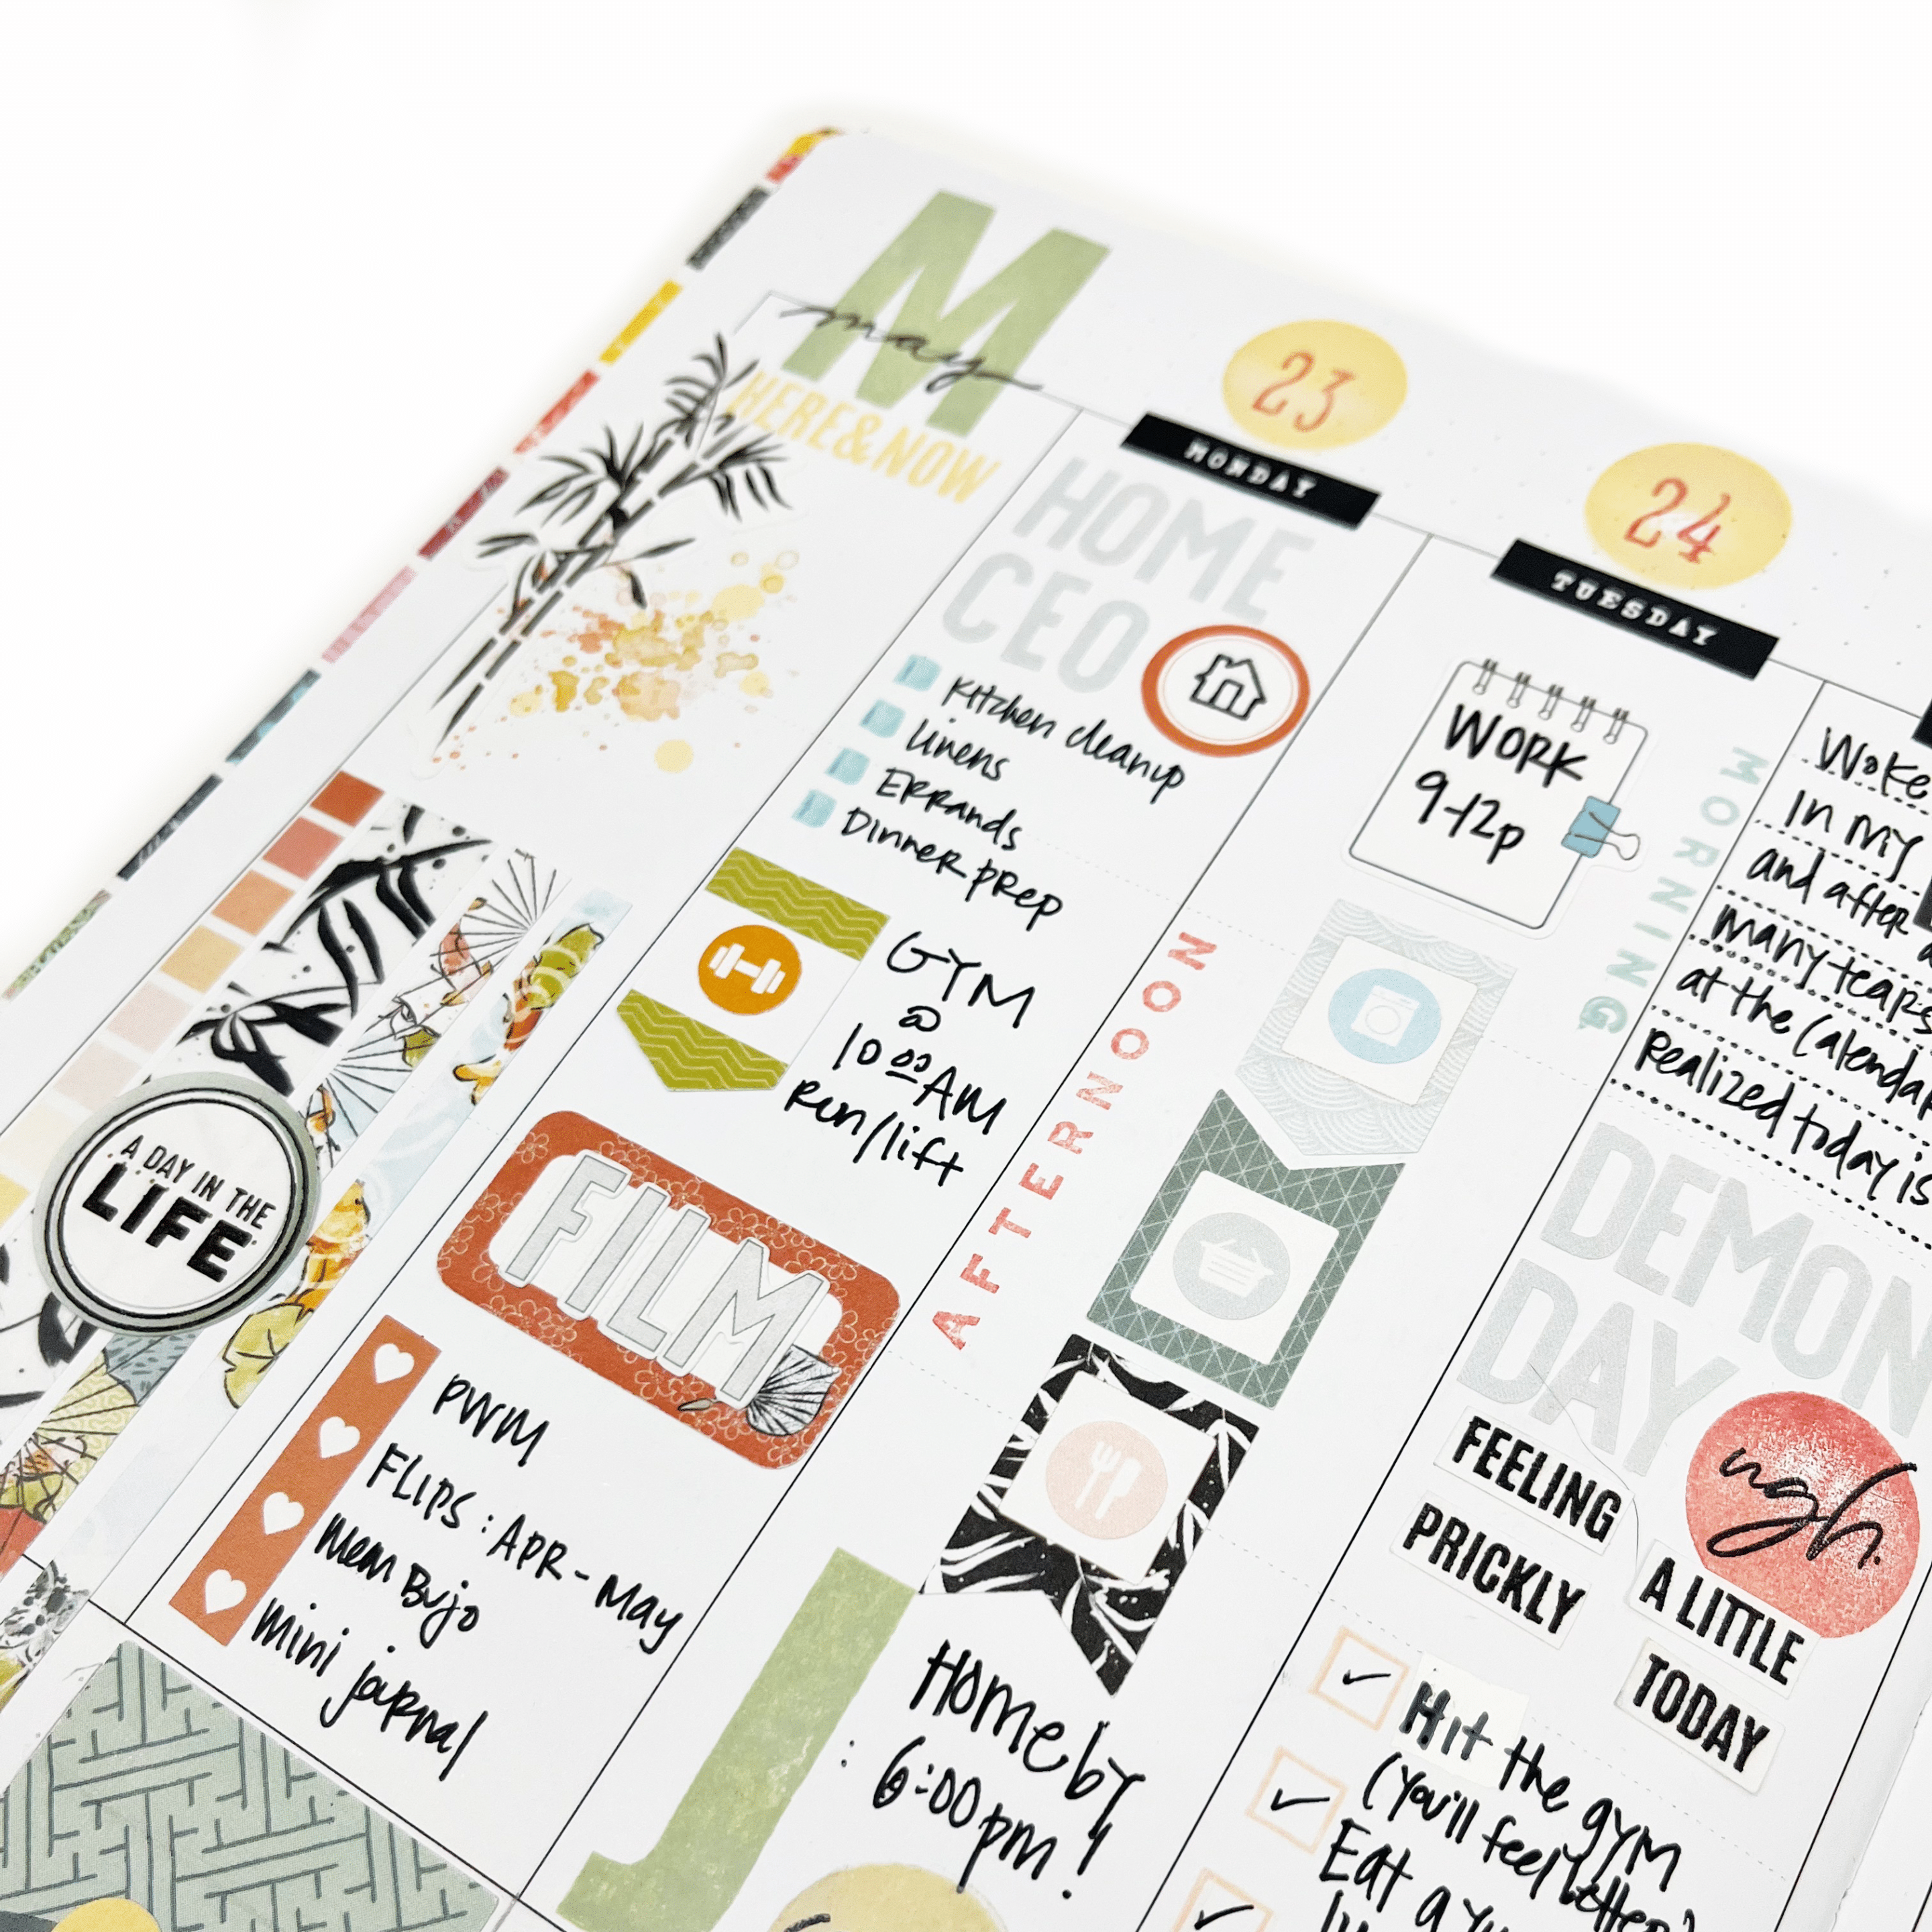
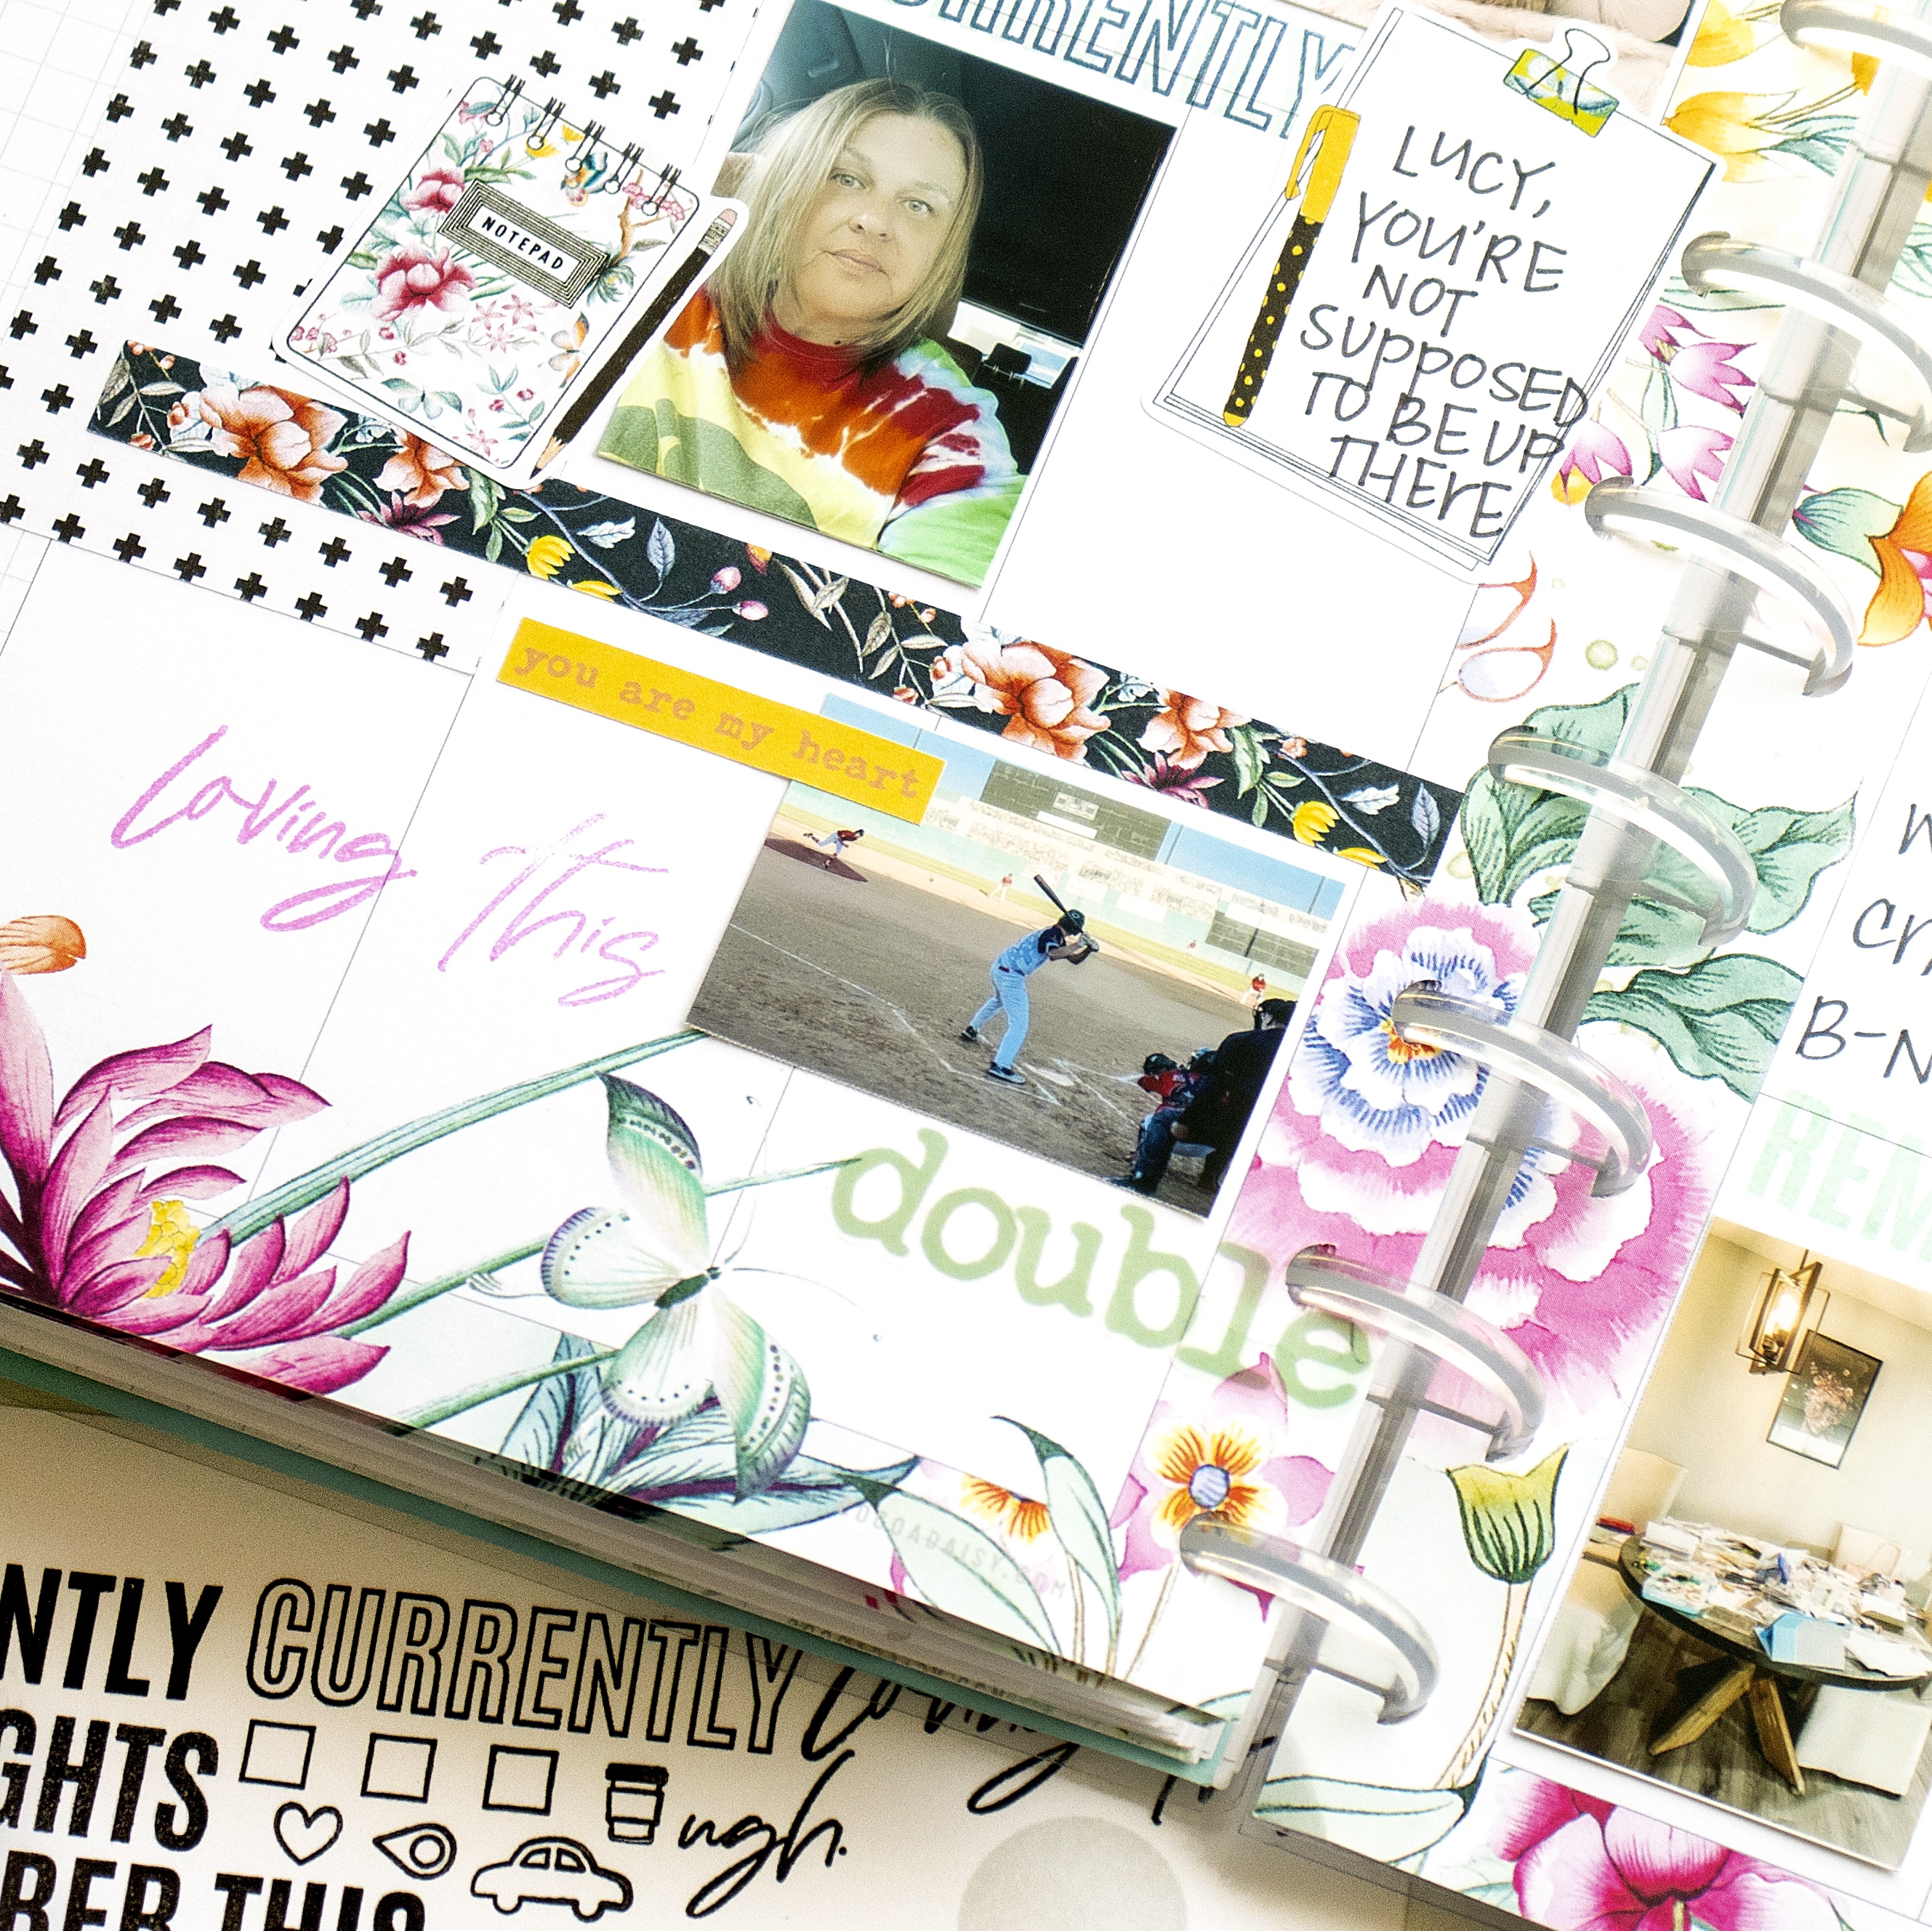
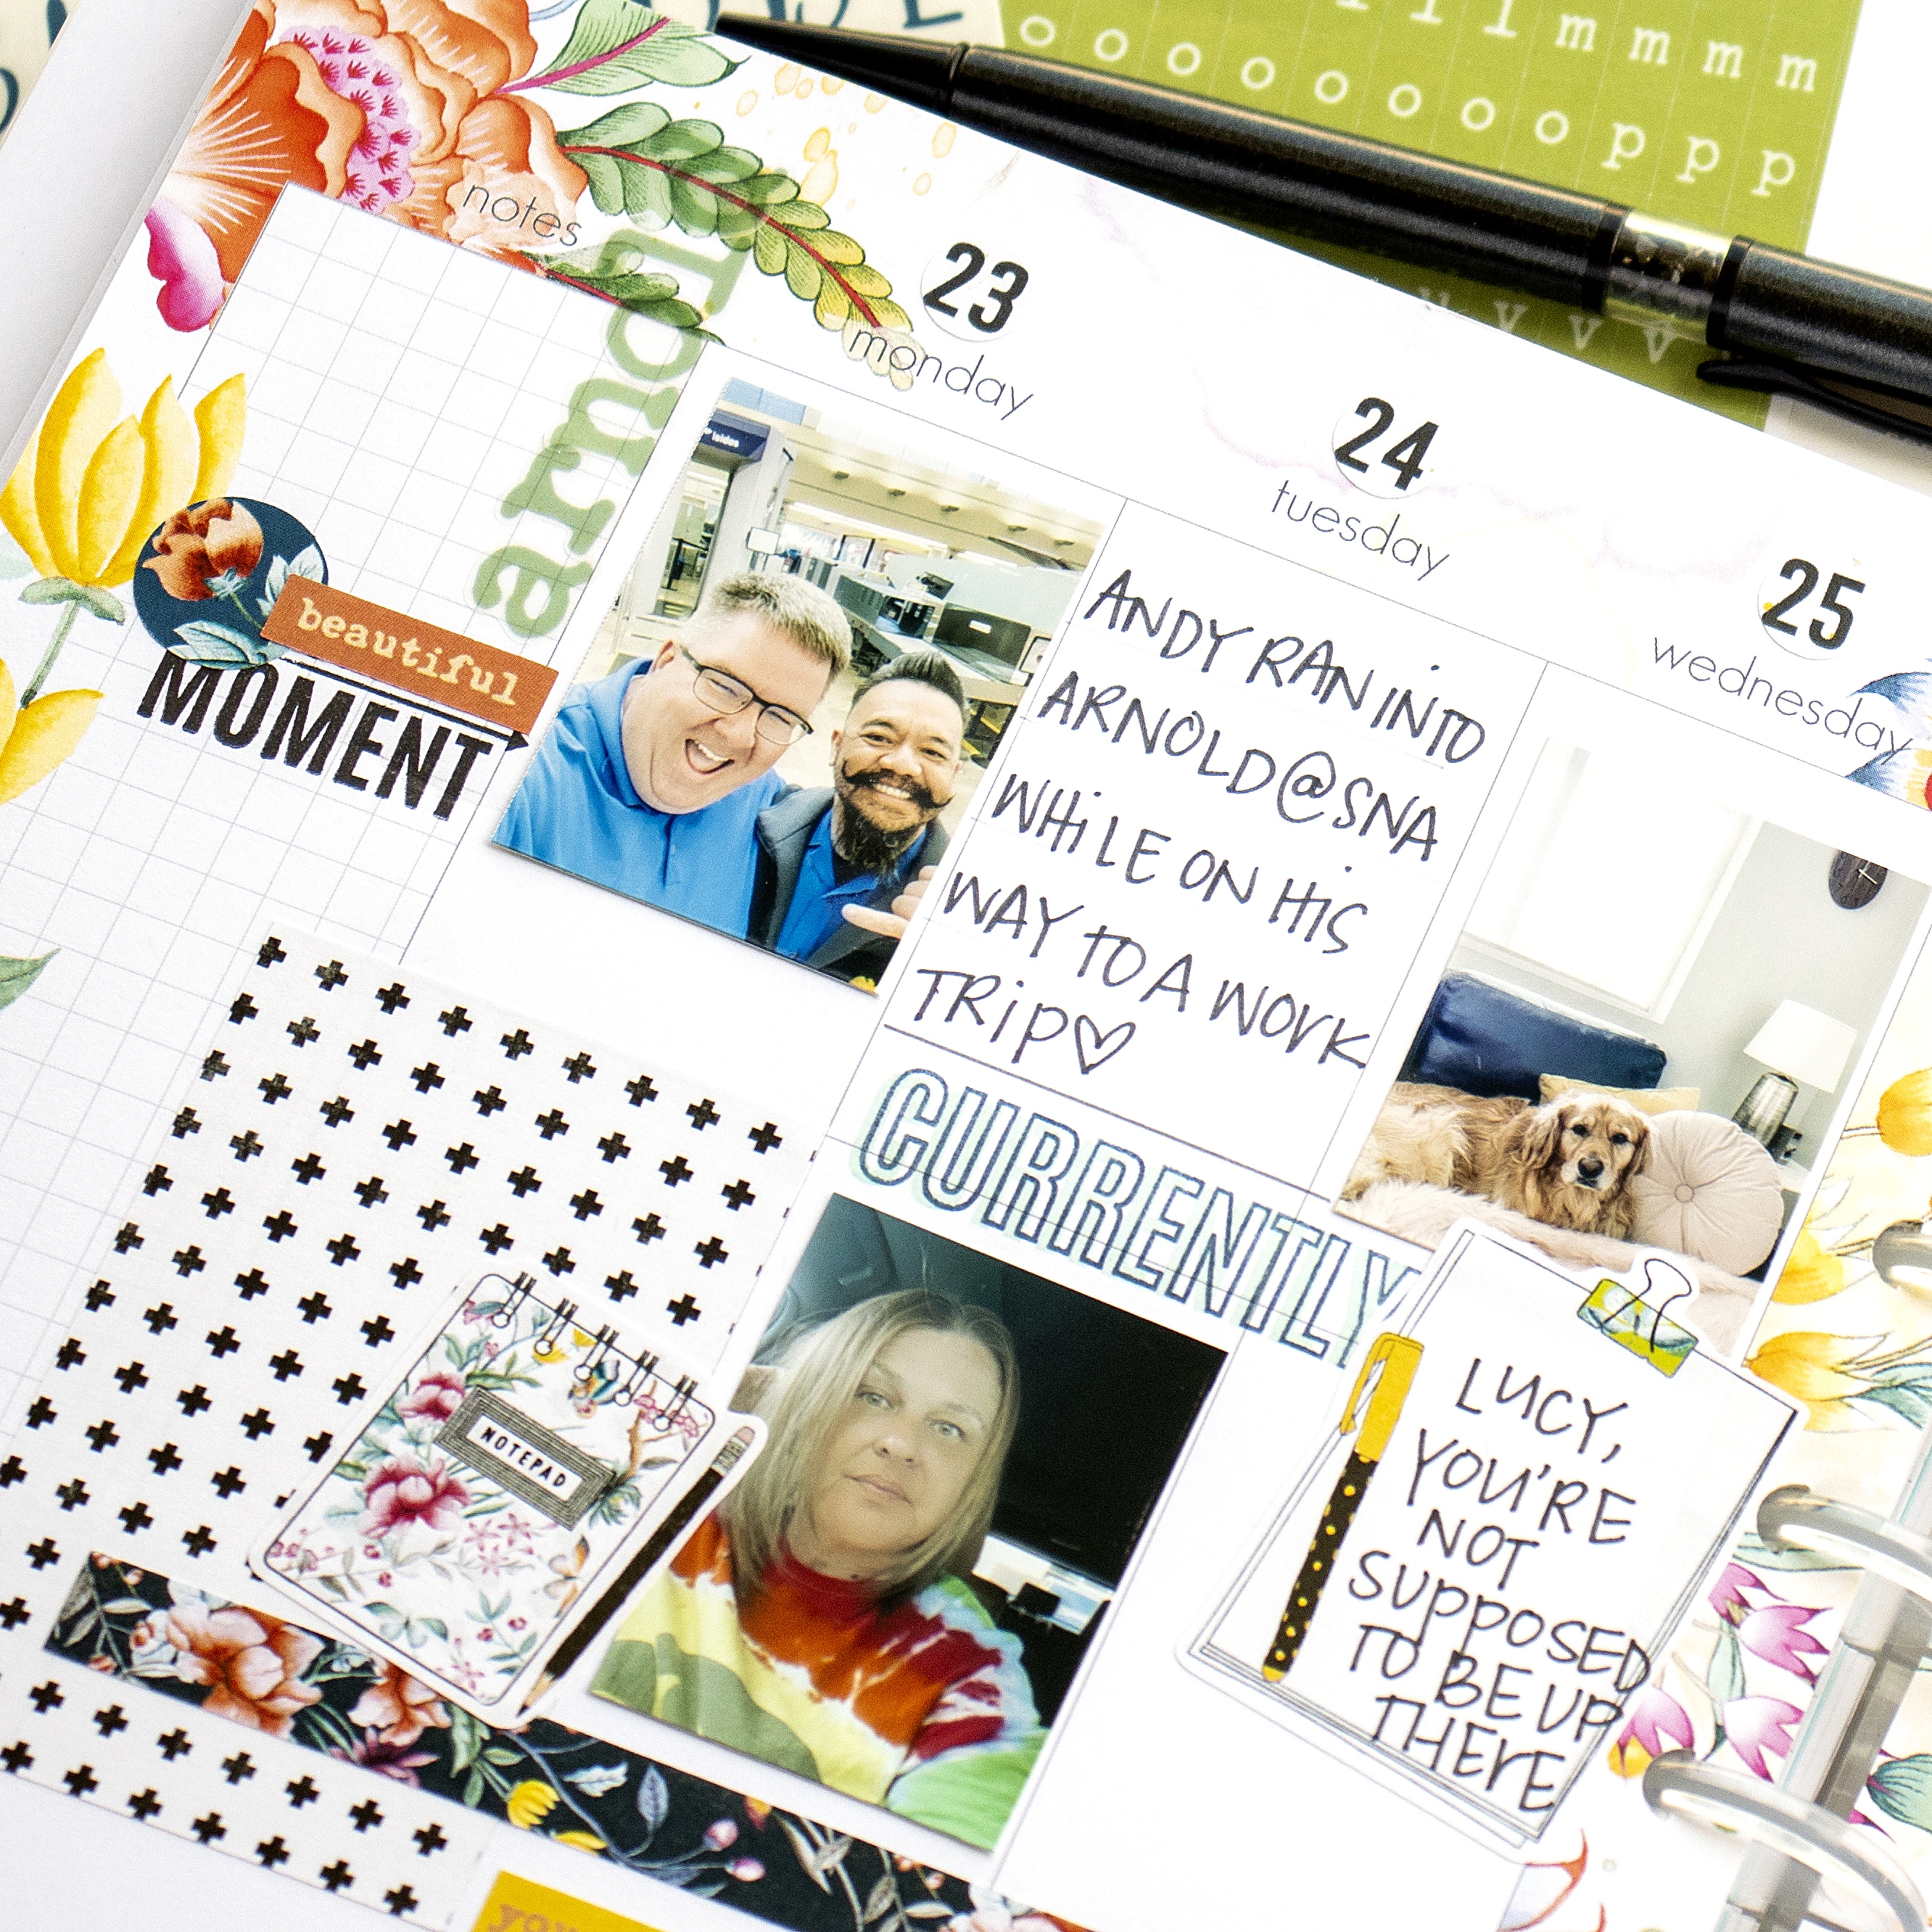
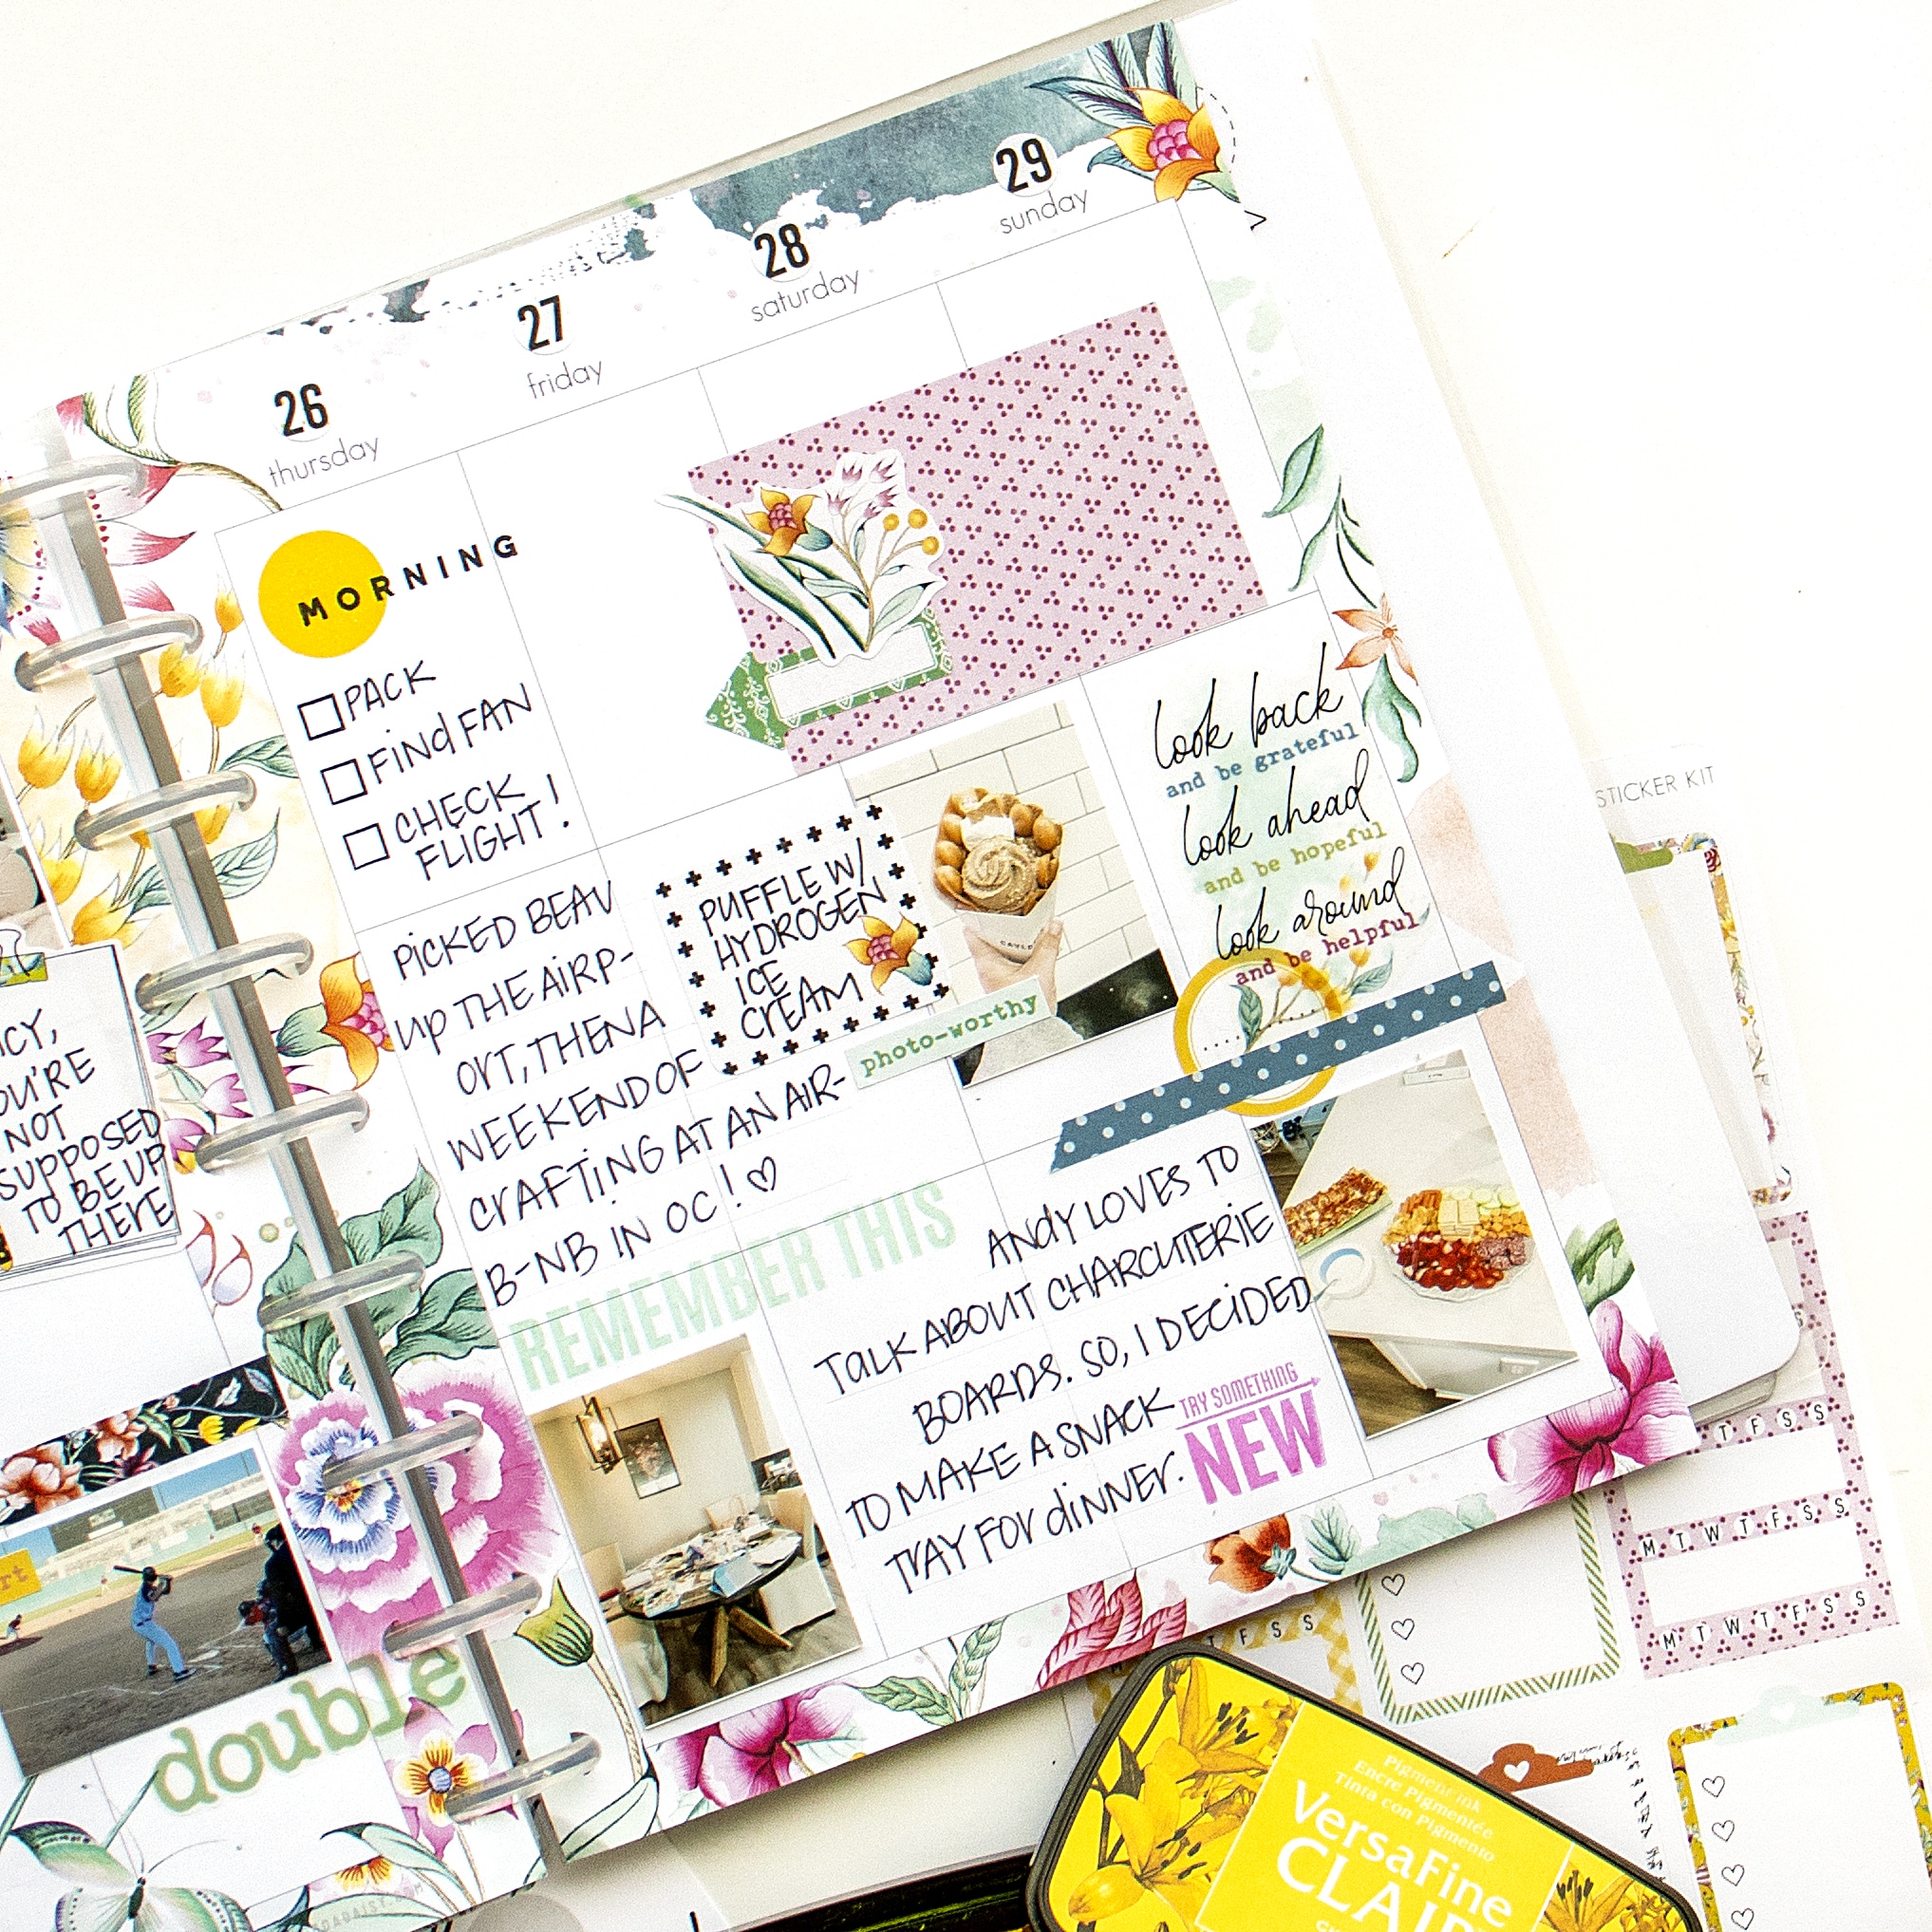
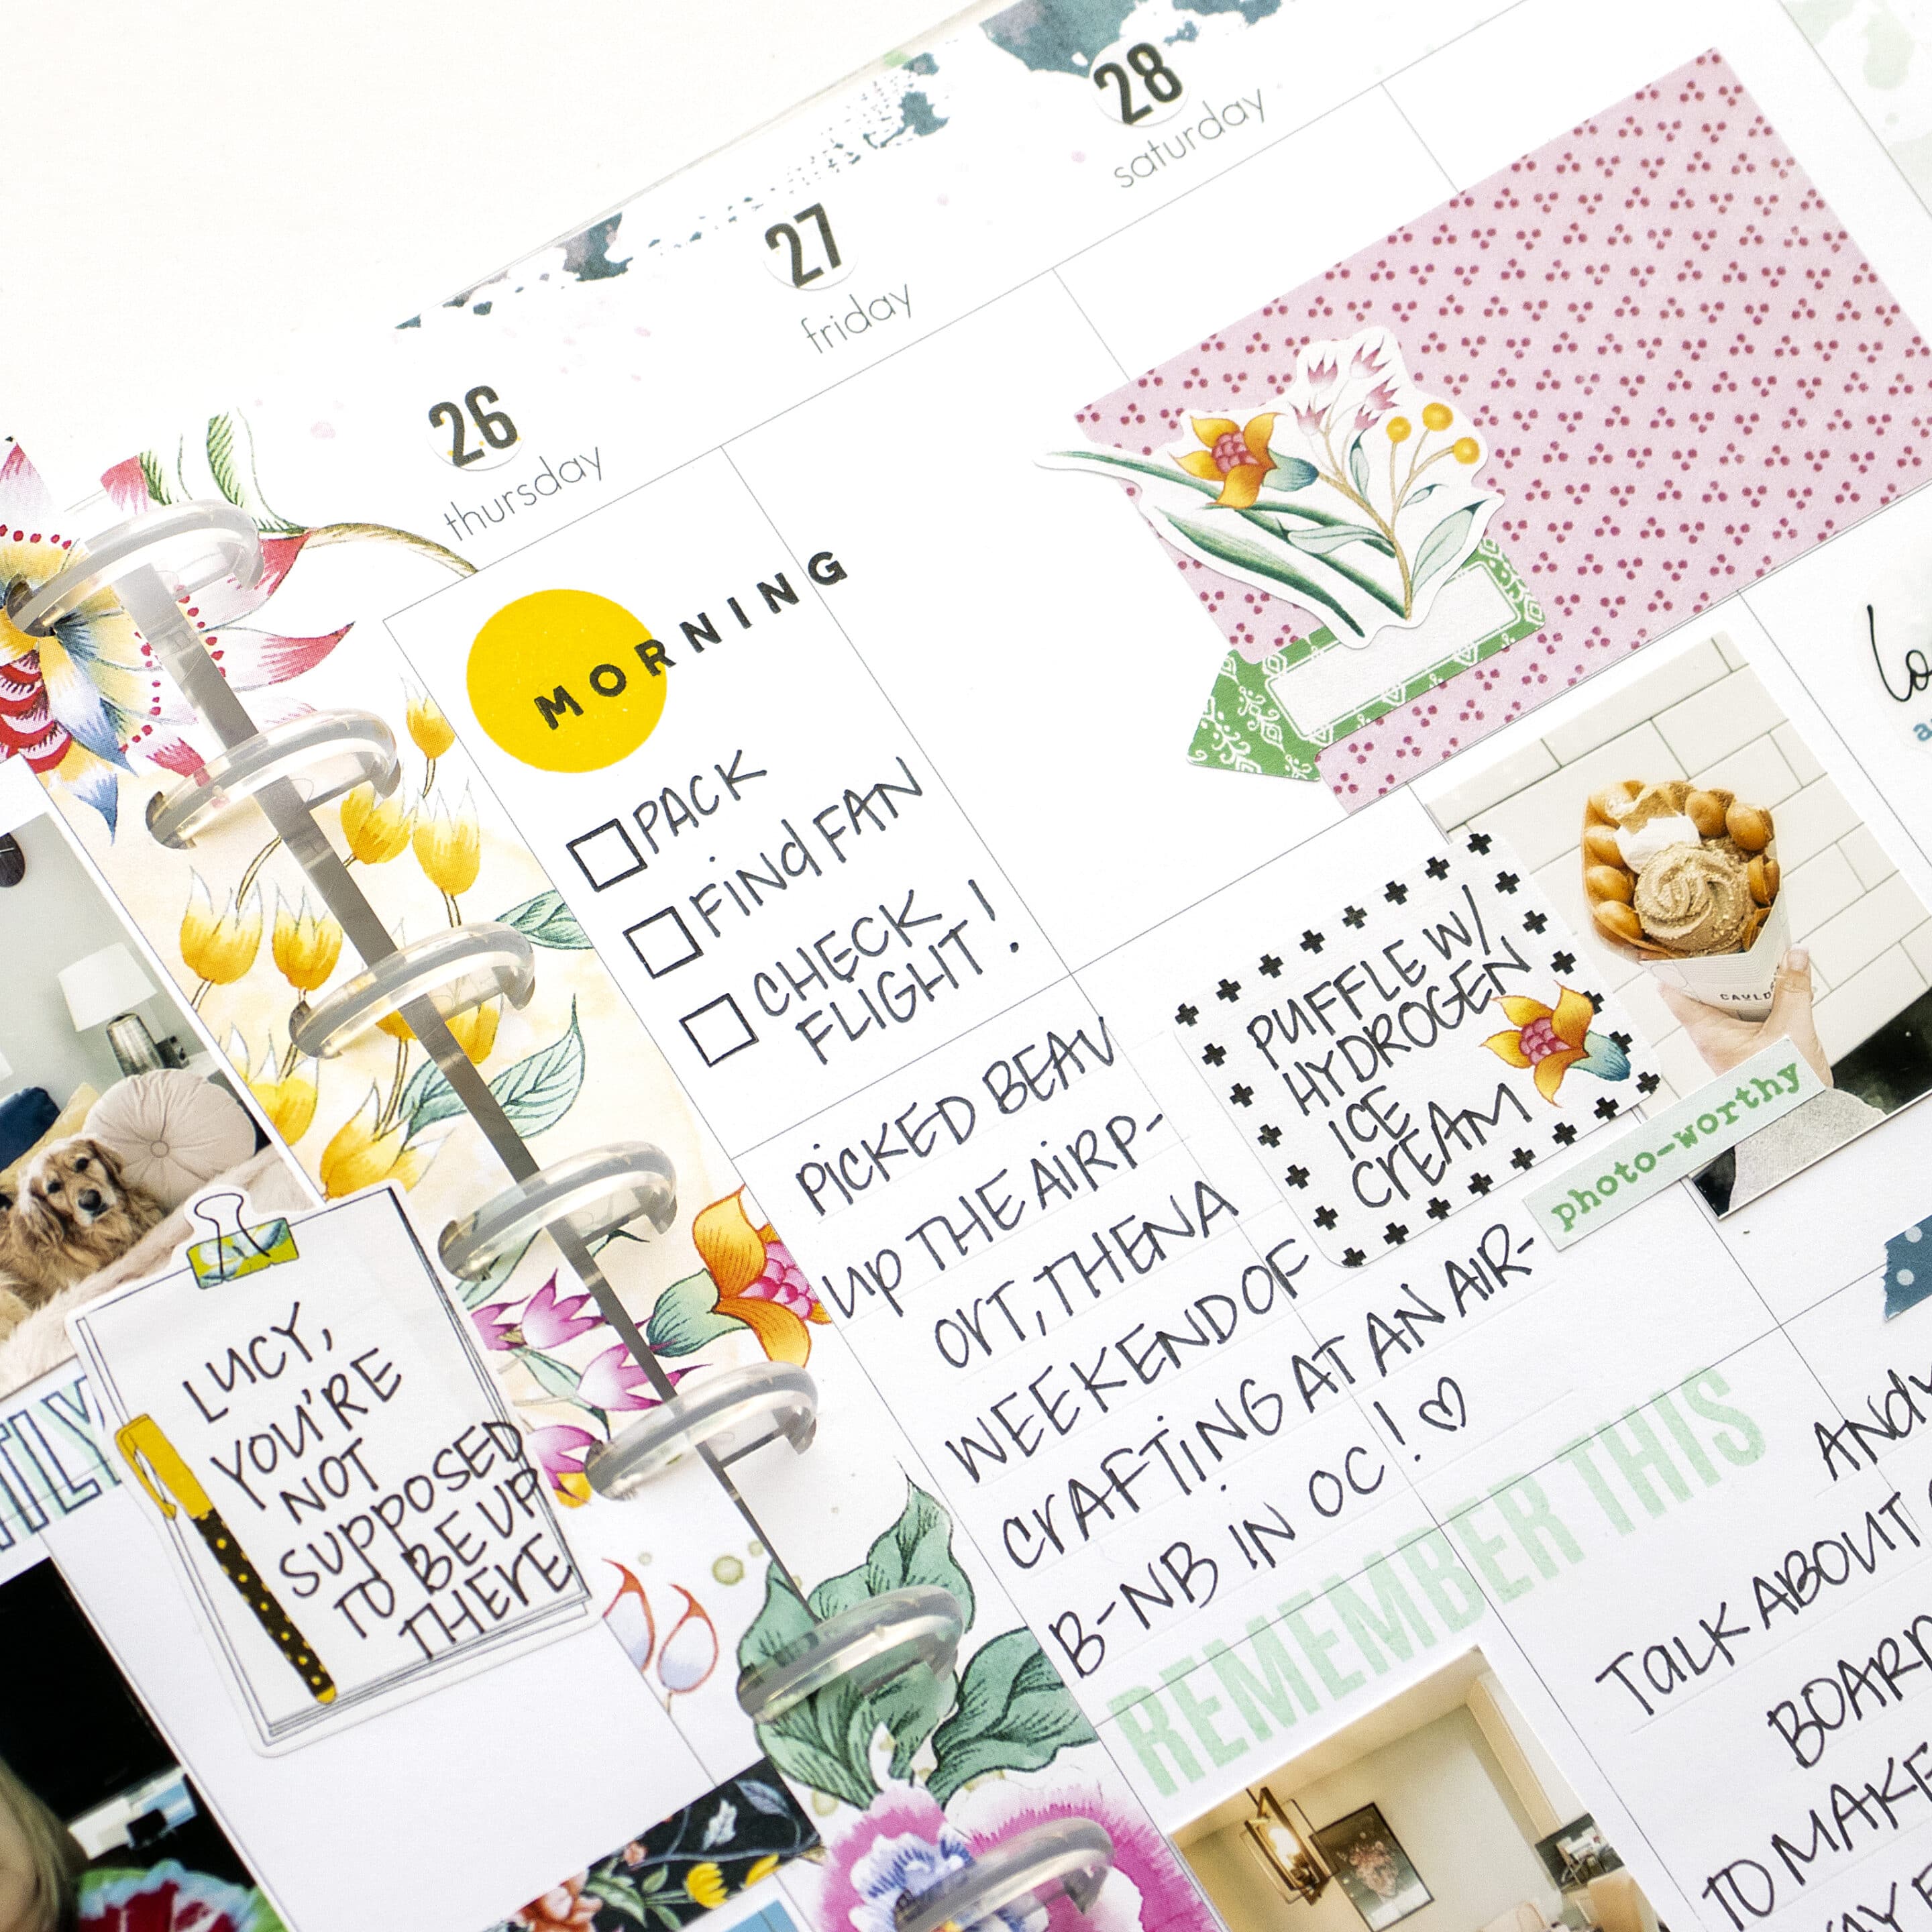
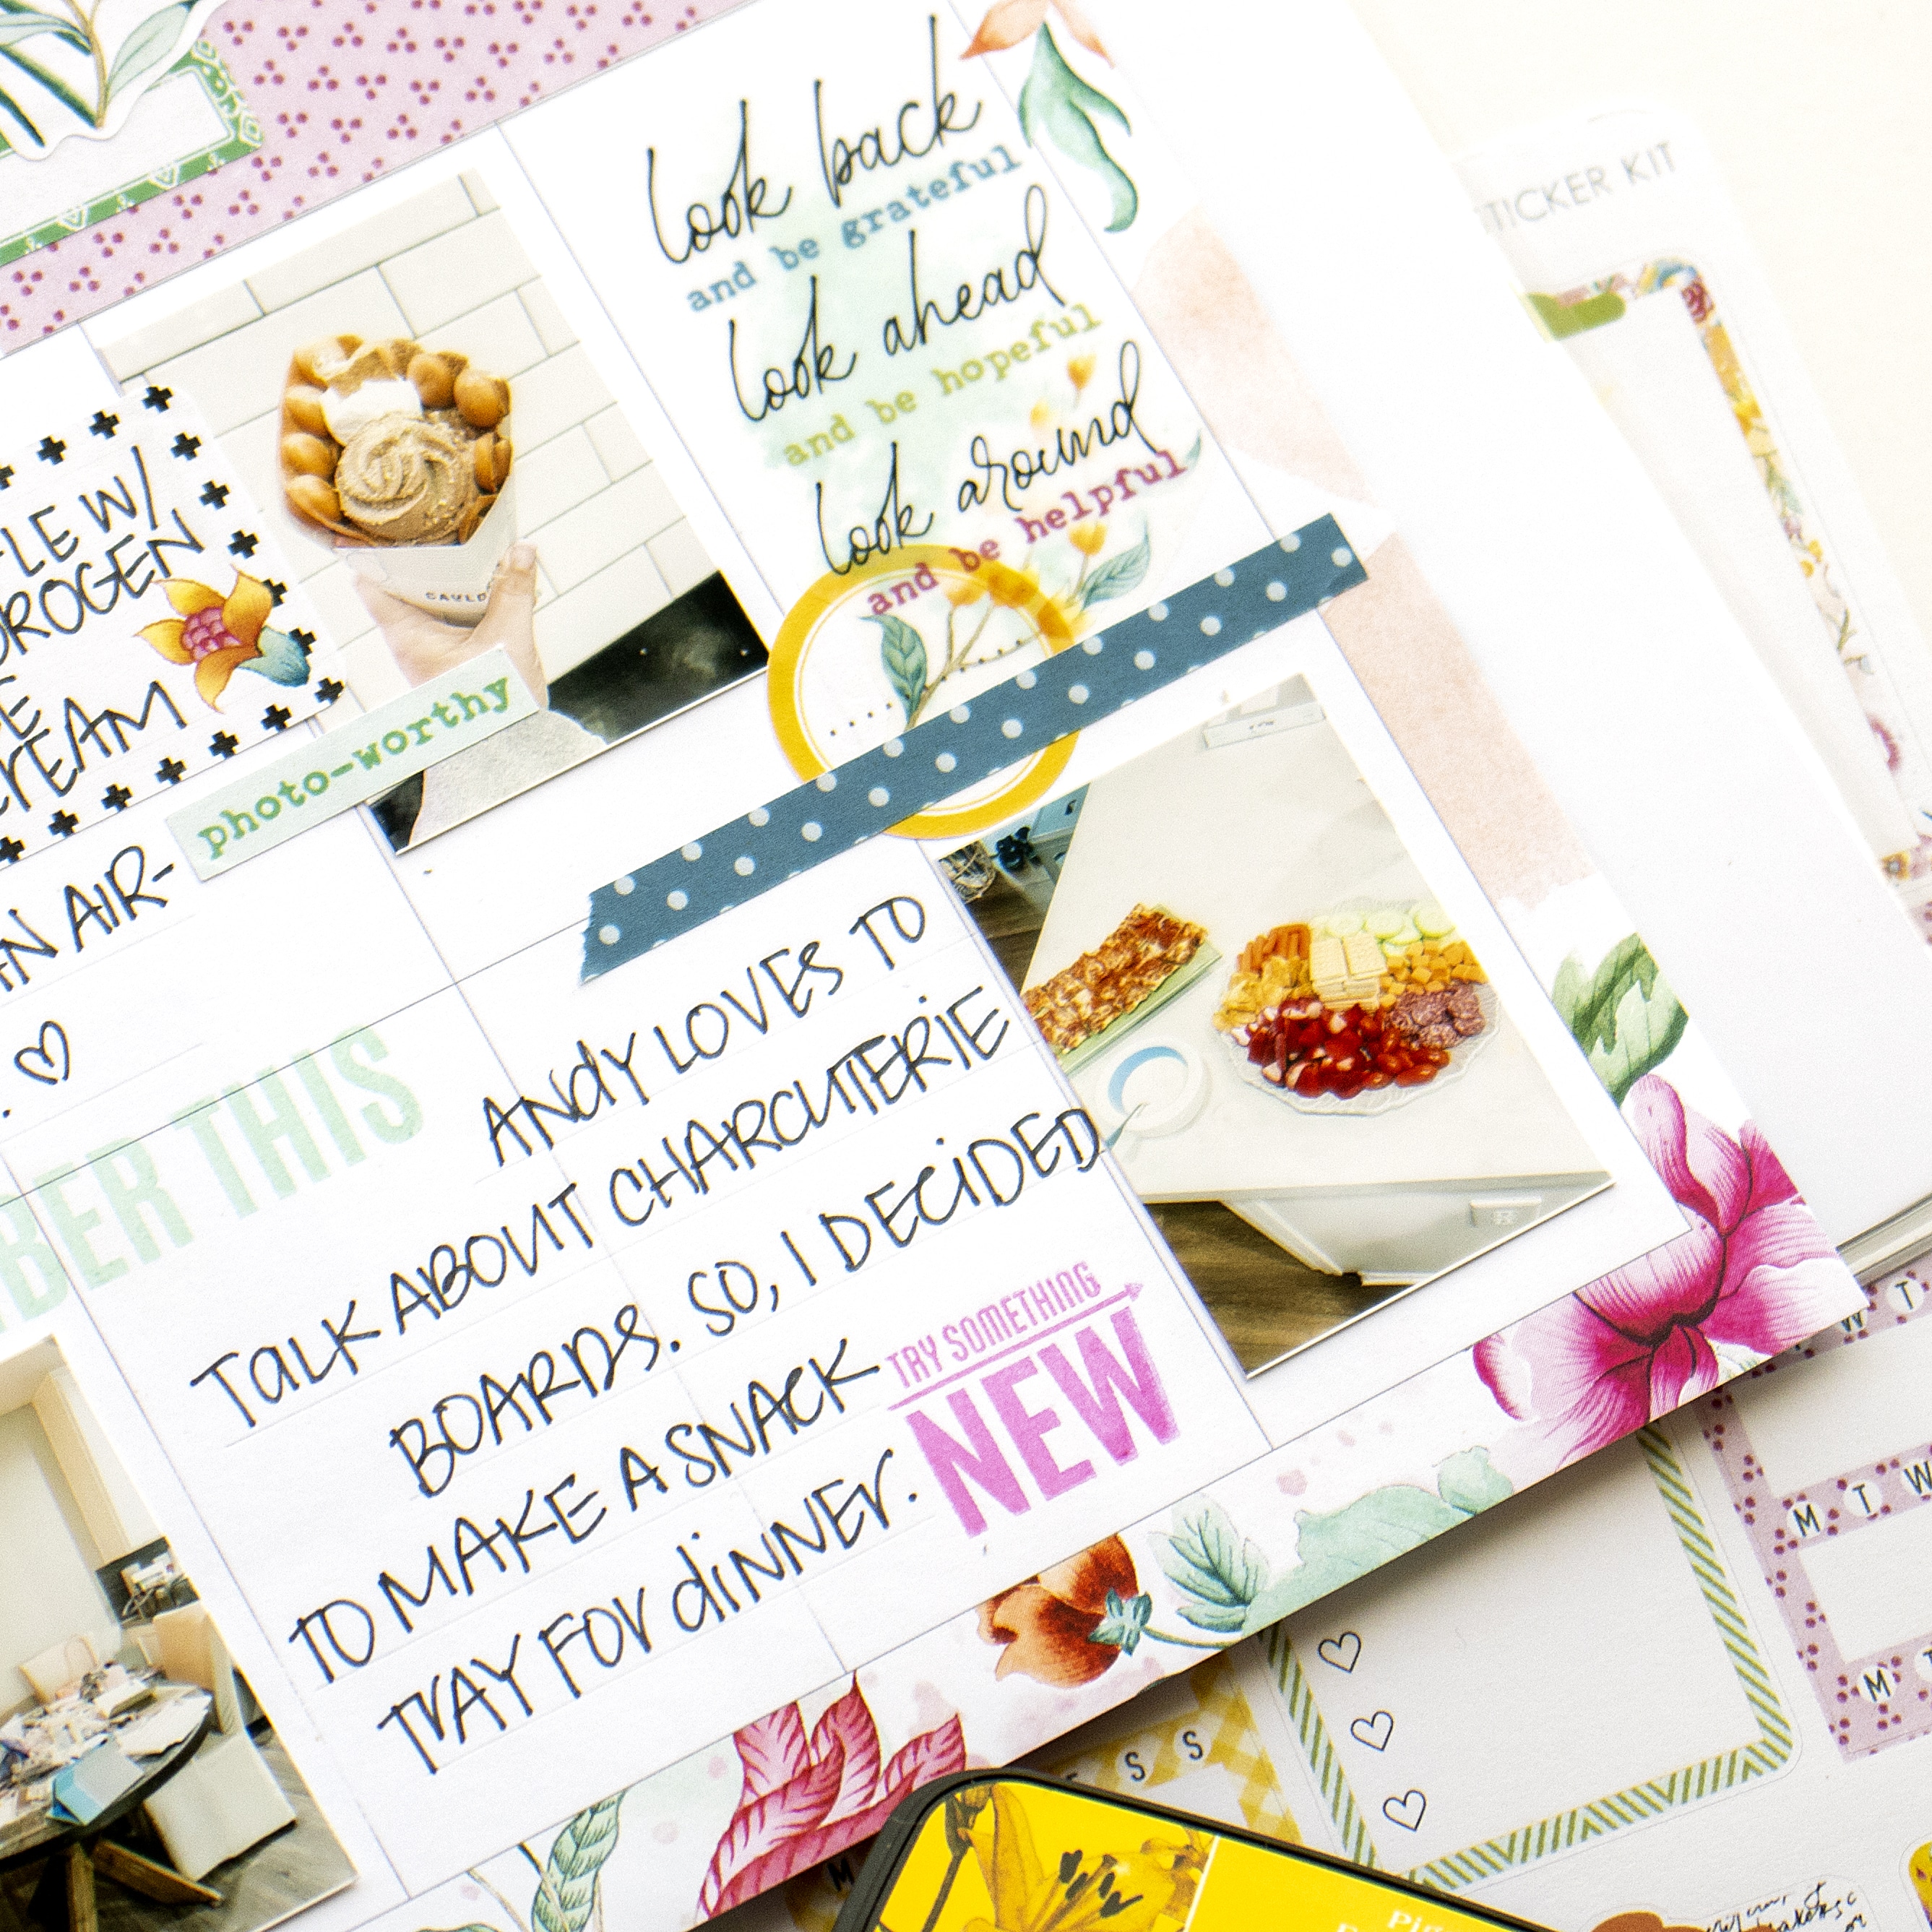
Second, collect supplies that can support your journaling. I break up my journaling with stamps and stickers that help tell my stories.
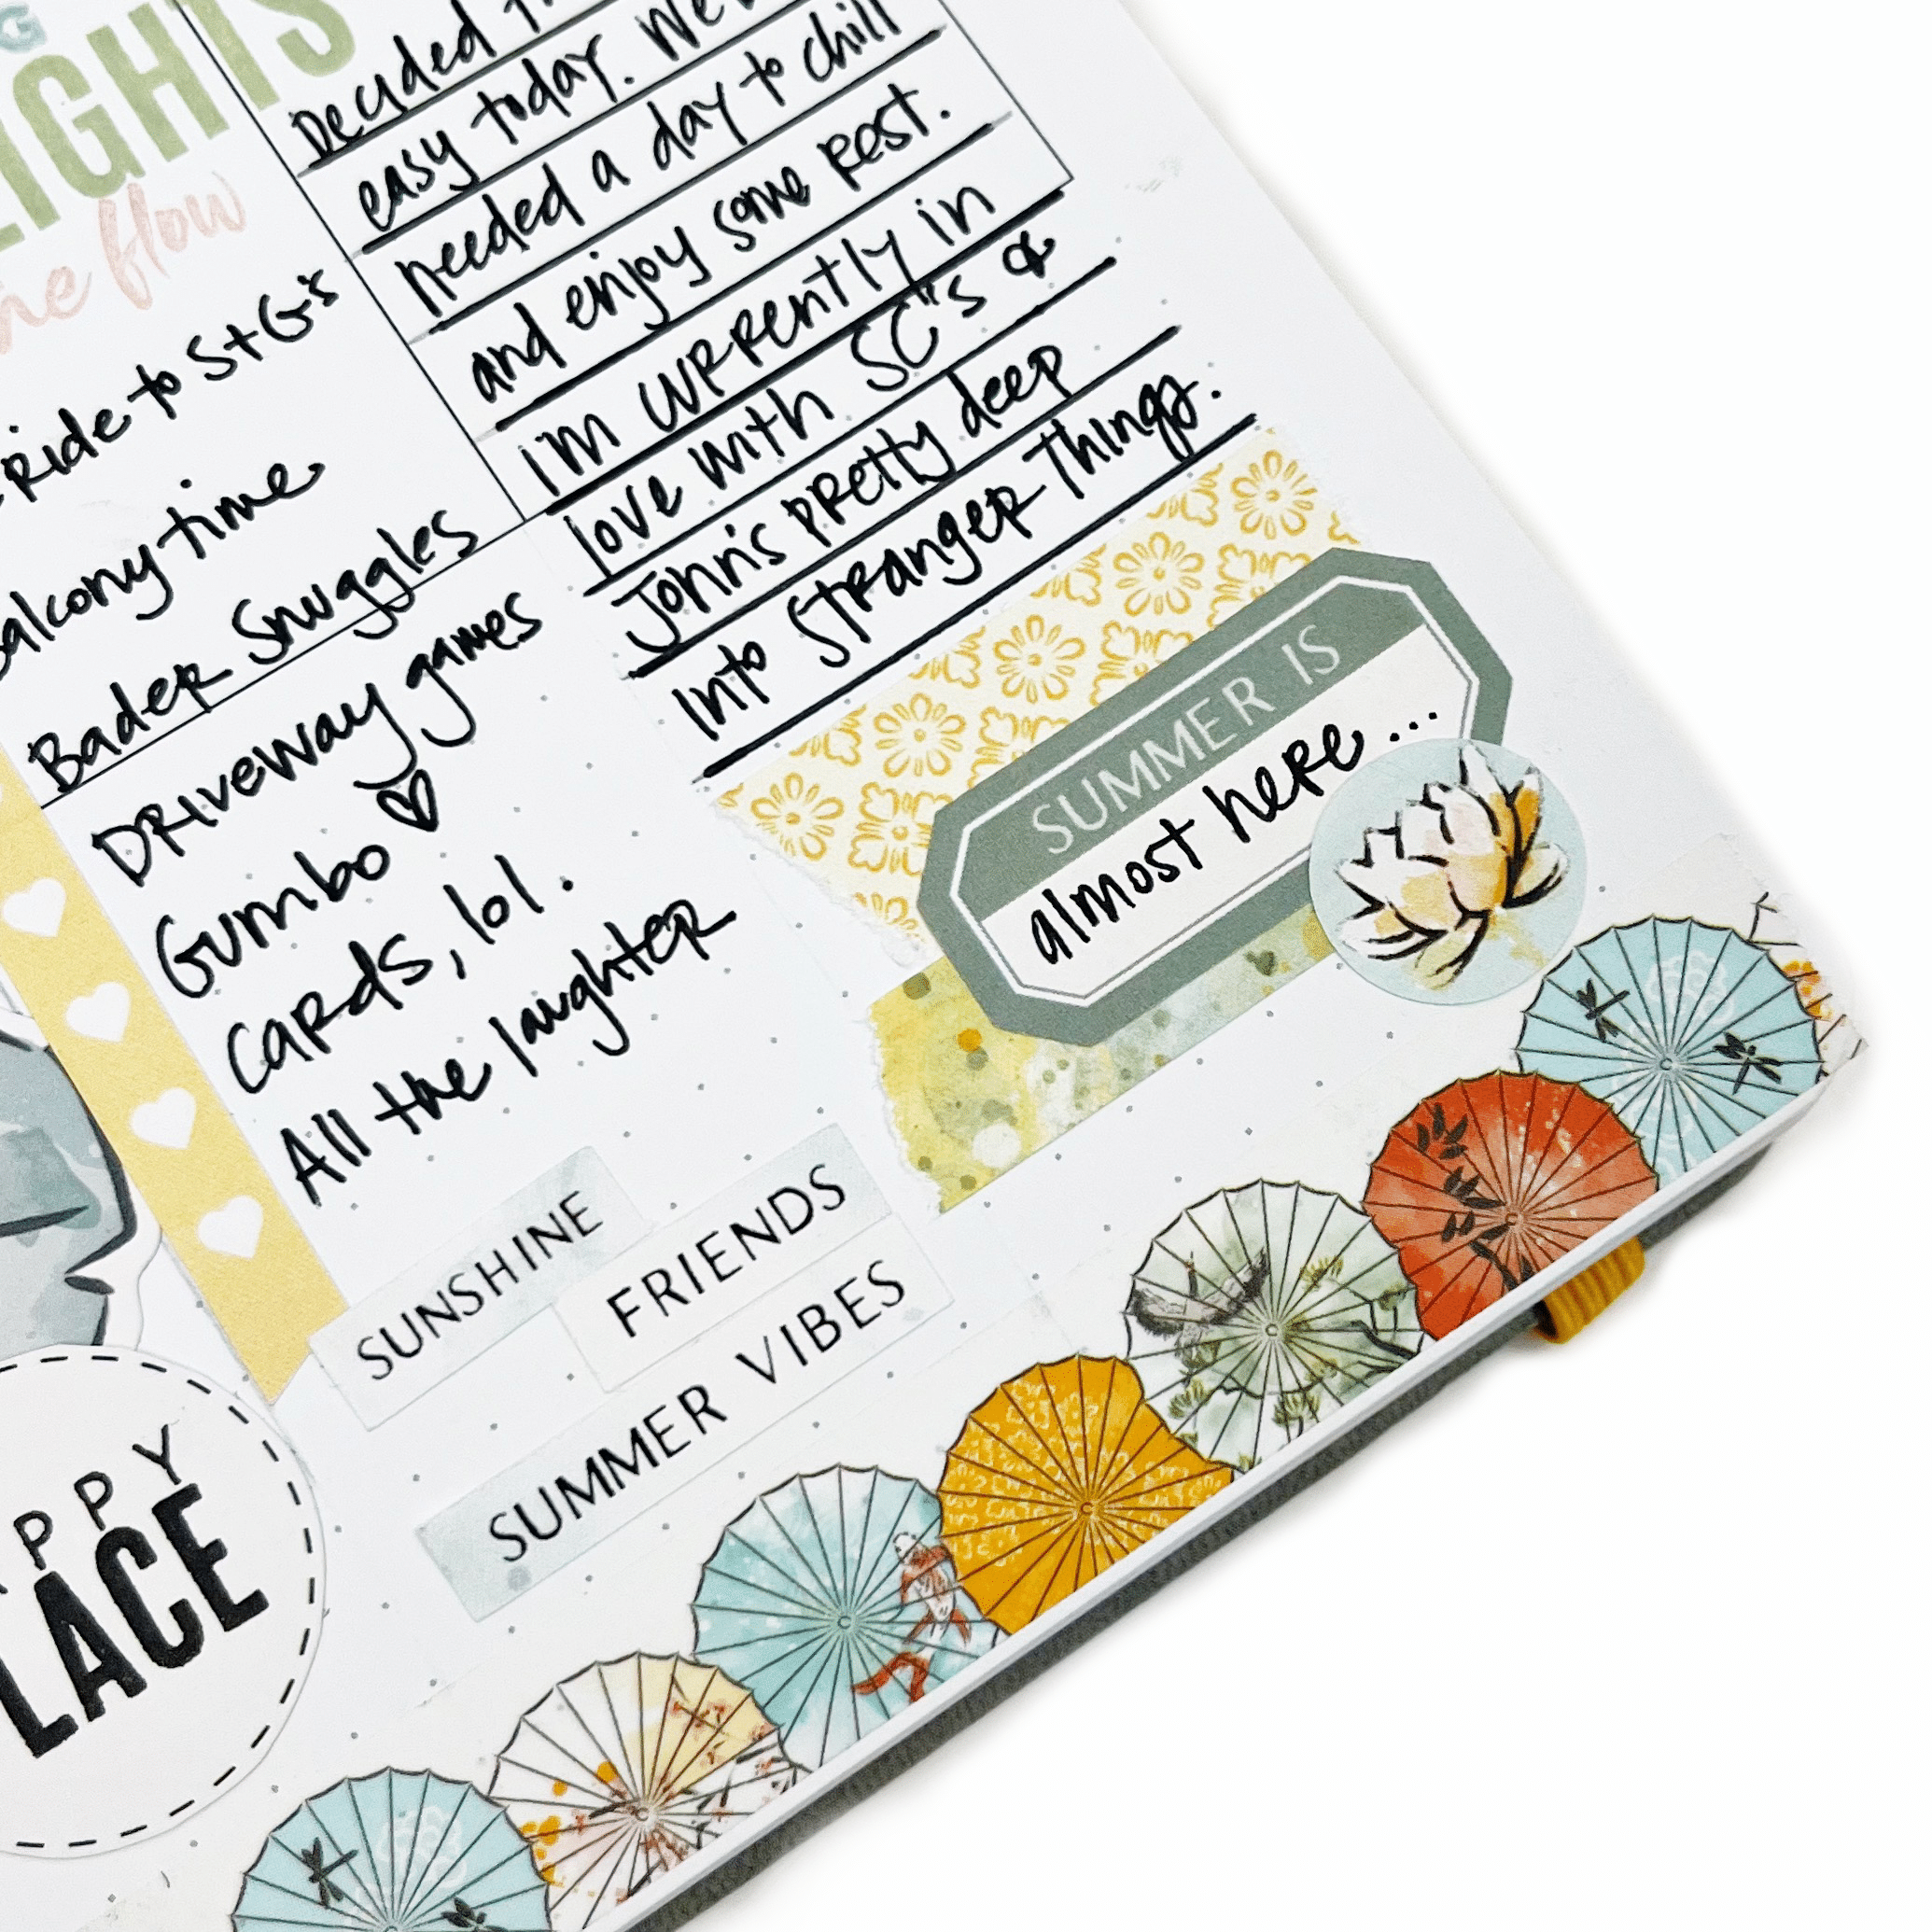
And lastly, play around with the format of your journaling by using lists, alphas, word confetti stickers, and icons. You can even vary the alignment of your journaling and embellishments as I did in this spread. I hope that journaling in your memory planner is a practice that brings you joy while you document your days.
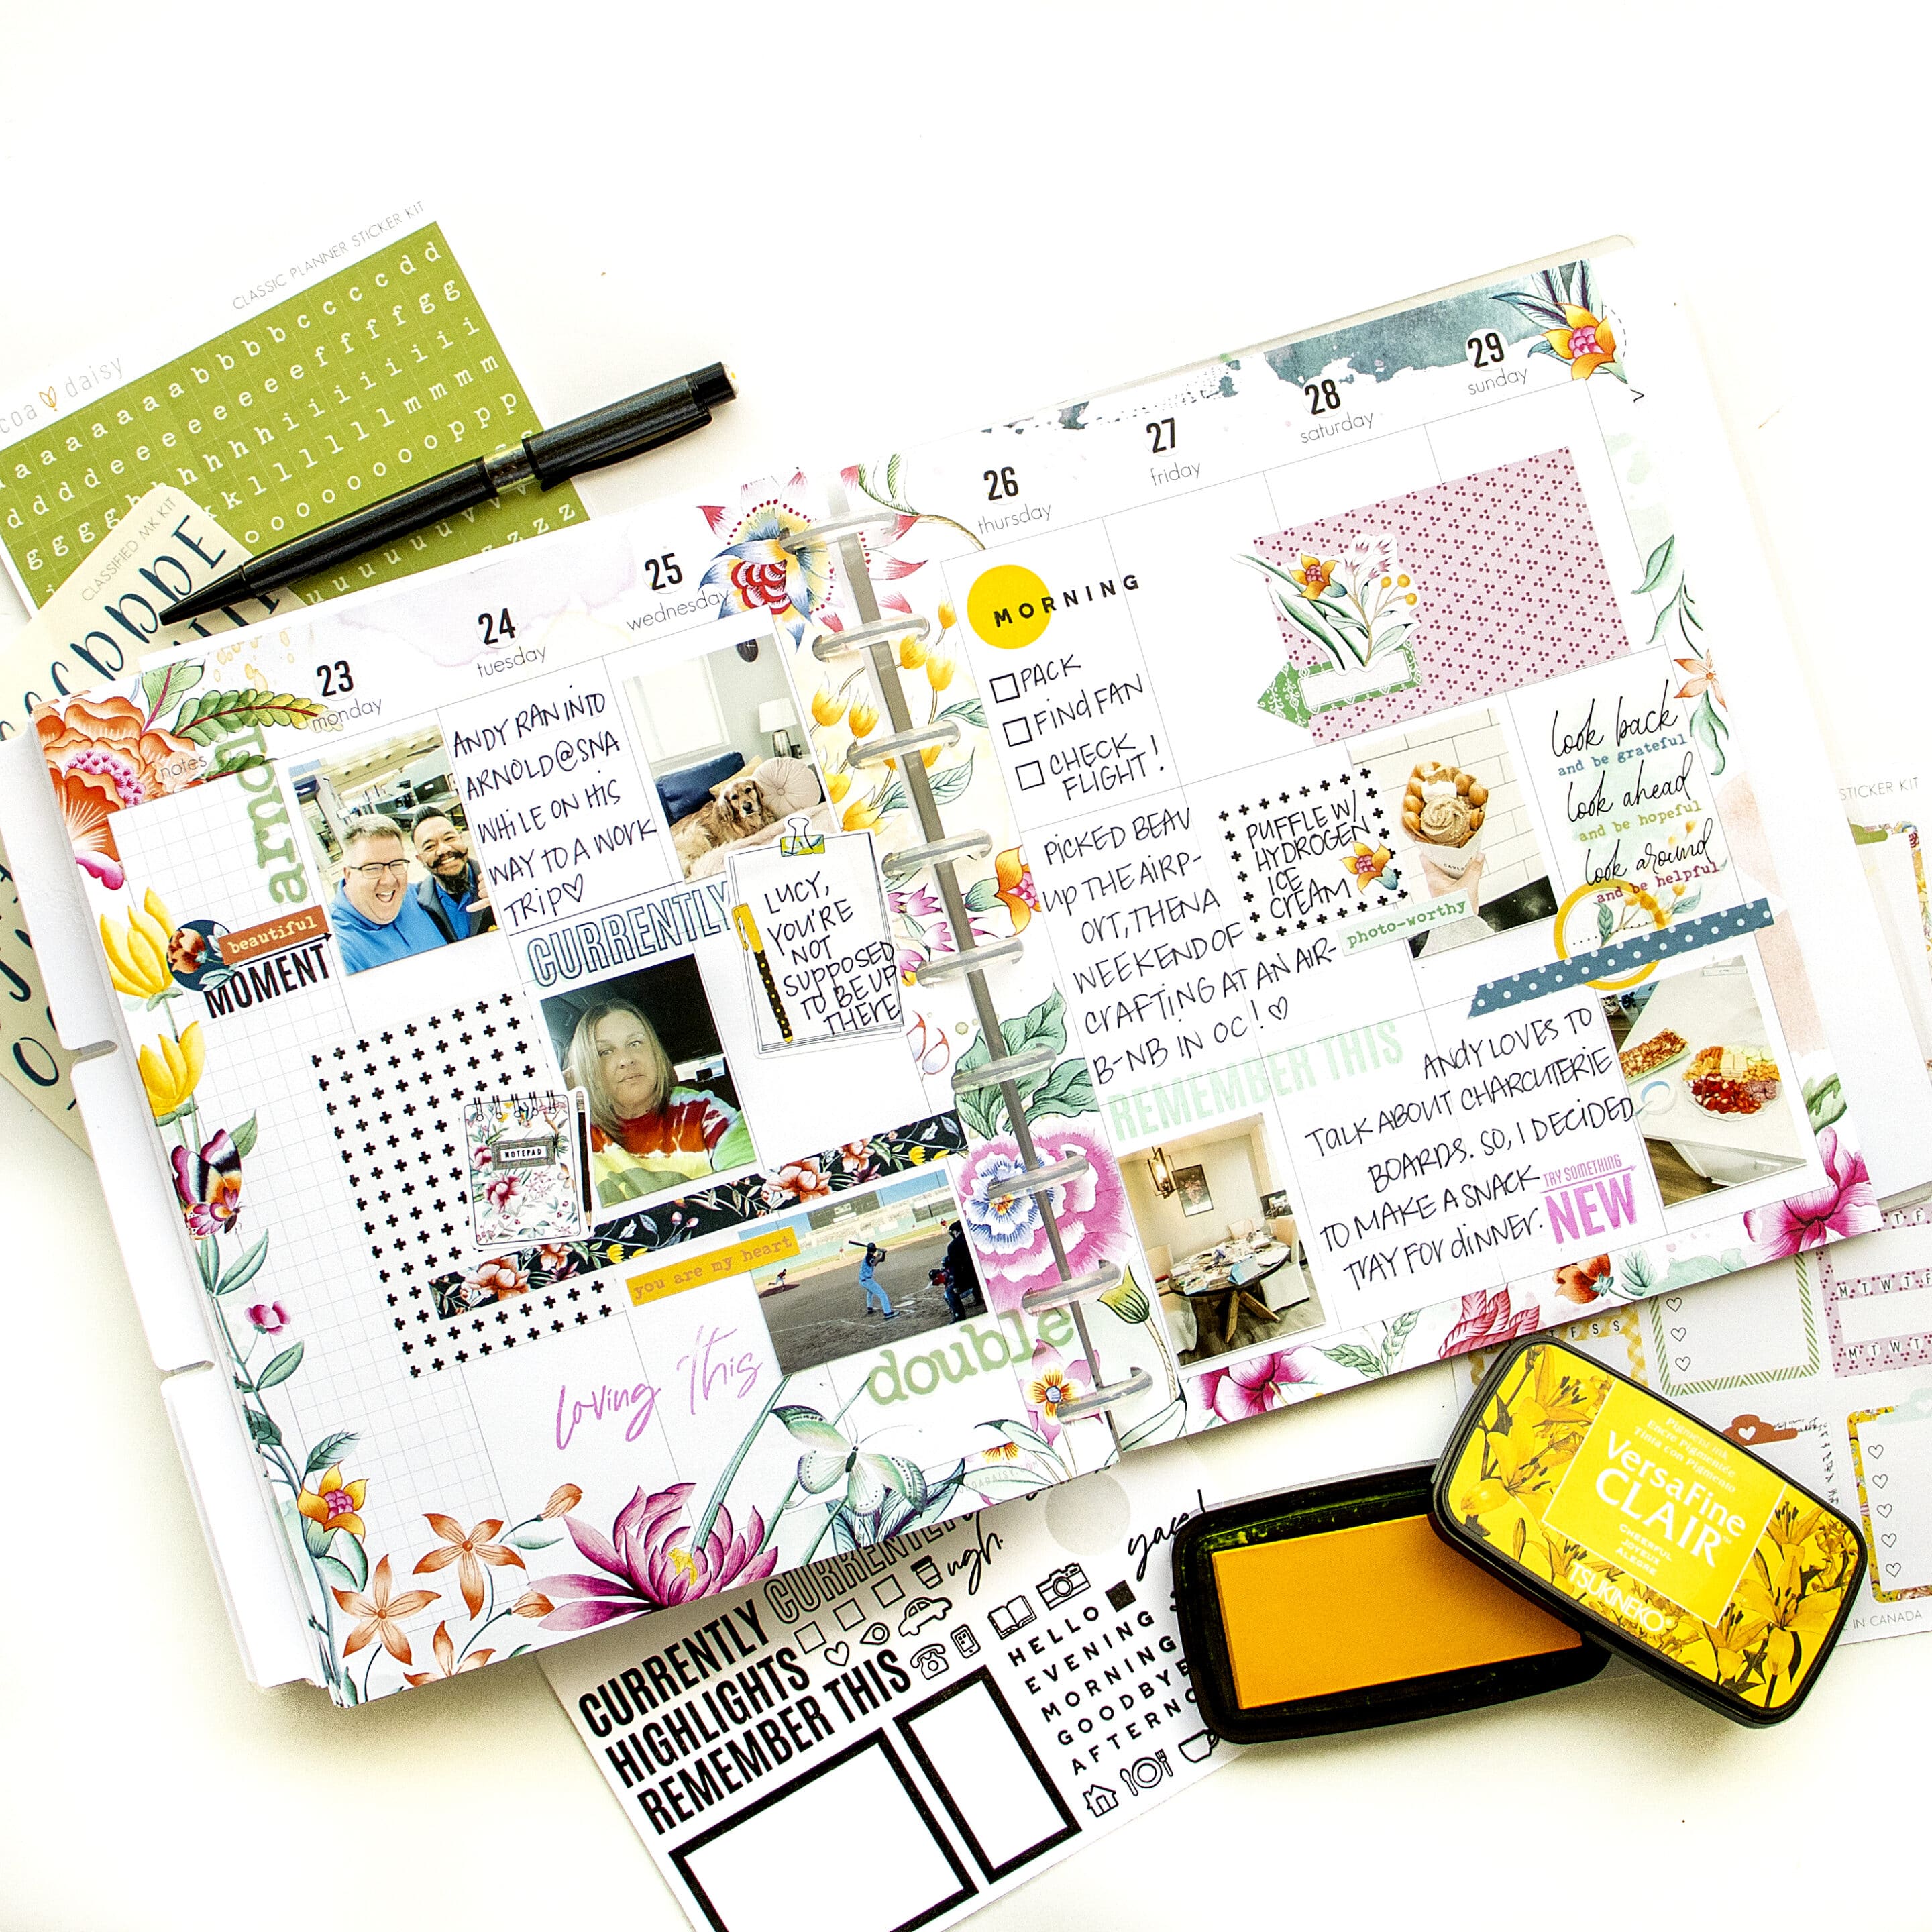
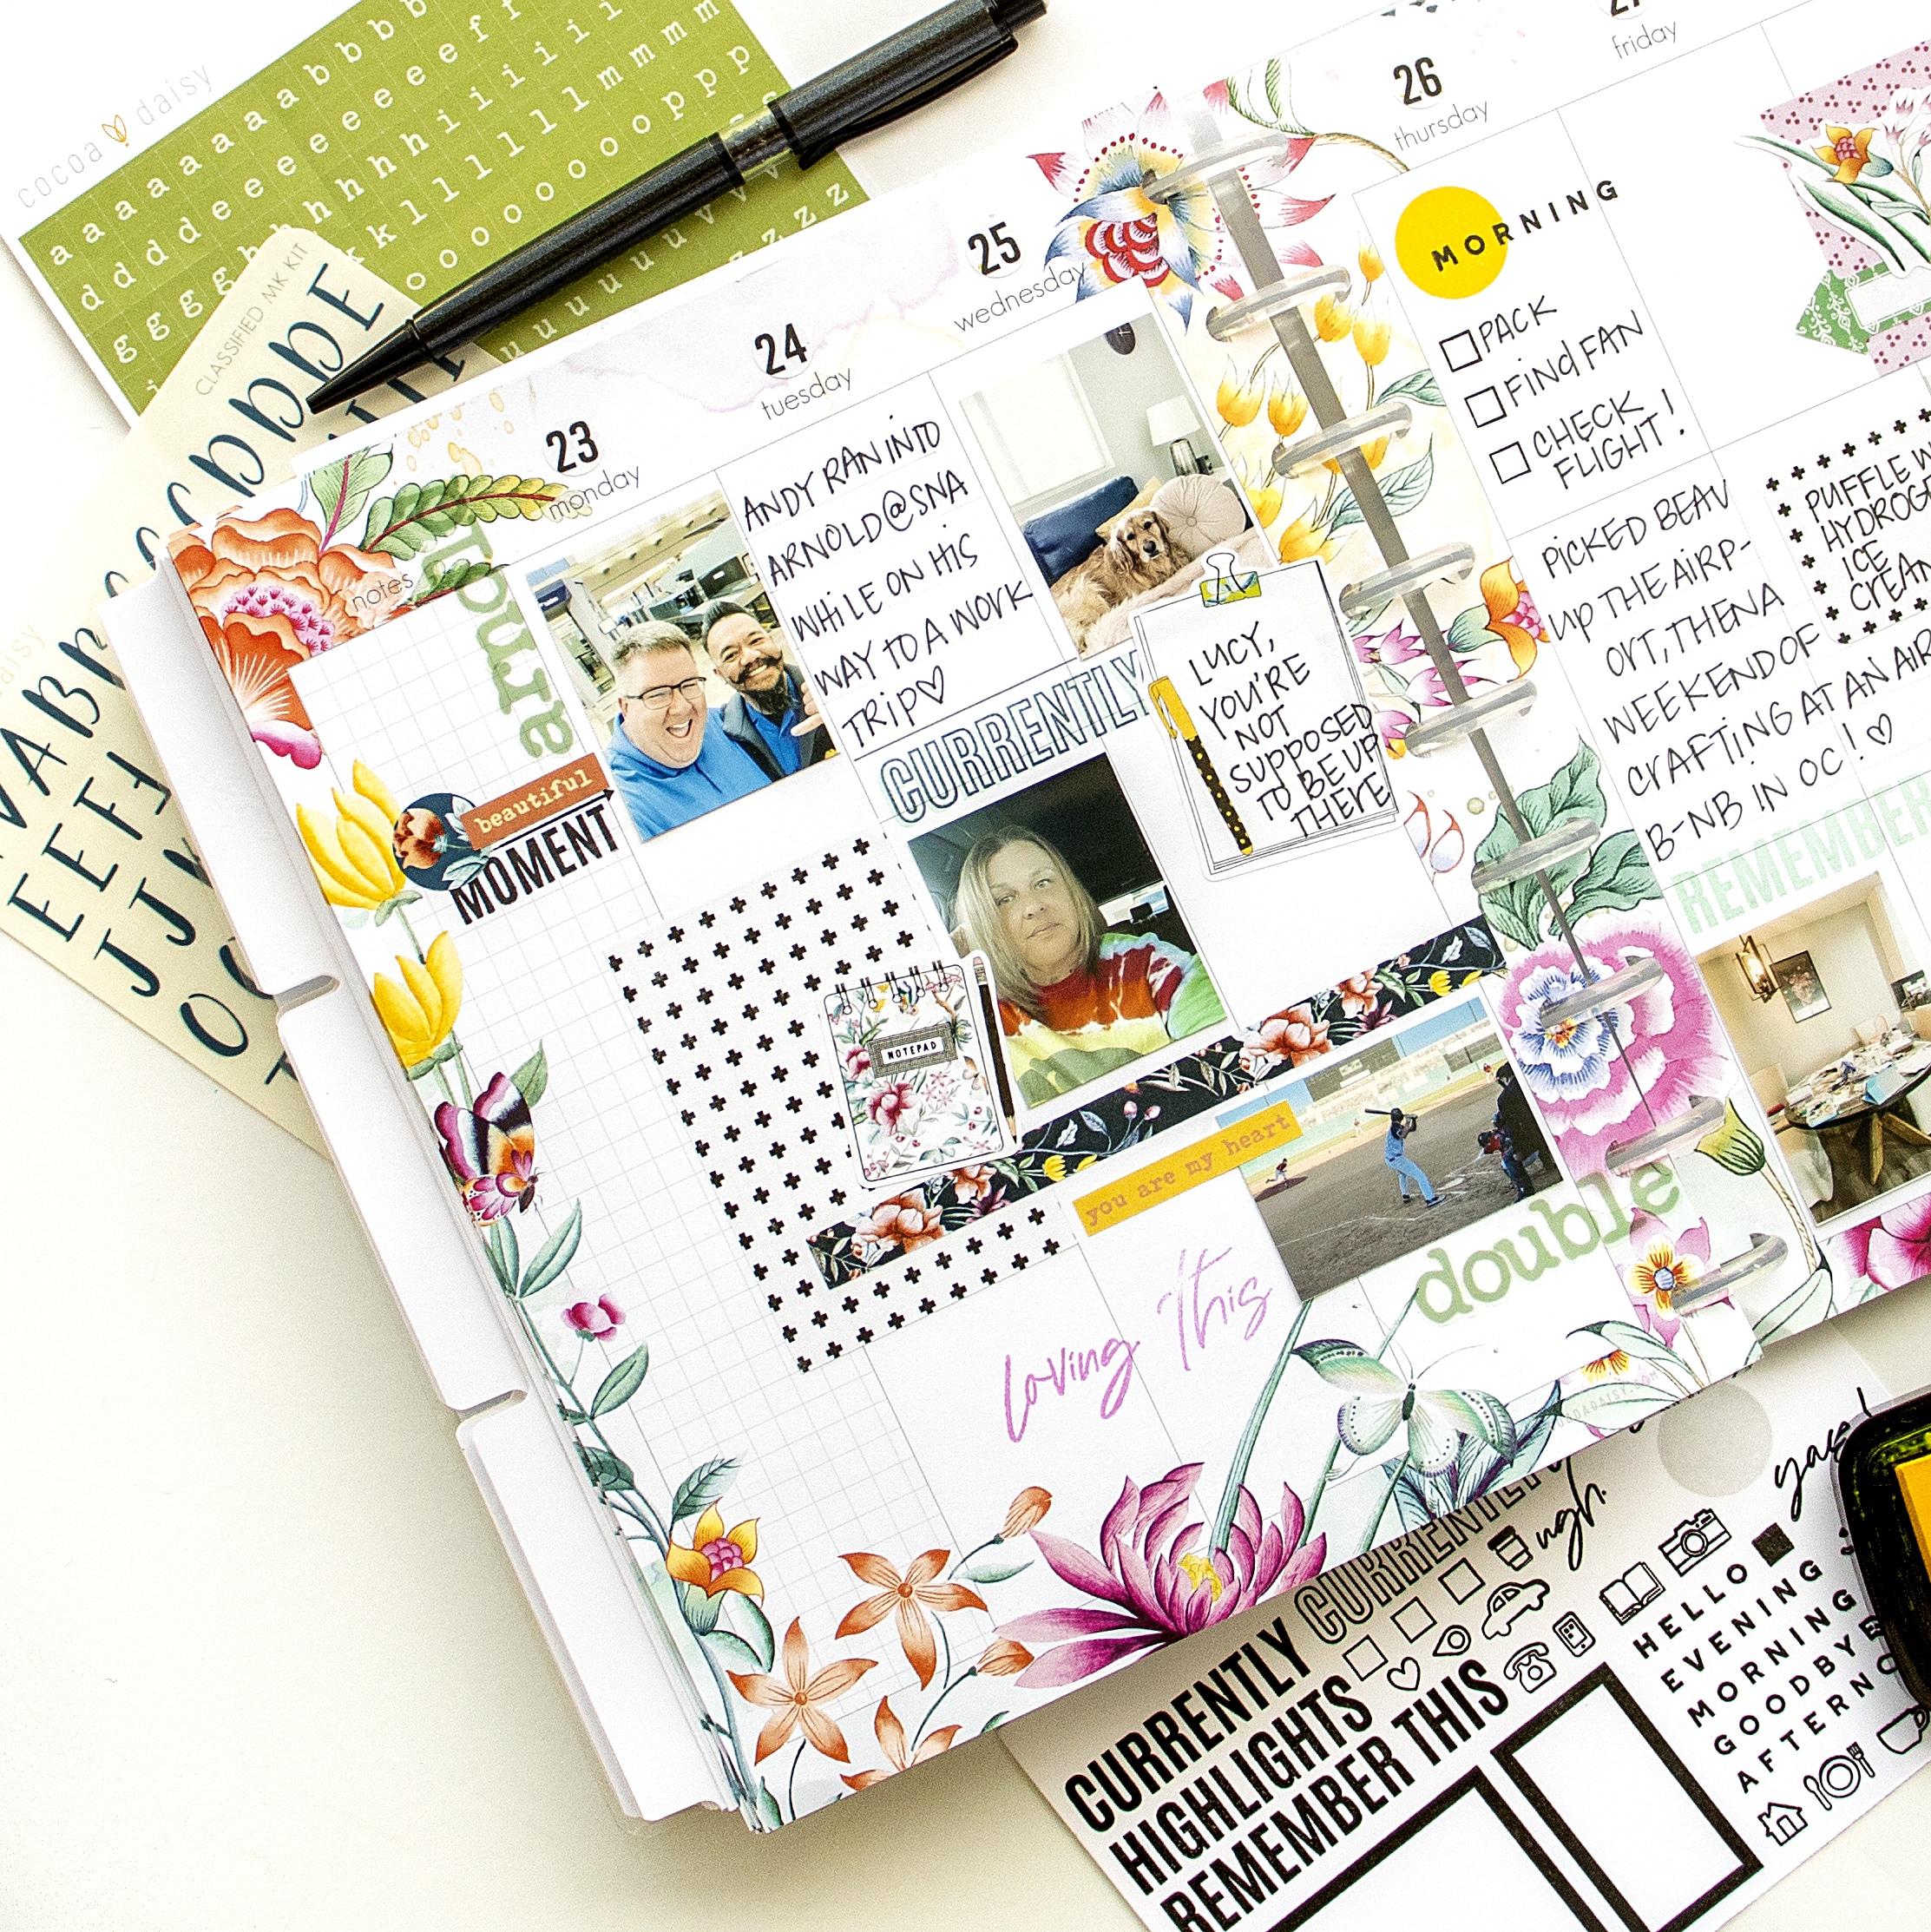
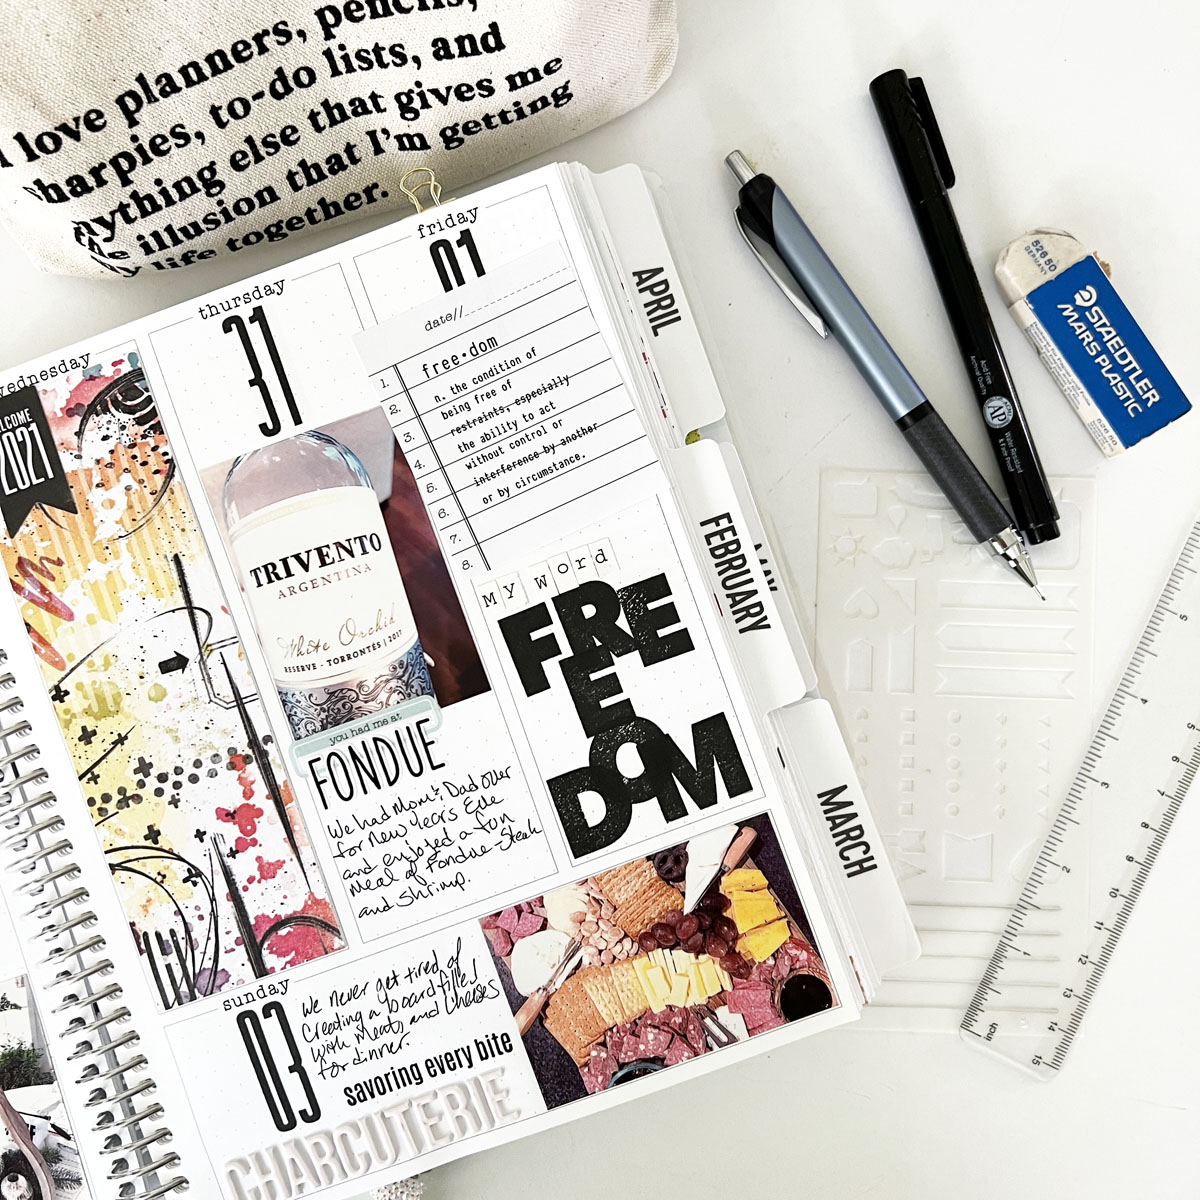
Jennie McGarvey: Journaling in the Daisy Planner
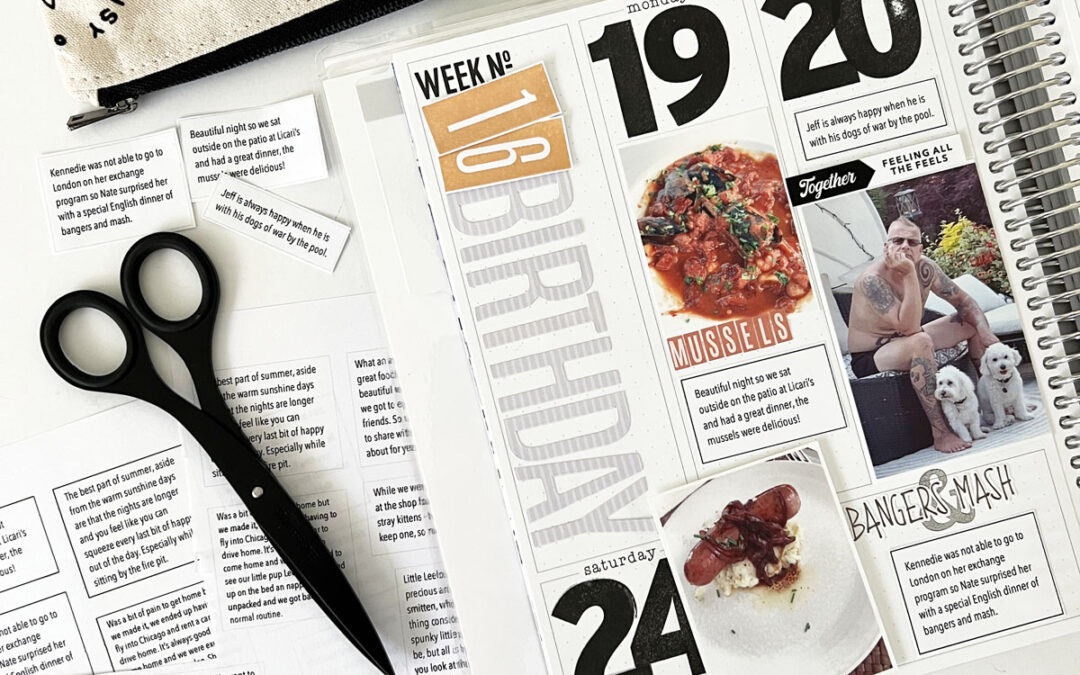
Christine Everett: Journaling to Catch-Up
When Rachel and Jennie invited me to contribute to the Journaling portion of this class I told them I was the last person they wanted, I’m so far behind and lost on how to get caught up, what could I possibly have to offer? But, then I thought if I’m struggling with being behind and not sure where to begin then I bet a lot of you are too, so I said let’s do it! I fashioned the class in such a way that you get to be a part of my self-discovery process, I share my ideas, my handwriting hang-ups, and my goals with you. This is not a do A, B, or C type of class, it’s a bit more organic, I wanted to bring you into my thoughts and then let you see how I work through each idea.
In the first half of the video, I talk about the pluses and minuses of using your handwriting for your journaling, my very critical view of my own handwriting (which I know a lot of you can relate to), and how to step back and be at peace with it, if for no other reason than you can get caught up pretty quickly.
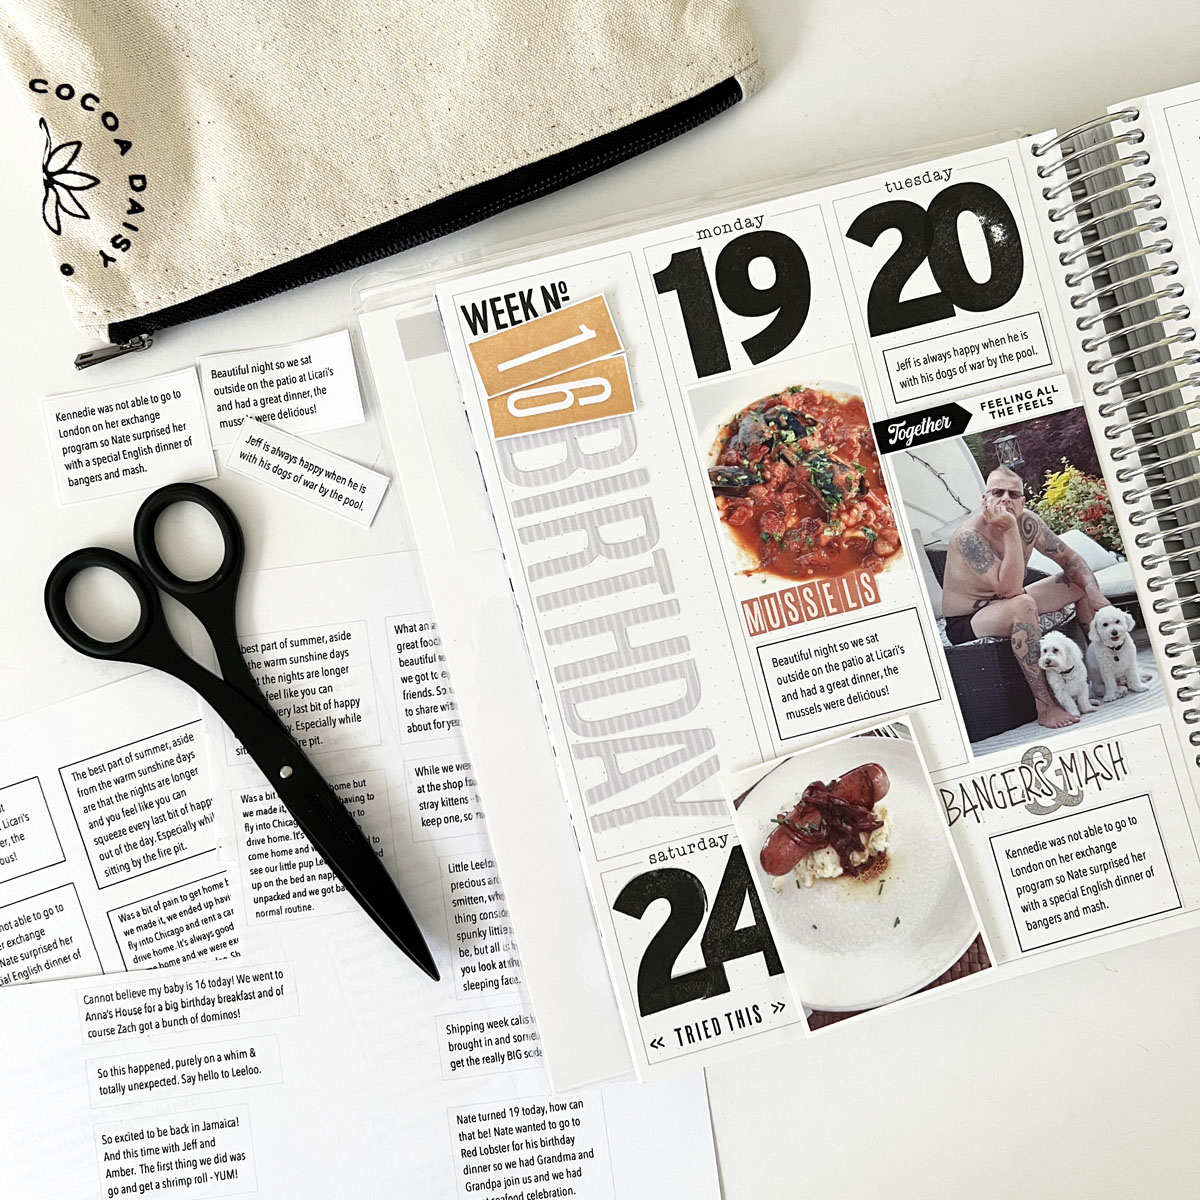
In the second half of the video, I explore adding journaling via simple text boxes, no fancy software or a bunch of different fonts, just simple and clean. I used the font “Avenir Next Condensed” which is a sans serif font that will complement any layout, added a border around the text box, and added it to each section of my layout. I share the different looks of a darker border vs. a lighter border and talk about ways to streamline the process of adding type to your pages.
We hope you are enjoying the class and acquiring new ideas for memory planning. Can you believe our last lesson is next week? Don’t forget to leave a comment and let us know what has been your favorite part of the class so far. And be sure to share your memory planning pages on the Cocoa Daisy Fan Page on Facebook, too!
Until next time!