Click here to access the sketches for this week’s lesson! [wpdm_package id=’856843′]
Jennie McGarvey: 12 x 12 Layout

I found this sketch to be an incredibly versatile one for any person. If you are a person who likes to personalize your sketches, this one is for you! If you like to follow it to the letter, you’ll definitely love this one, too!
Shannon Dombkowski: Traveler’s Notebook Layout
As soon as I saw this sketch, my eyes lit up. I love that it gives just enough direction for good design with plenty of room for adding my own flair. And that’s exactly what I did! In fact, I think that’s the beauty of sketches. They give you a blueprint that allows for your own interpretation.
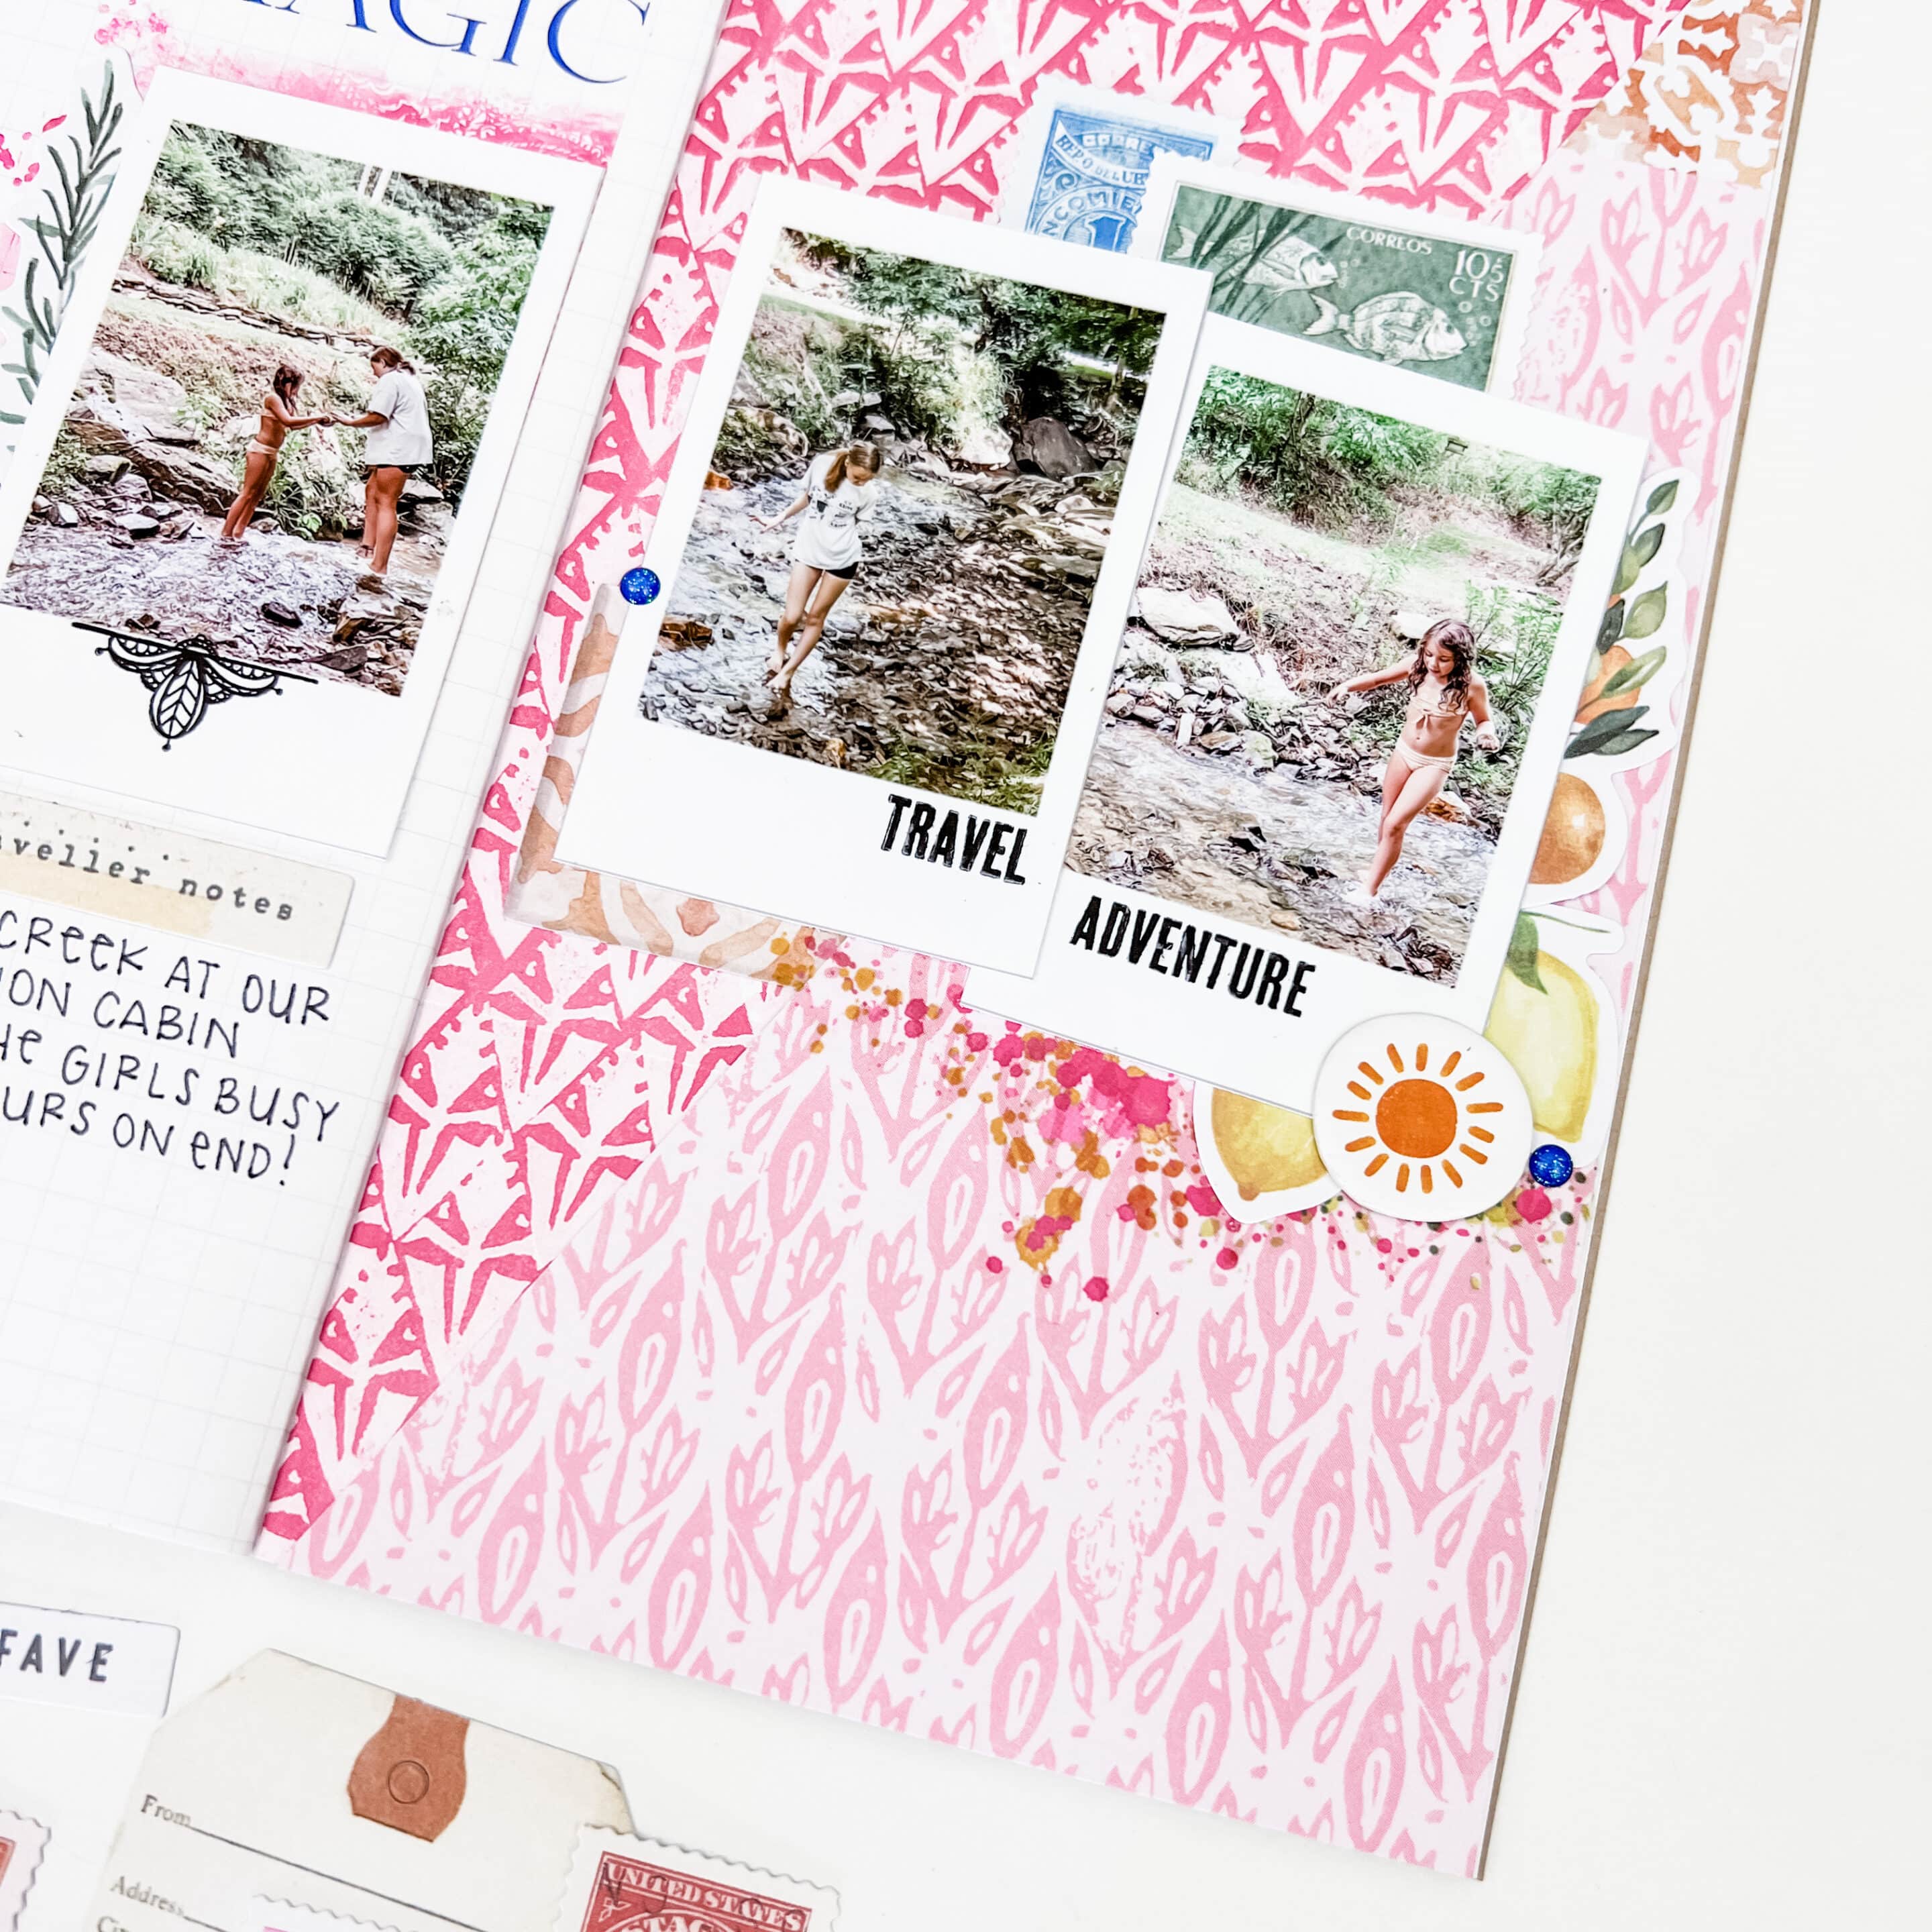
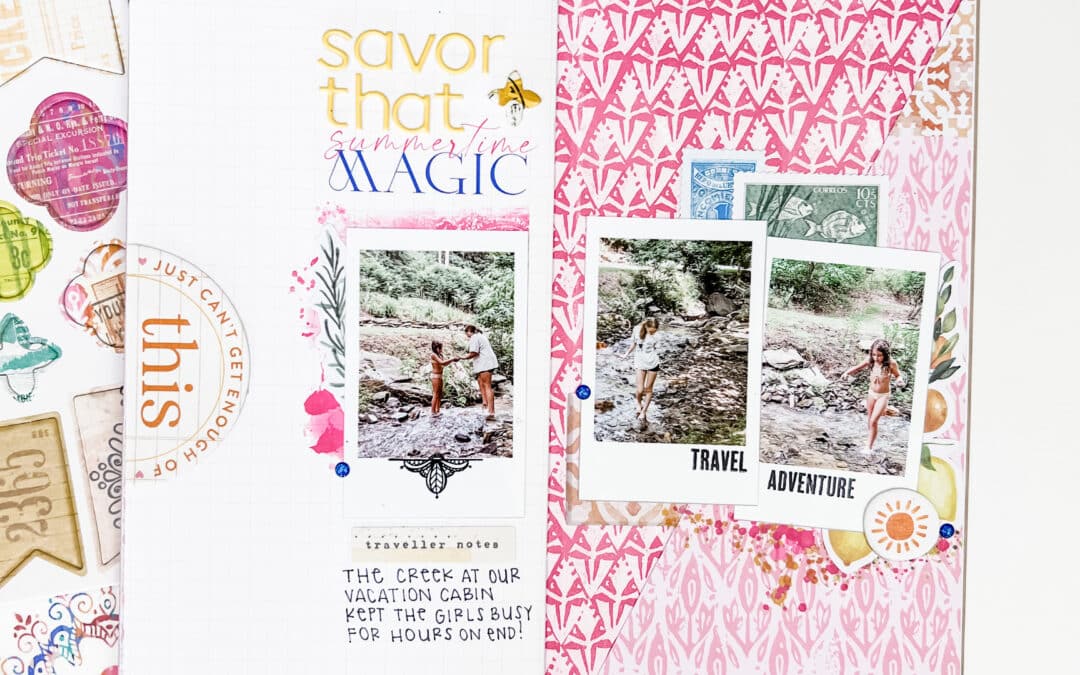
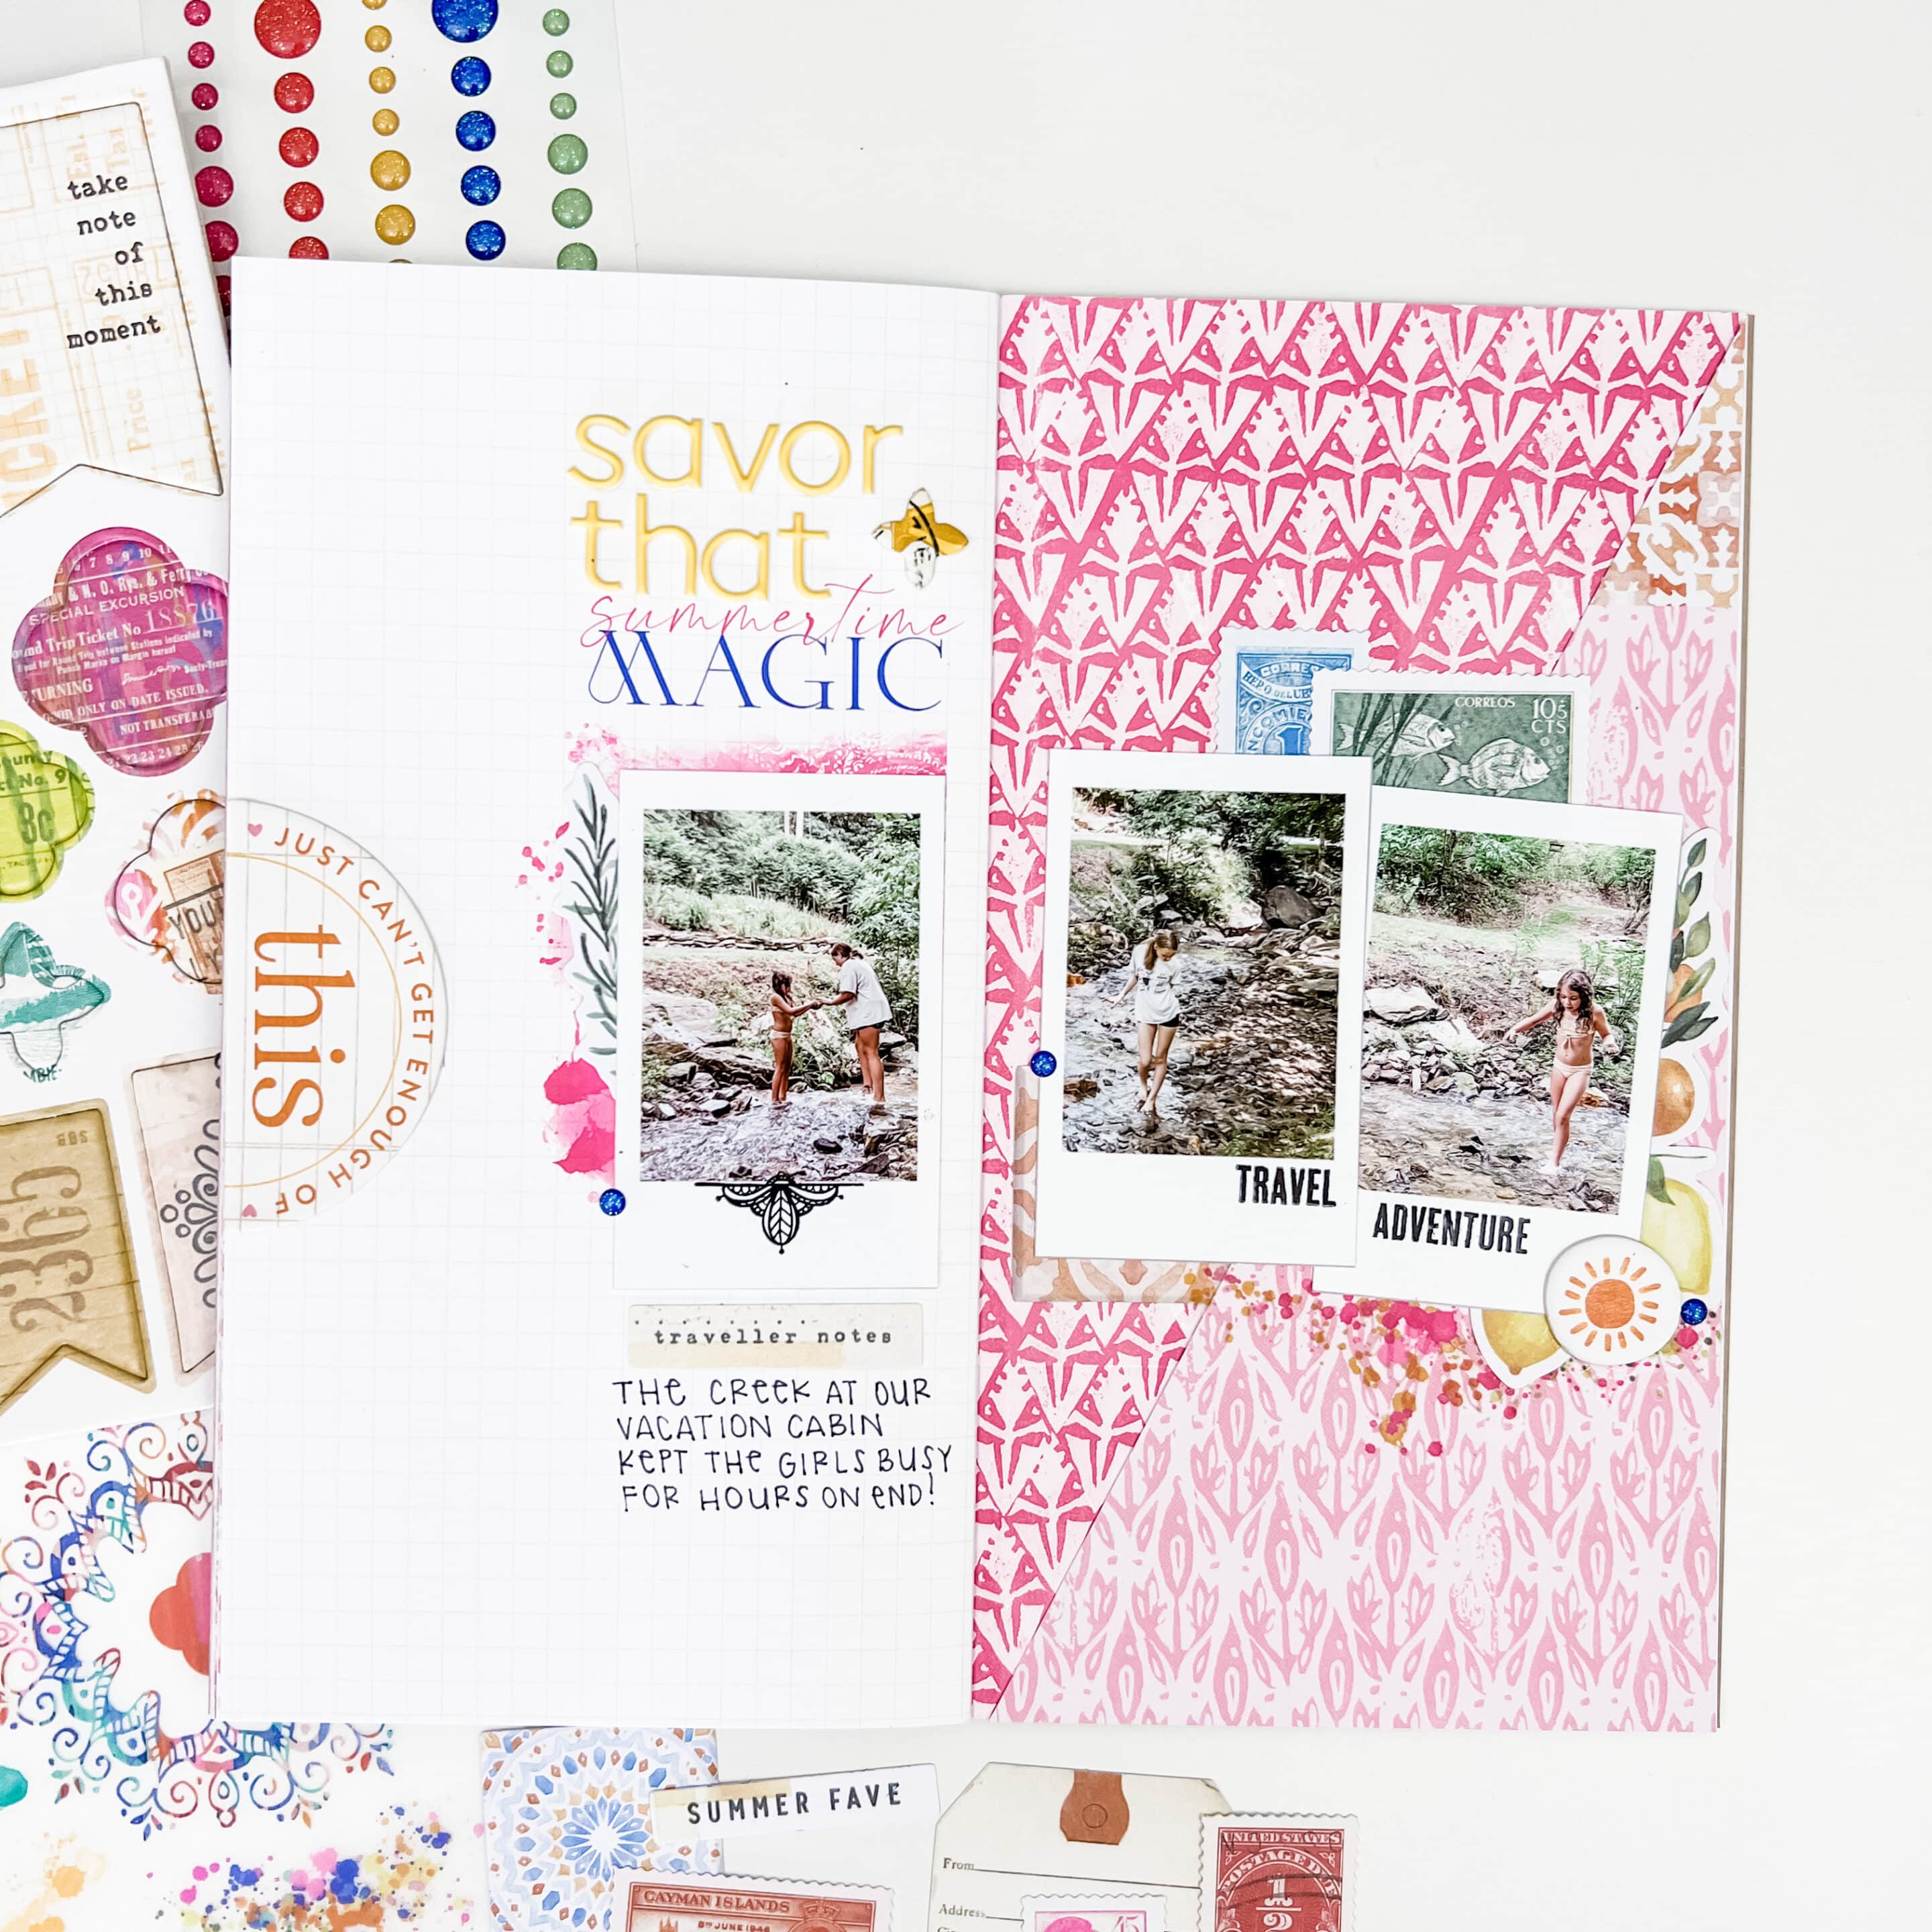
I like the split background in the sketch but wanted to make it work in the Spice Market Simple Dori. Finding a pattern that already existed in the notebook that meshed well with one of the patterned papers from the kit was my first step – even before deciding on my photos or theme! I absolutely love how these two pink patterns complement each other. They’re similar while still slightly different. Rather than splitting the background of my whole layout, I opted to do just one page. I simply cut my patterned paper down to size and then used an Exacto knife and ruler to cut it on the diagonal from corner to corner.
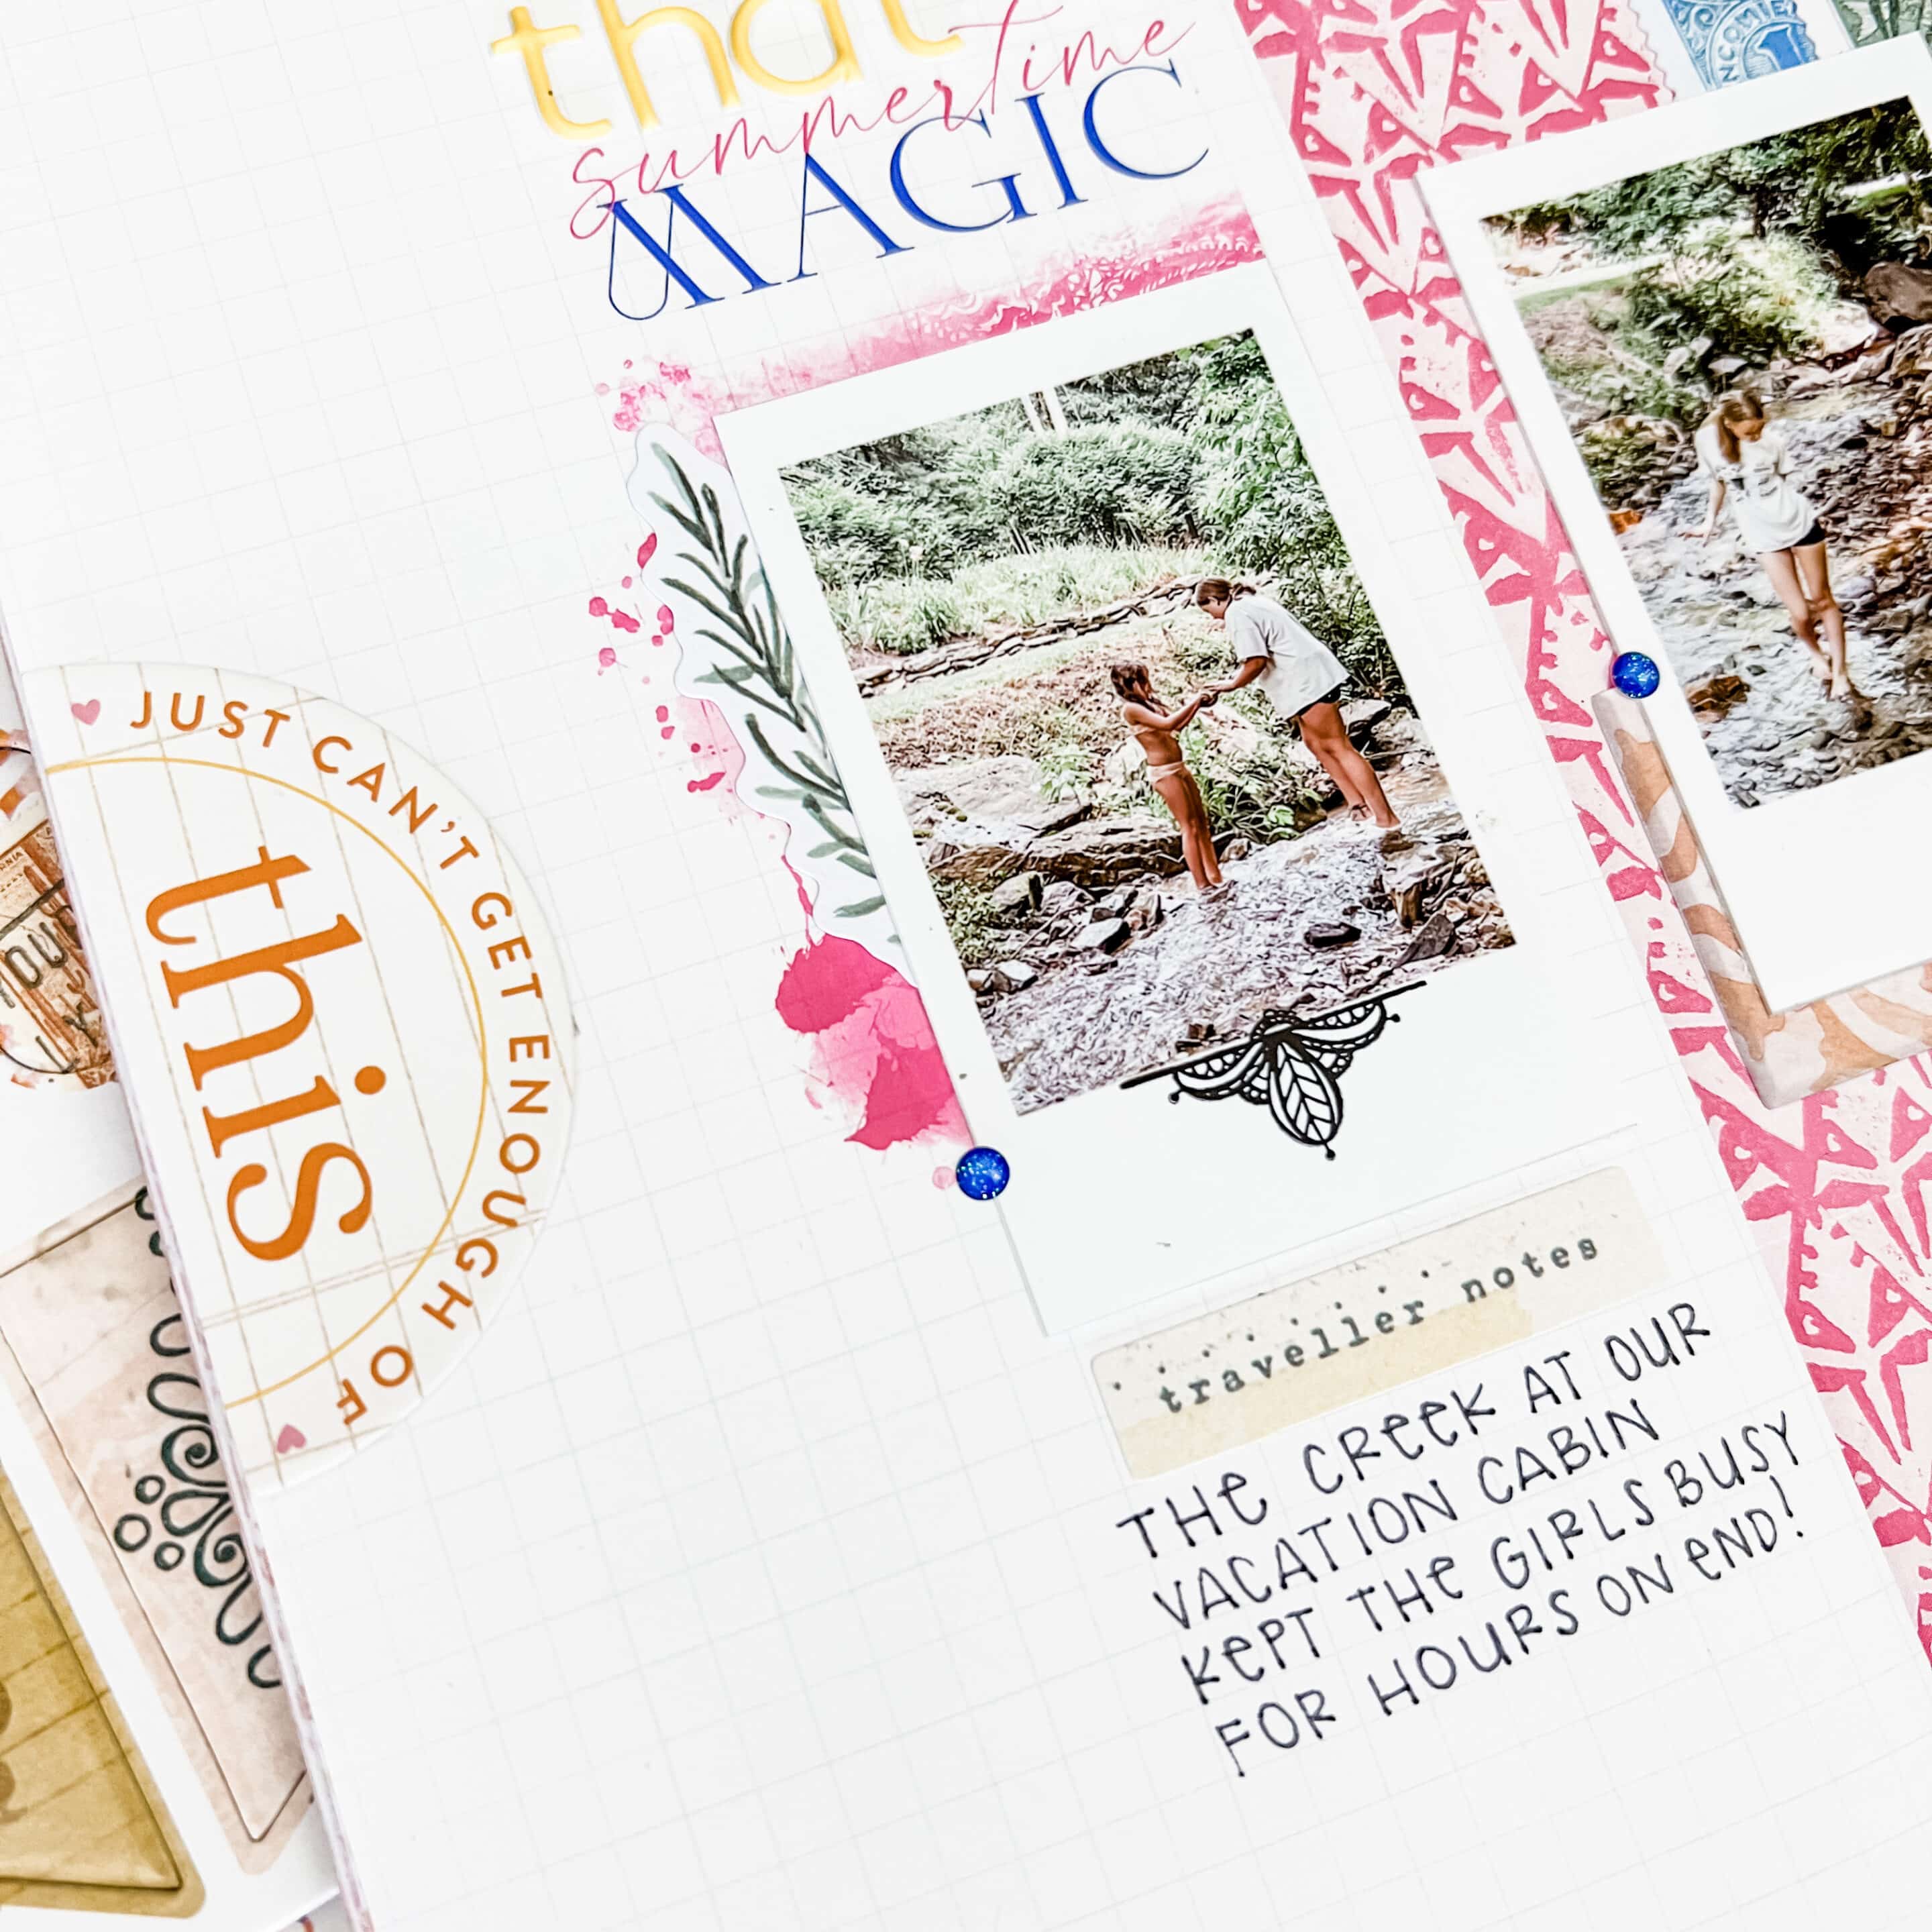
In the sketch, there was a large element behind the photo farthest to the left. I did keep that by using a Spice Market rub-on behind my photo. I chose the pink one to extend the pink from the page on the right side of my layout. This helps tie both pages together. I also added a chipboard piece from the Spice Market Traveler’s Notebook Memory Keeping Kit to extend the horizontal line of photos on my page. My trick for getting chipboard pieces into my traveler’s notebooks without adding too much bulk is to peel about half of the thickness of the chipboard away from the back of the piece. Then I just glue it on!
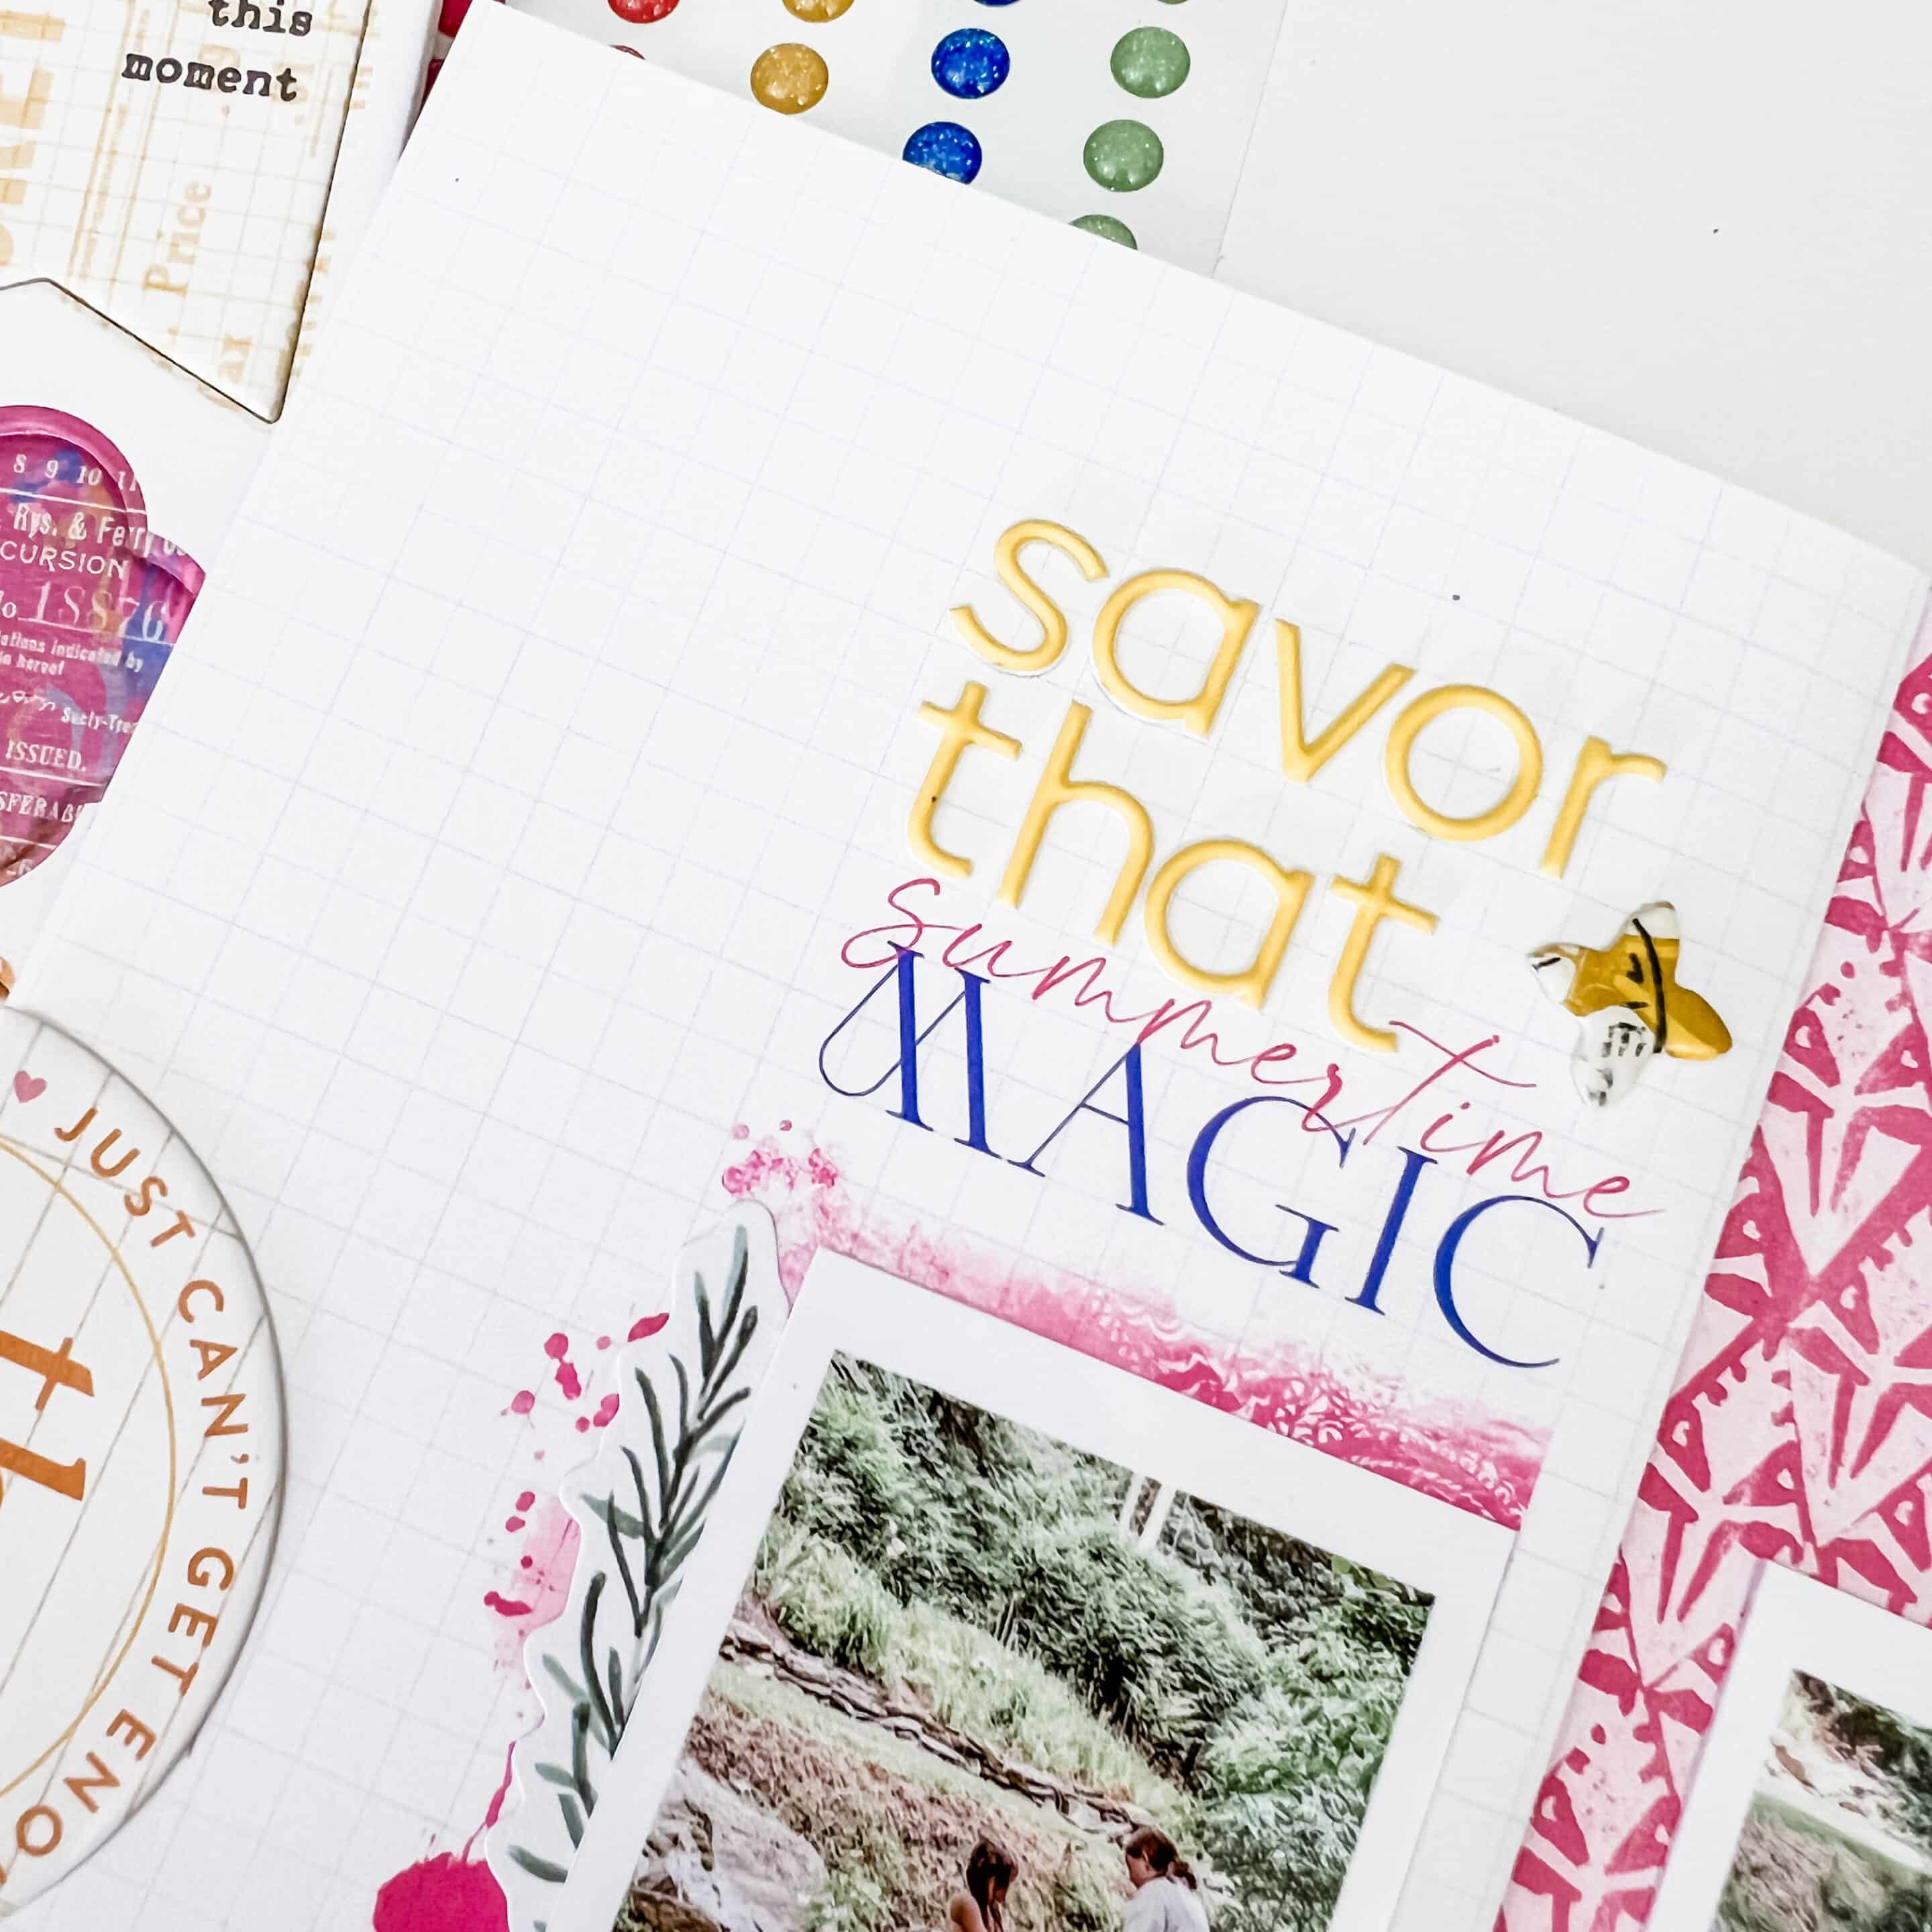
Finally, my title. This “summertime magic” rub-on from the Spice Market Traveler’s Notebook Memory Keeping Kit is what decided my page theme for me. Our trip to the mountains was pure summertime magic and this sketch was perfect to document part of it since I could use multiple photos. To make my title even bigger and bolder, I used the yellow alphabet stickers from the Spice Market Traveler’s Notebook Memory Keeping Kit. I find that it really draws the eyes to the title, which leads right to the photos. I hope that I’ve given you some inspiration to try your hand at interpreting sketches. They really are the perfect tool for when you’re feeling stuck, uninspired, or just need some direction!
Rachel Newman: “Twist” Memory Planner Layout
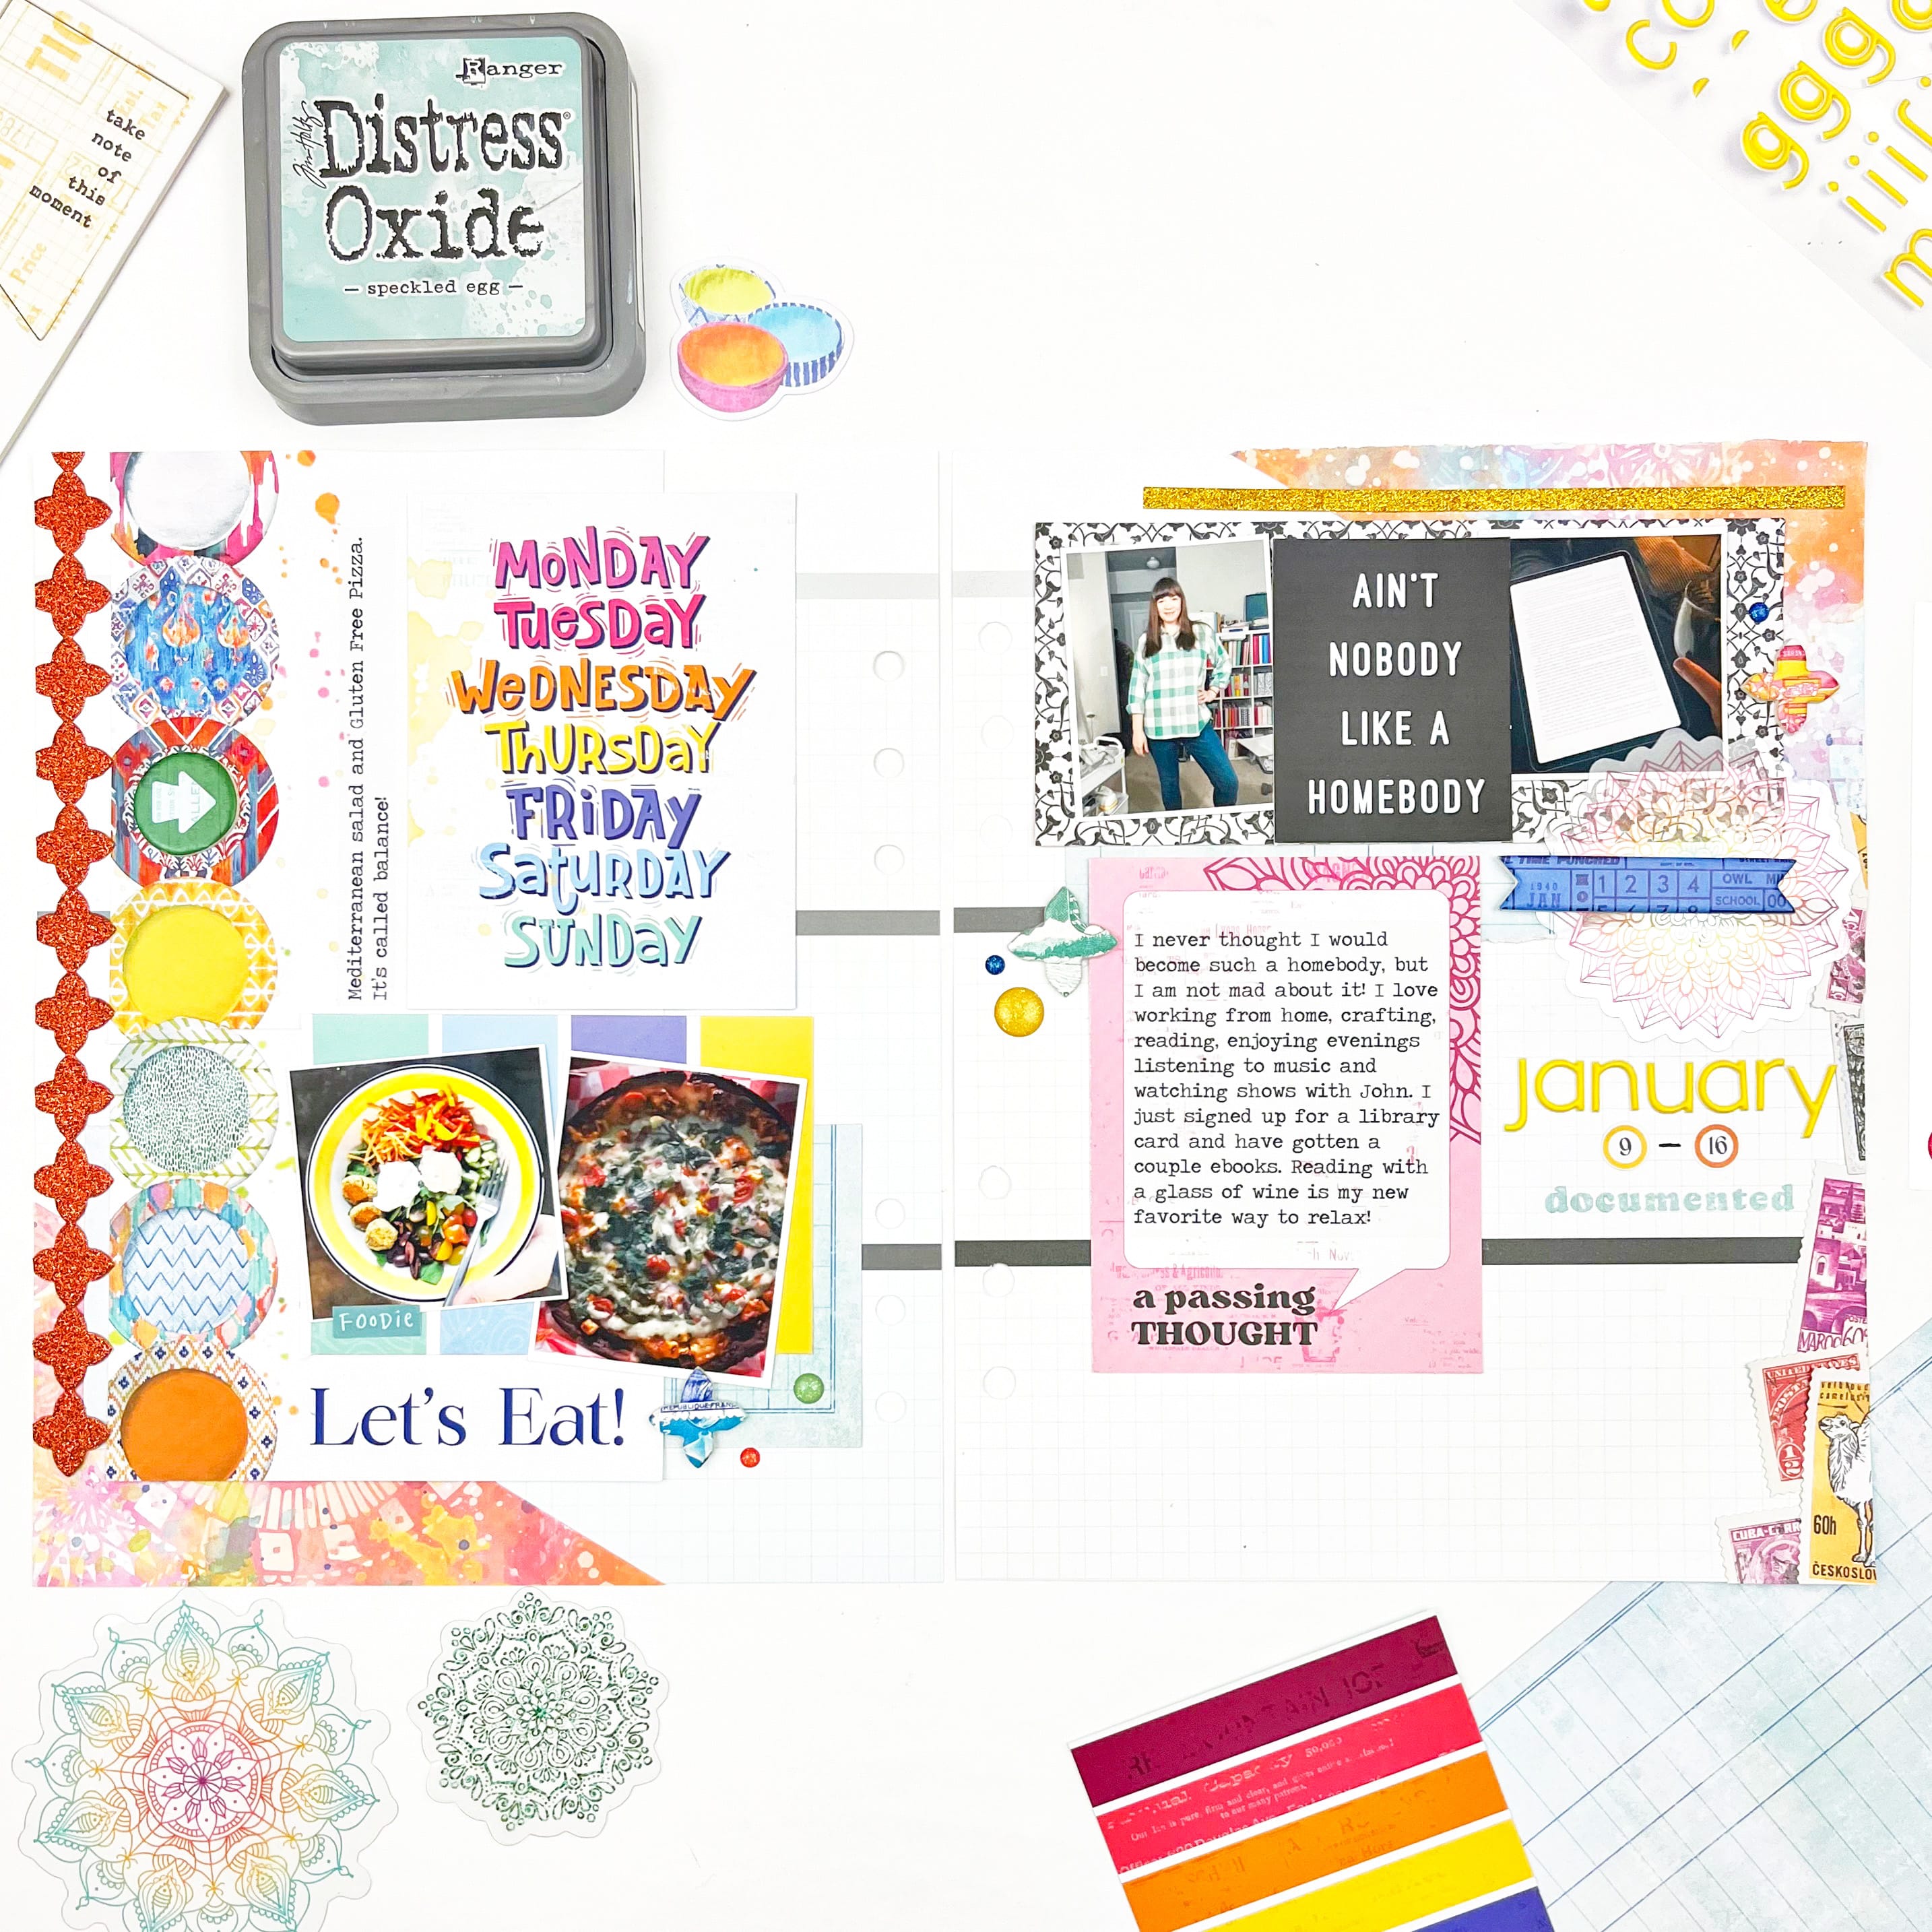
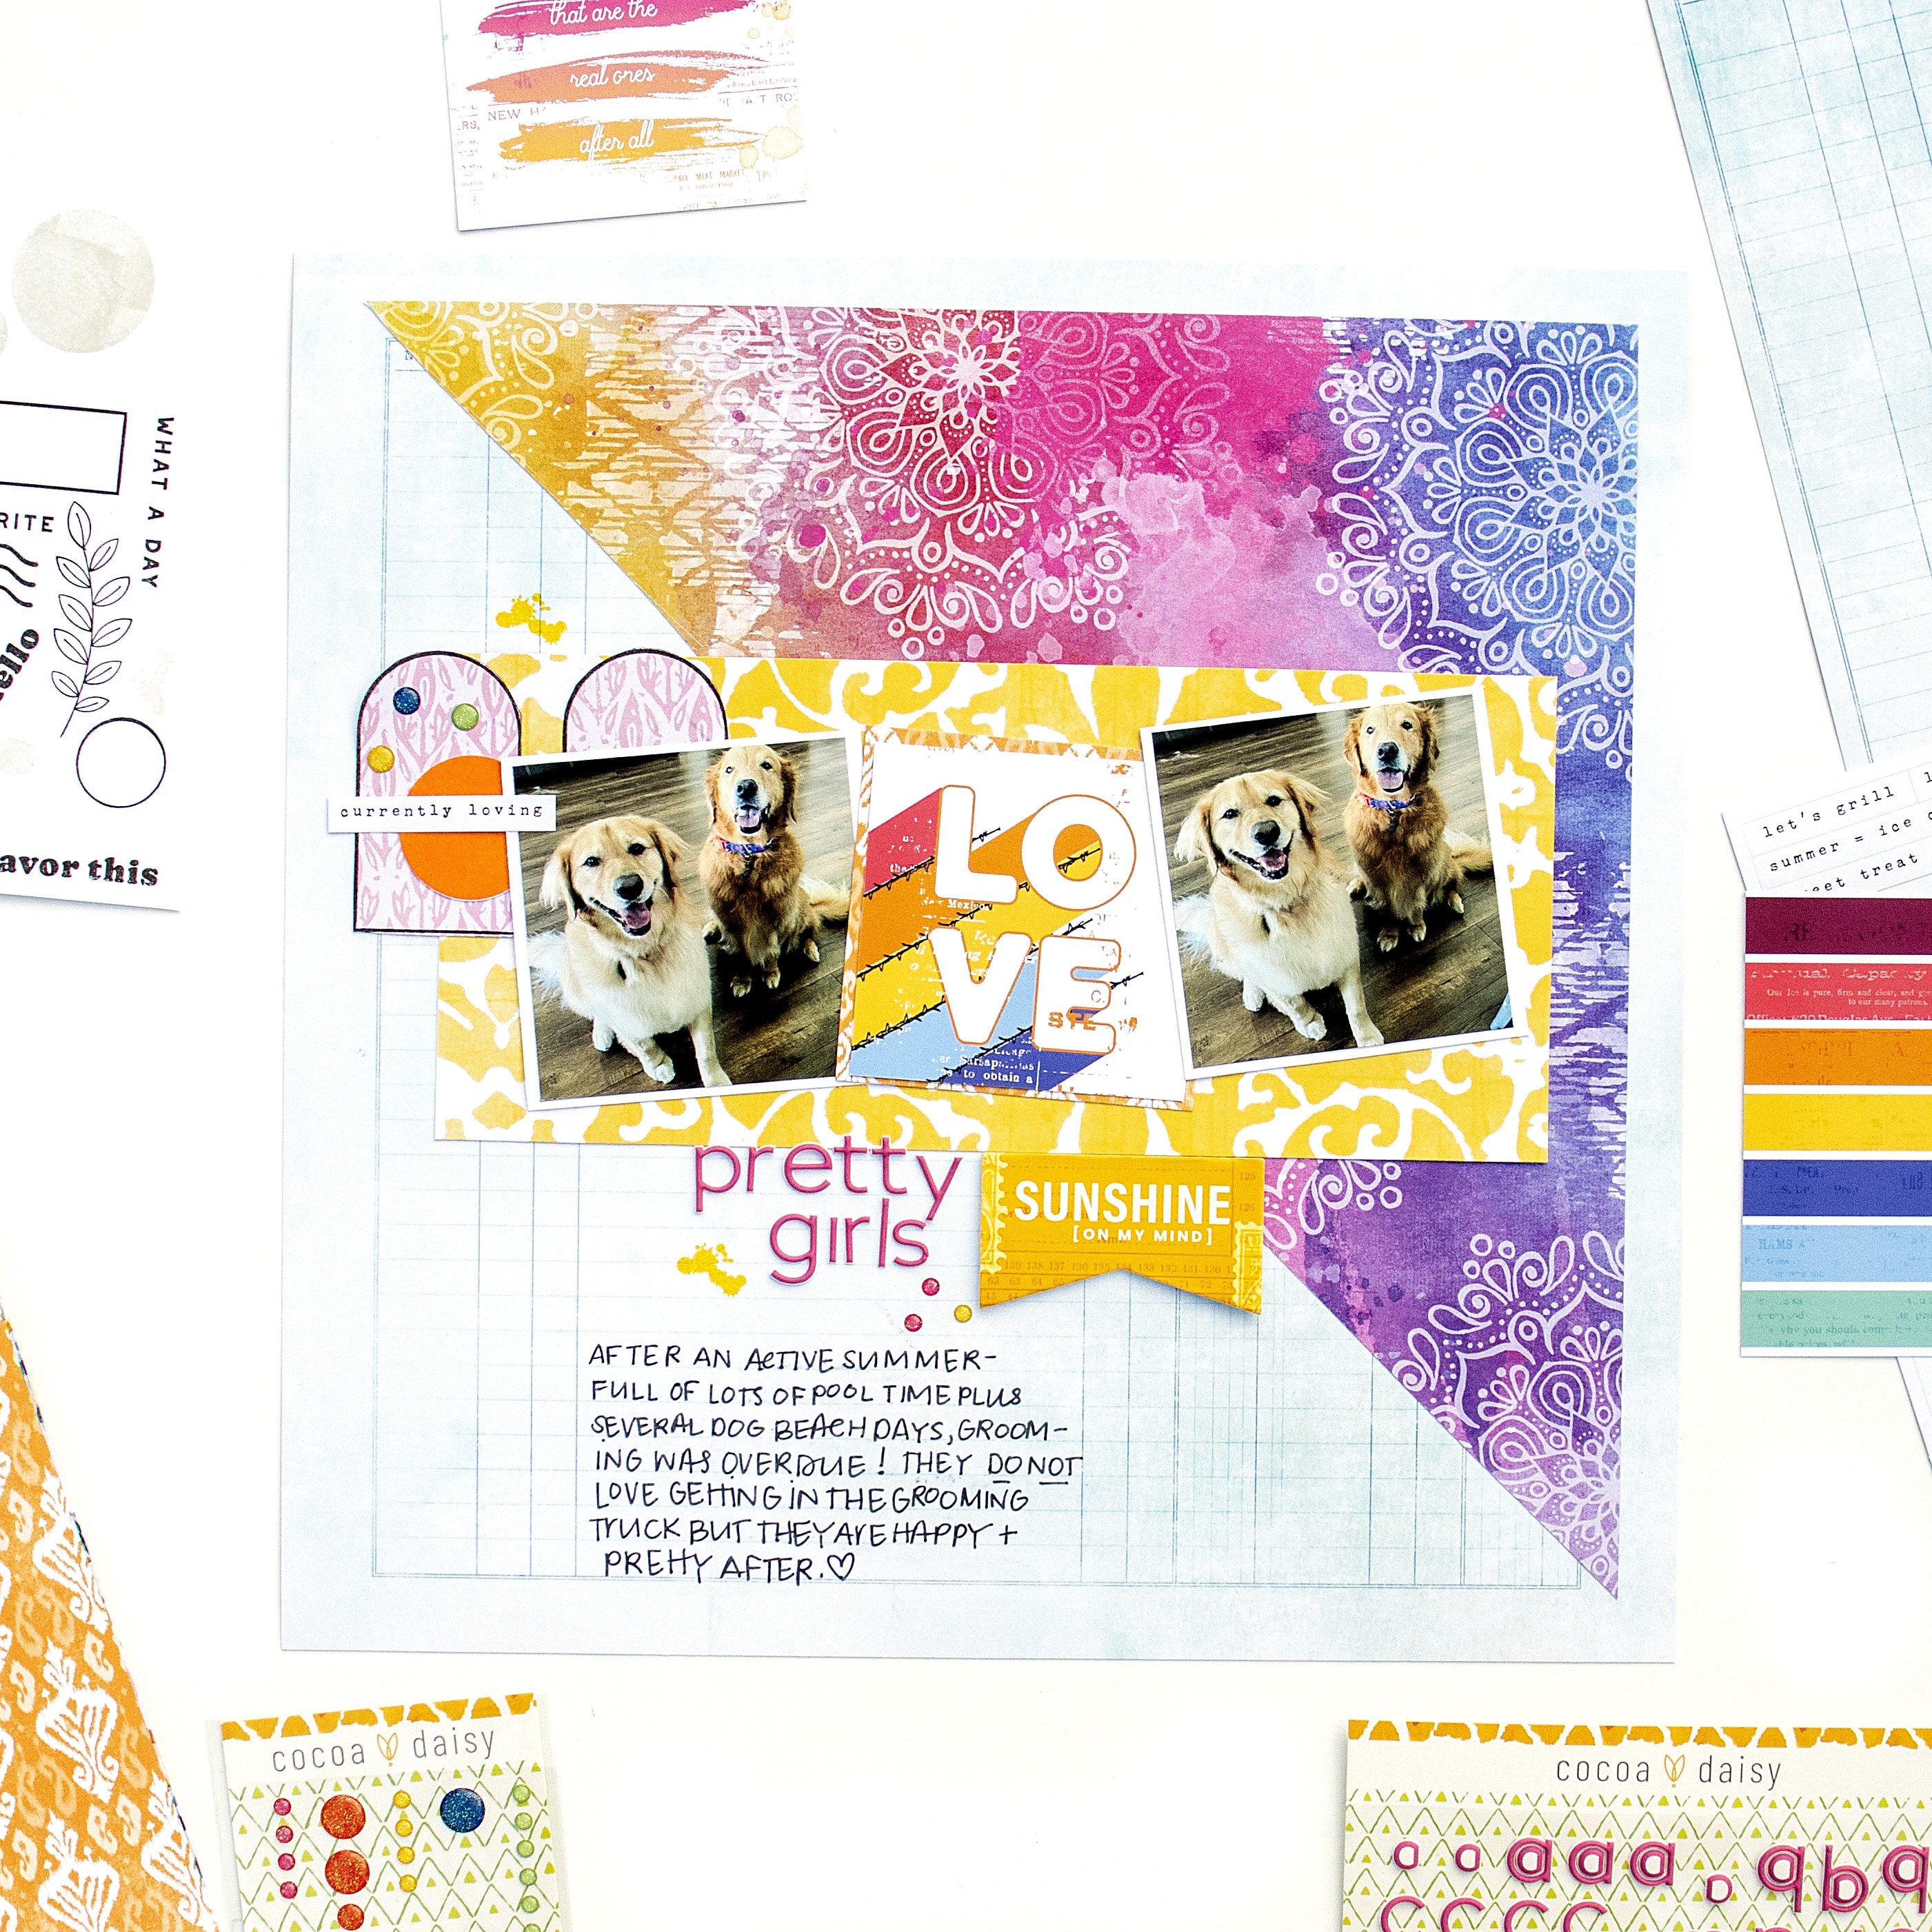
I was so excited to do another “twist” layout featuring a memory planning sketch. For week three of the class, I used the vertical pages from the Cocoa Daisy Daisy Planner, but this week I wanted to switch it up! Don’t worry if you use a layout that is different from the style featured in the sketch. As you can see, this sketch works beautifully (dare I say better?) with a horizontal layout.
If you are interested in learning more about memory planning, be sure to check out our Memory Planning Step by Step Class.
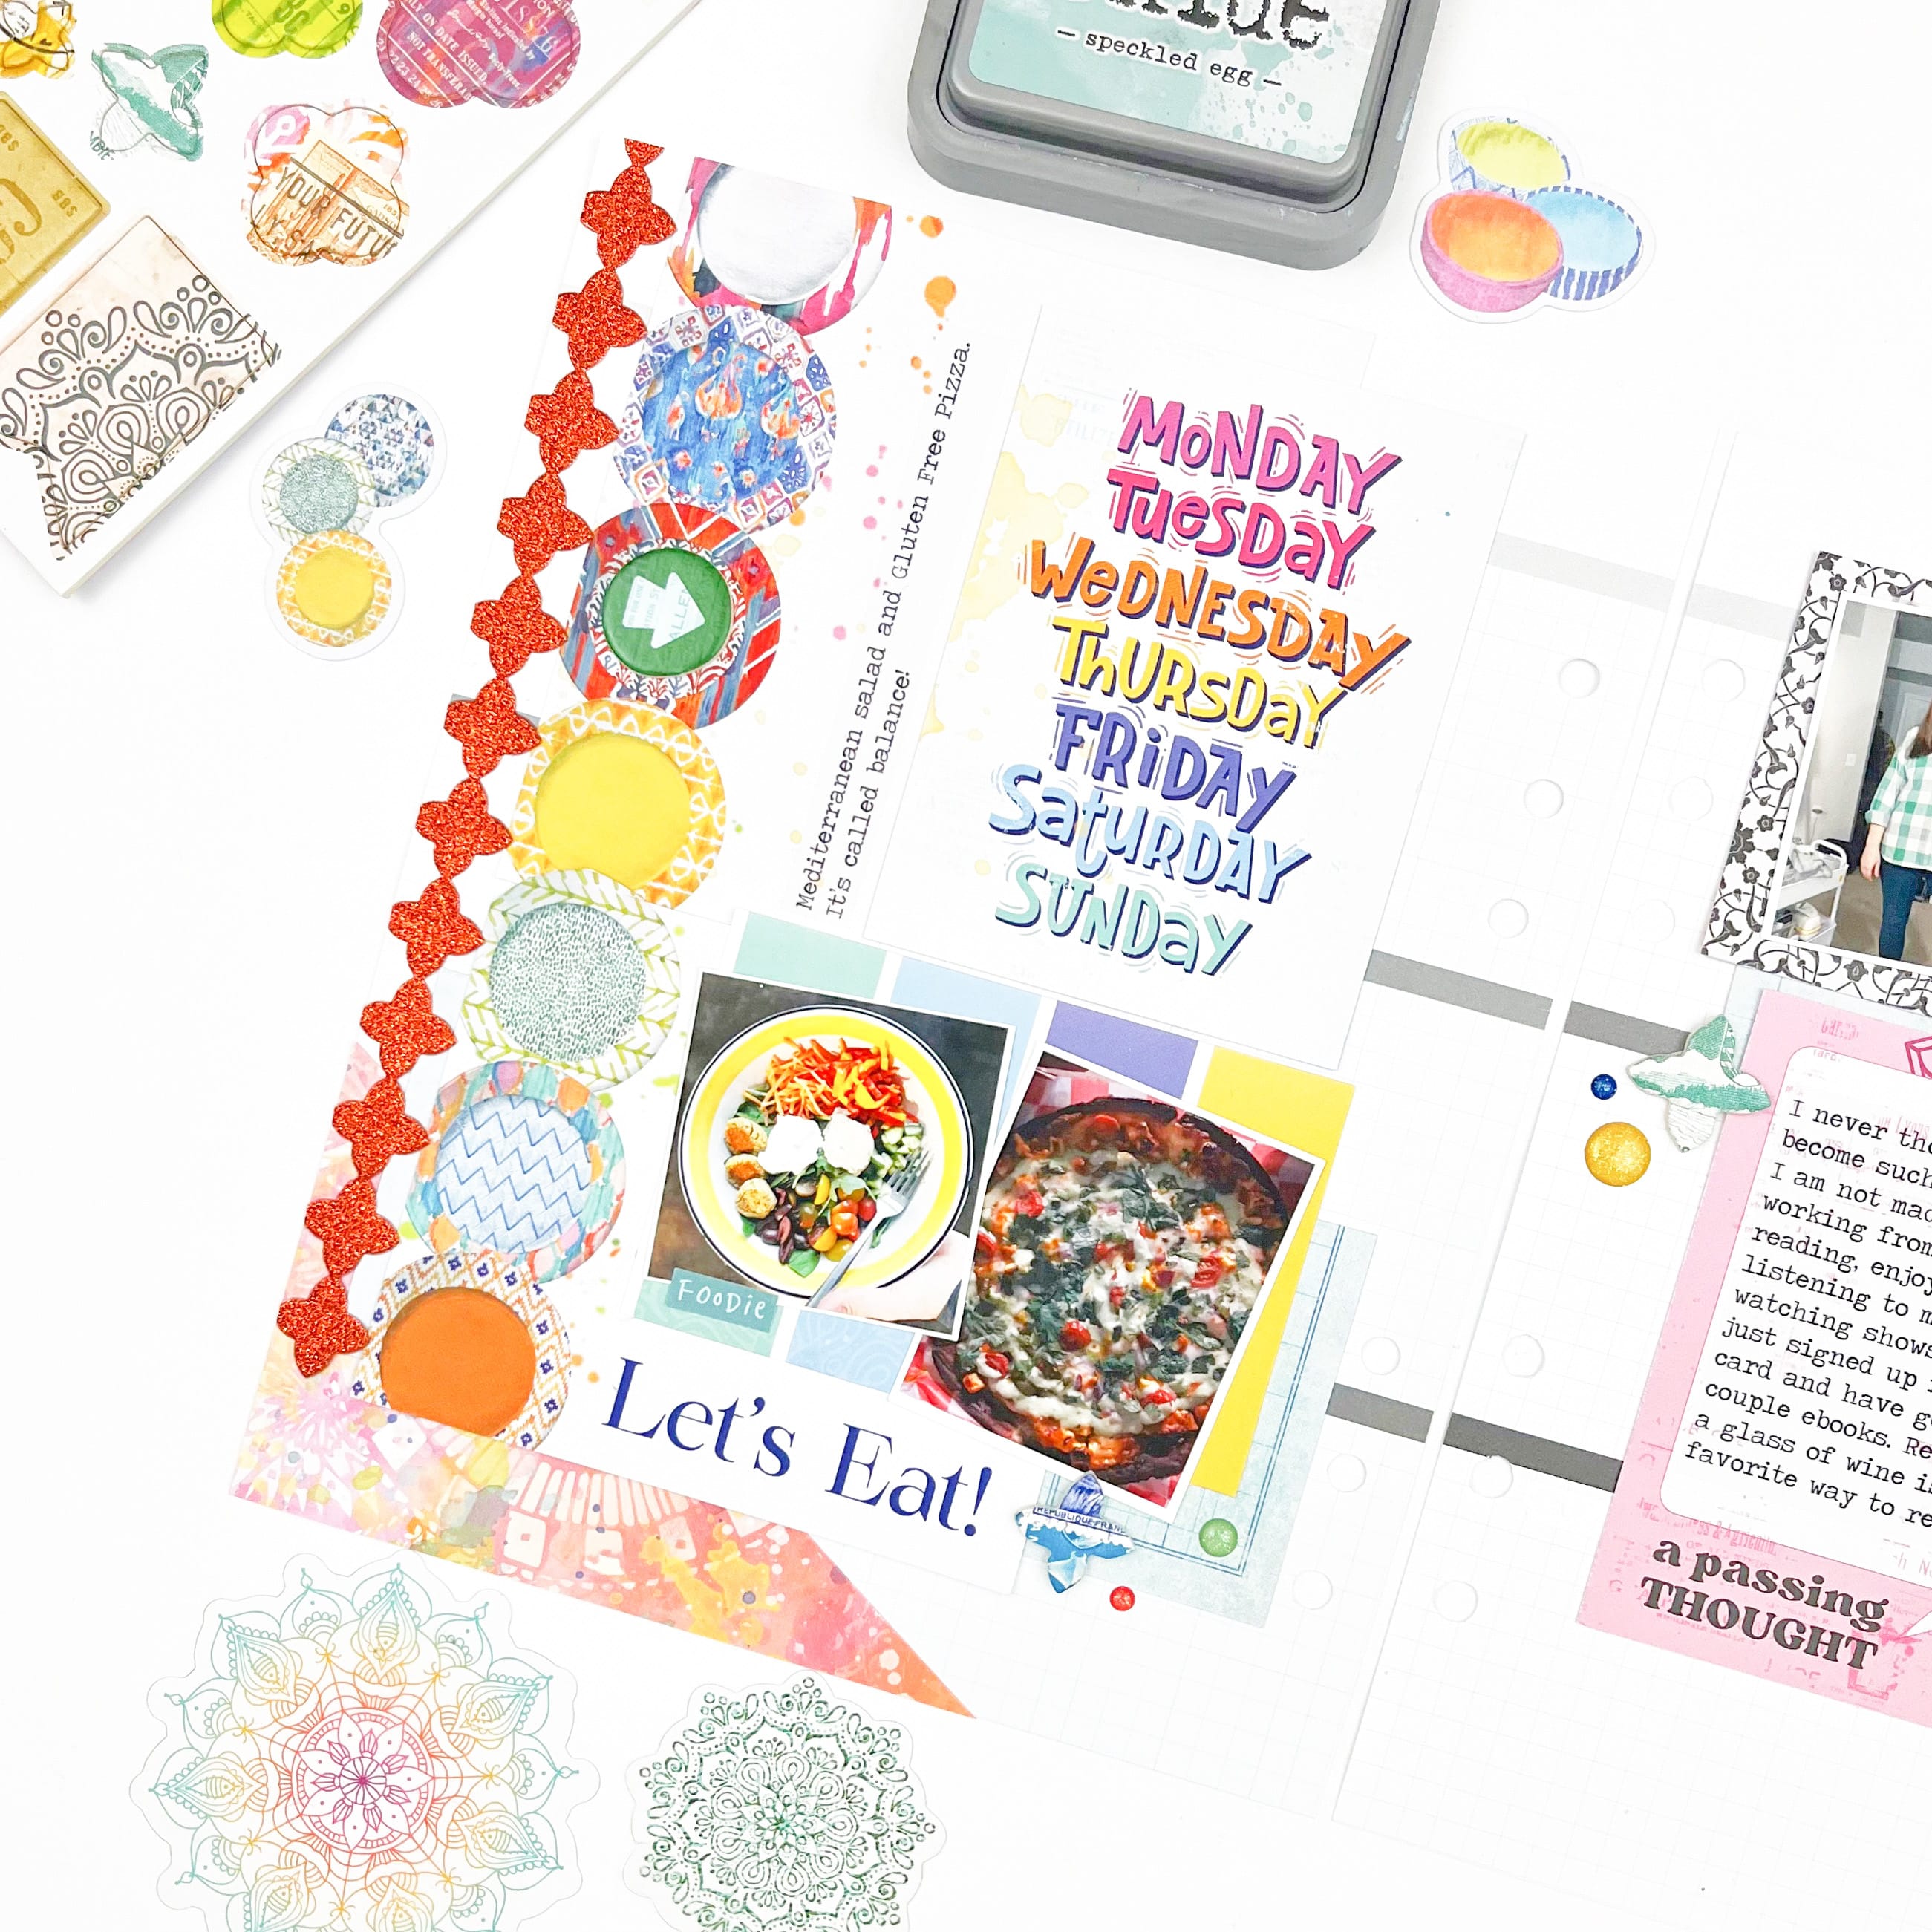
I had every intention of sticking closer to the sketch. I even trimmed down the “Let’s Eat” card from the Spice Market Traveler’s Notebook Memory Keeping Kit to keep with the sketch design. Once I started laying the elements down, I realized I wanted the whole card with all the beautiful plates.
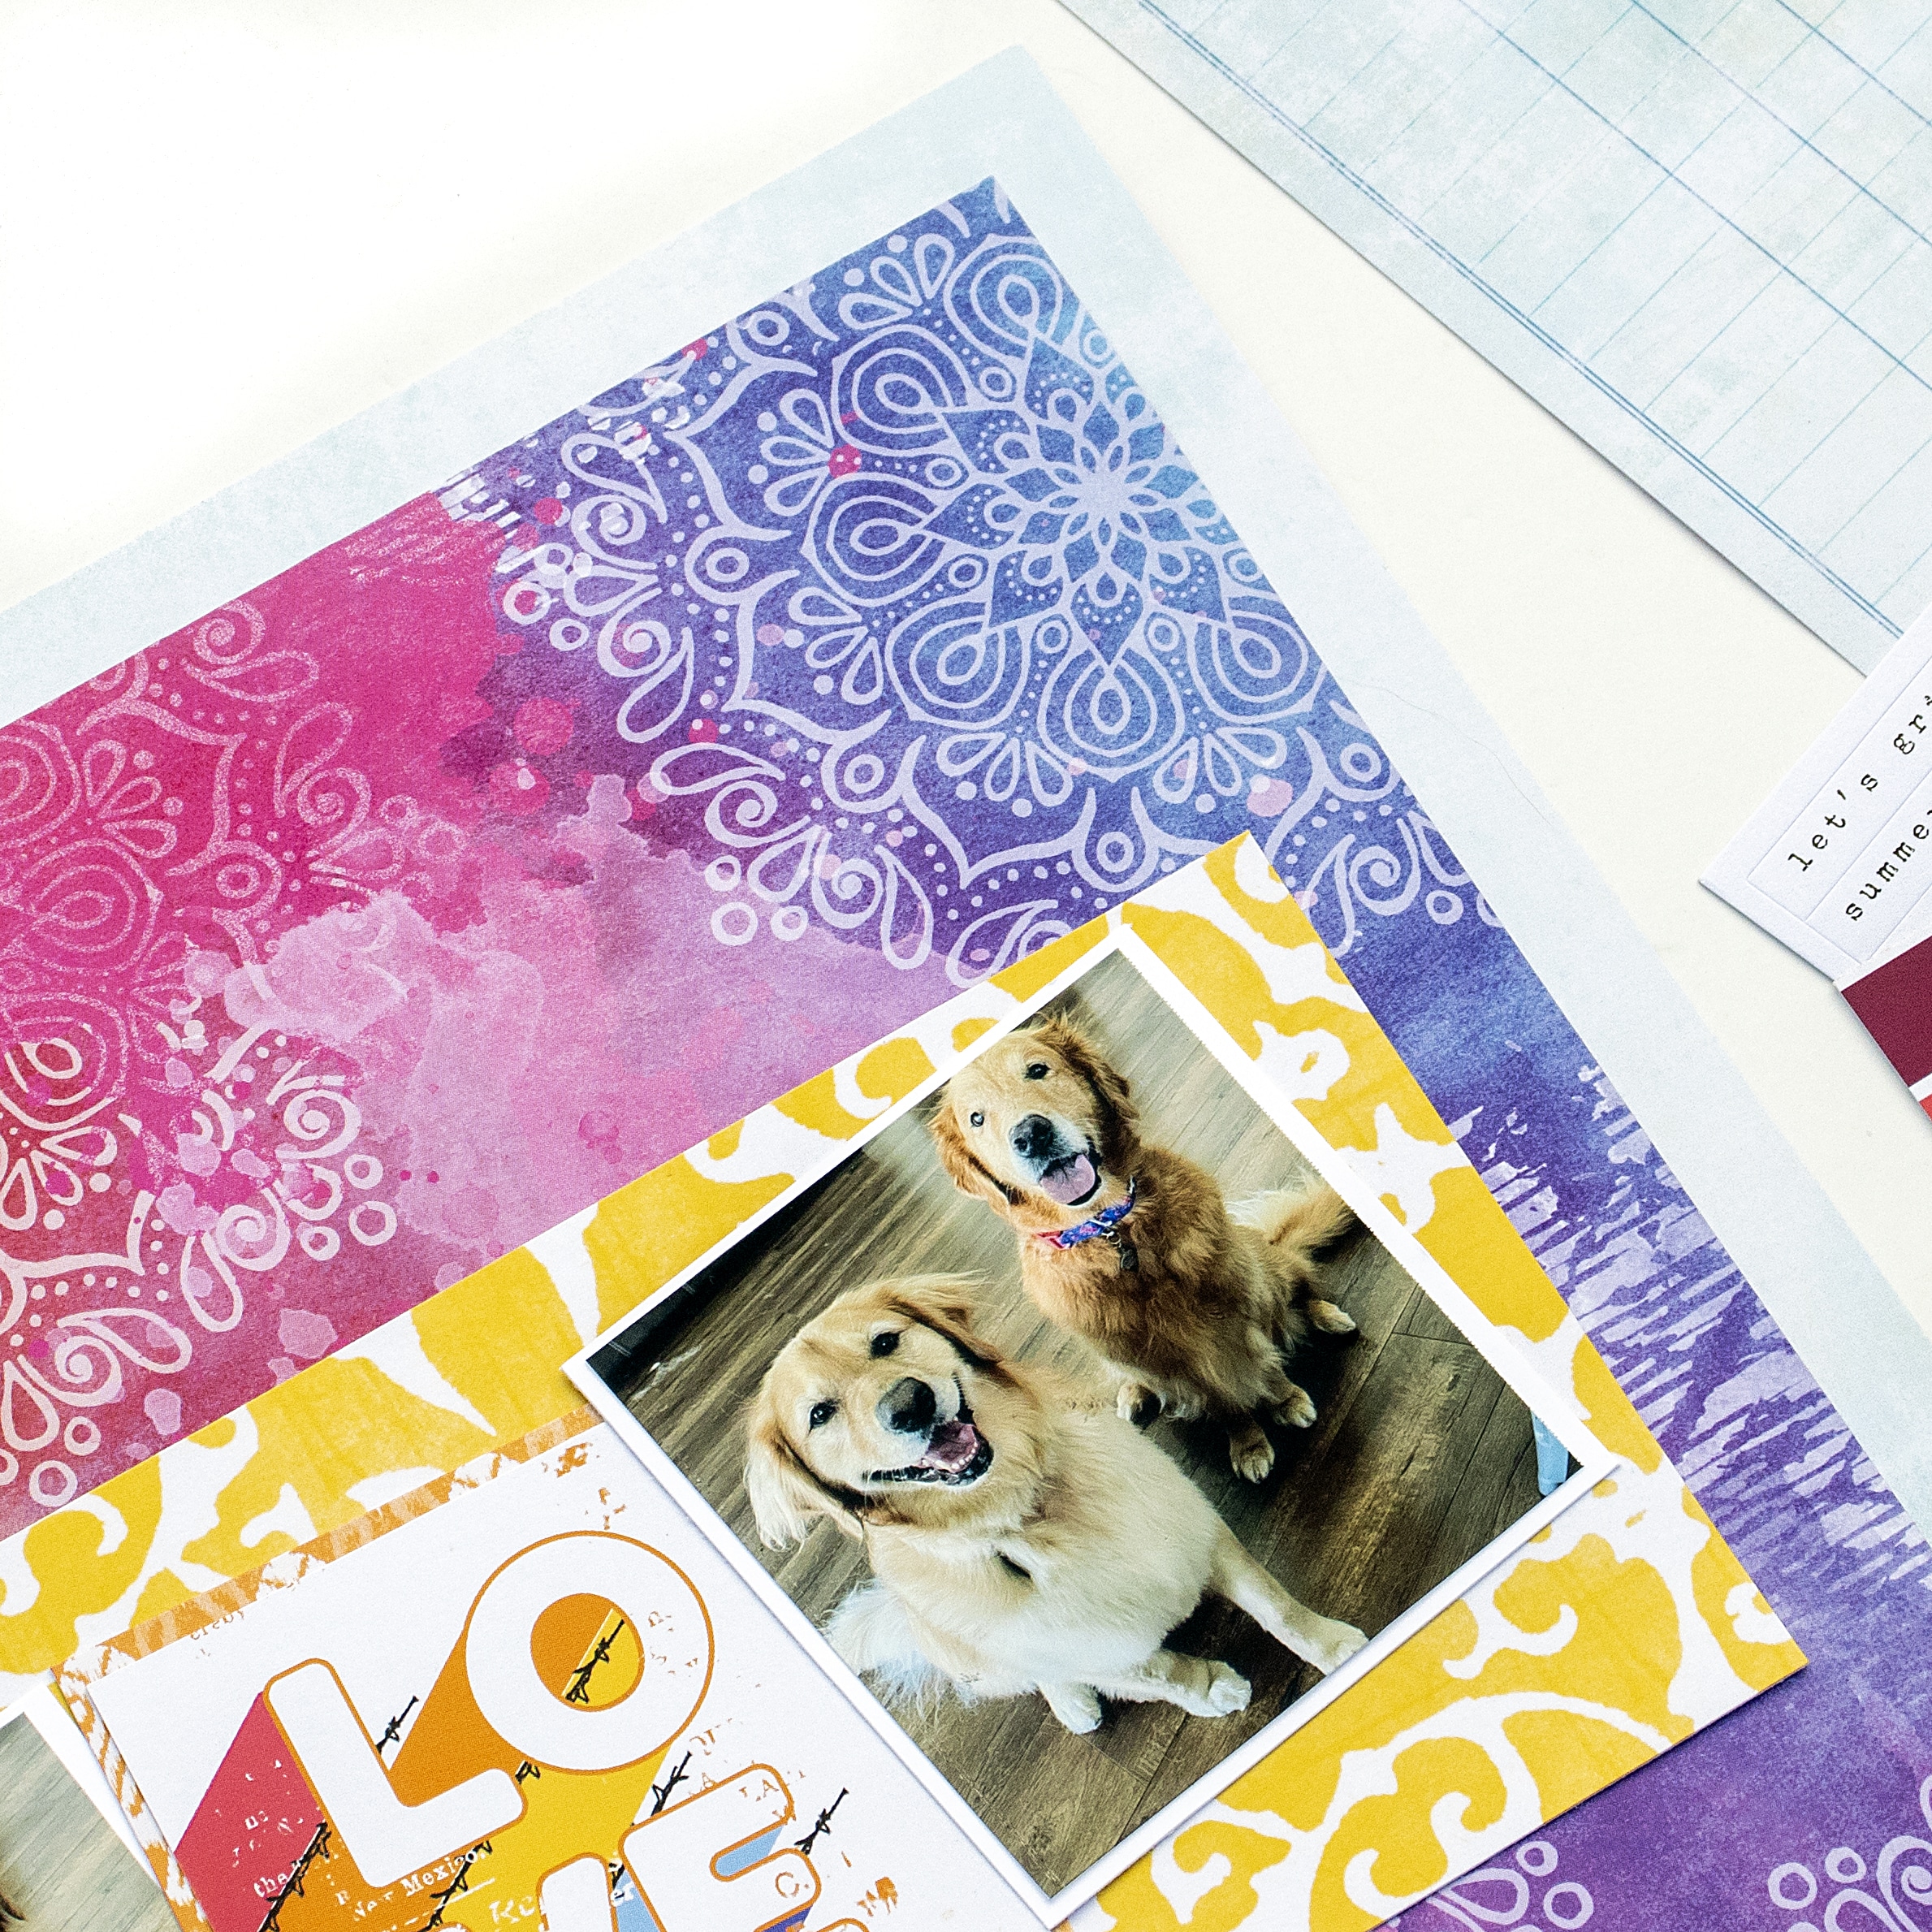
Let’s talk about the MVPs of this spread including paper from the Spice Market Simple Dori, the Pocket Cards from the Spice Market Modern Memory Keeping Kit, and the color block pages from the Spice Market B6 Rings Inserts. All three can have a new life inside your memory planner! The two corner triangle pieces were ripped out of the Simple Dori (think paper pad!) while the planner insert was trimmed to mat my photo. And since I removed the days of the week from the pages, this pocket card brought back the memory planner feel of this layout.
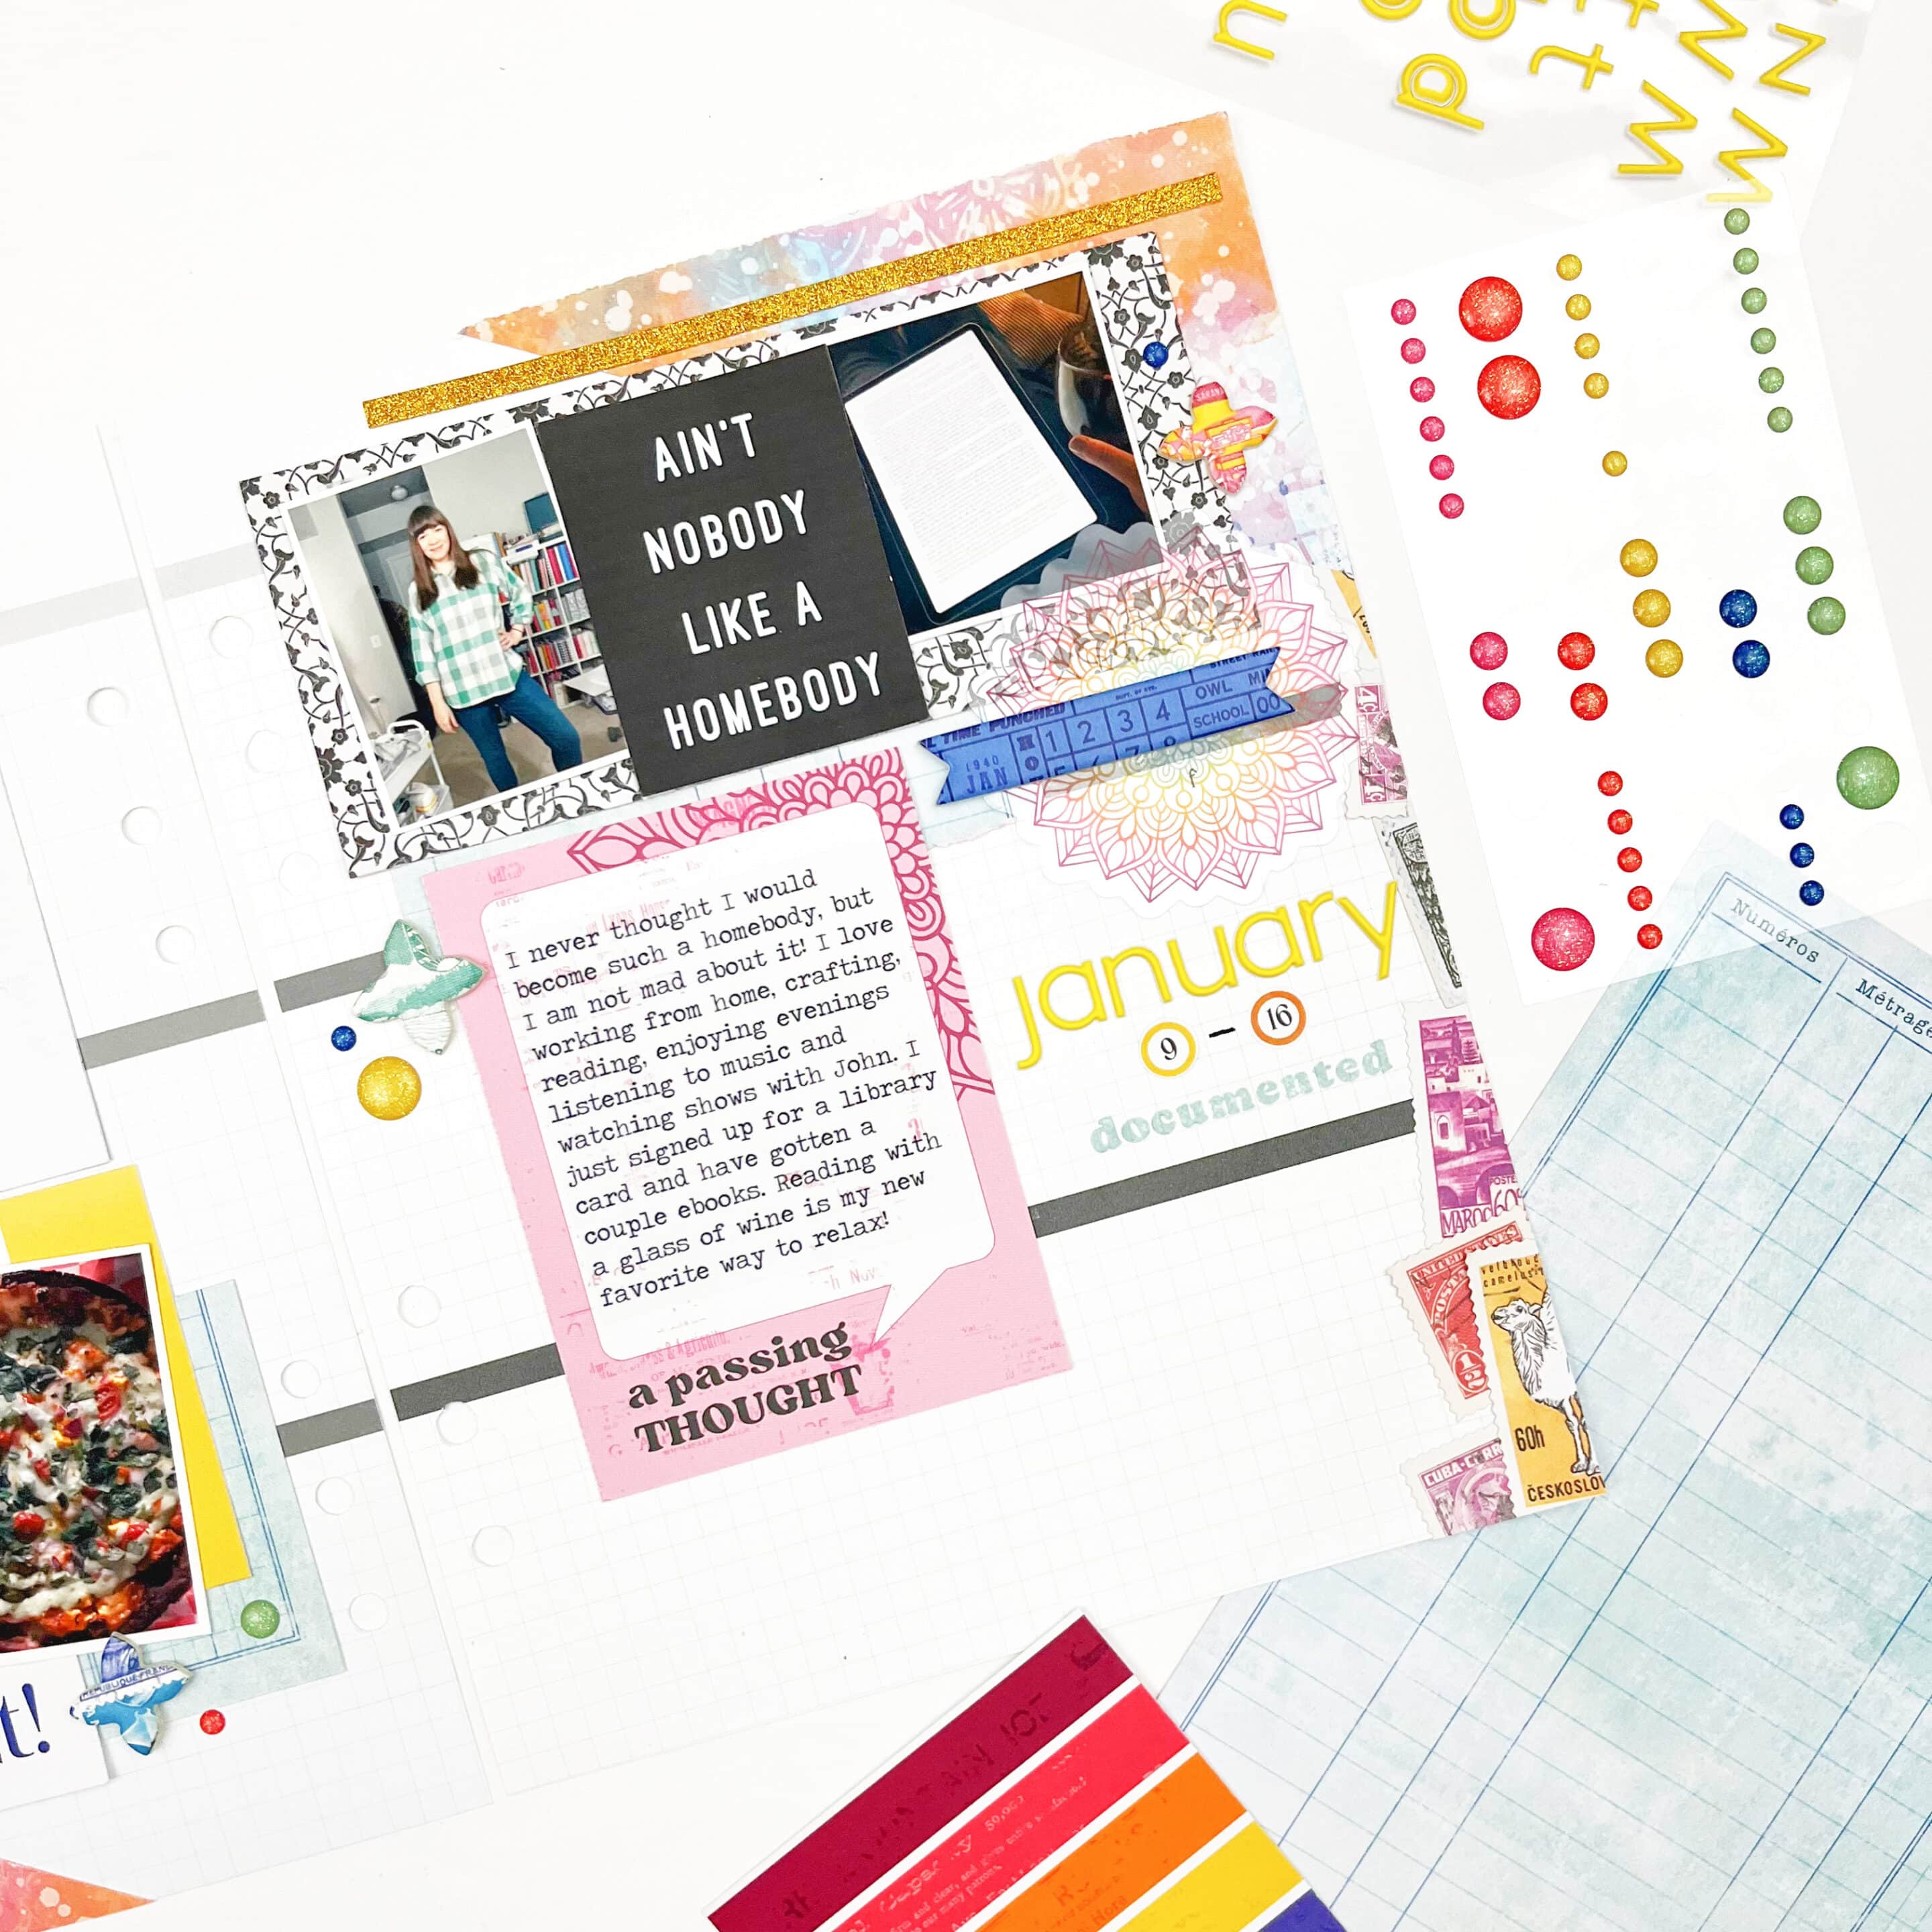
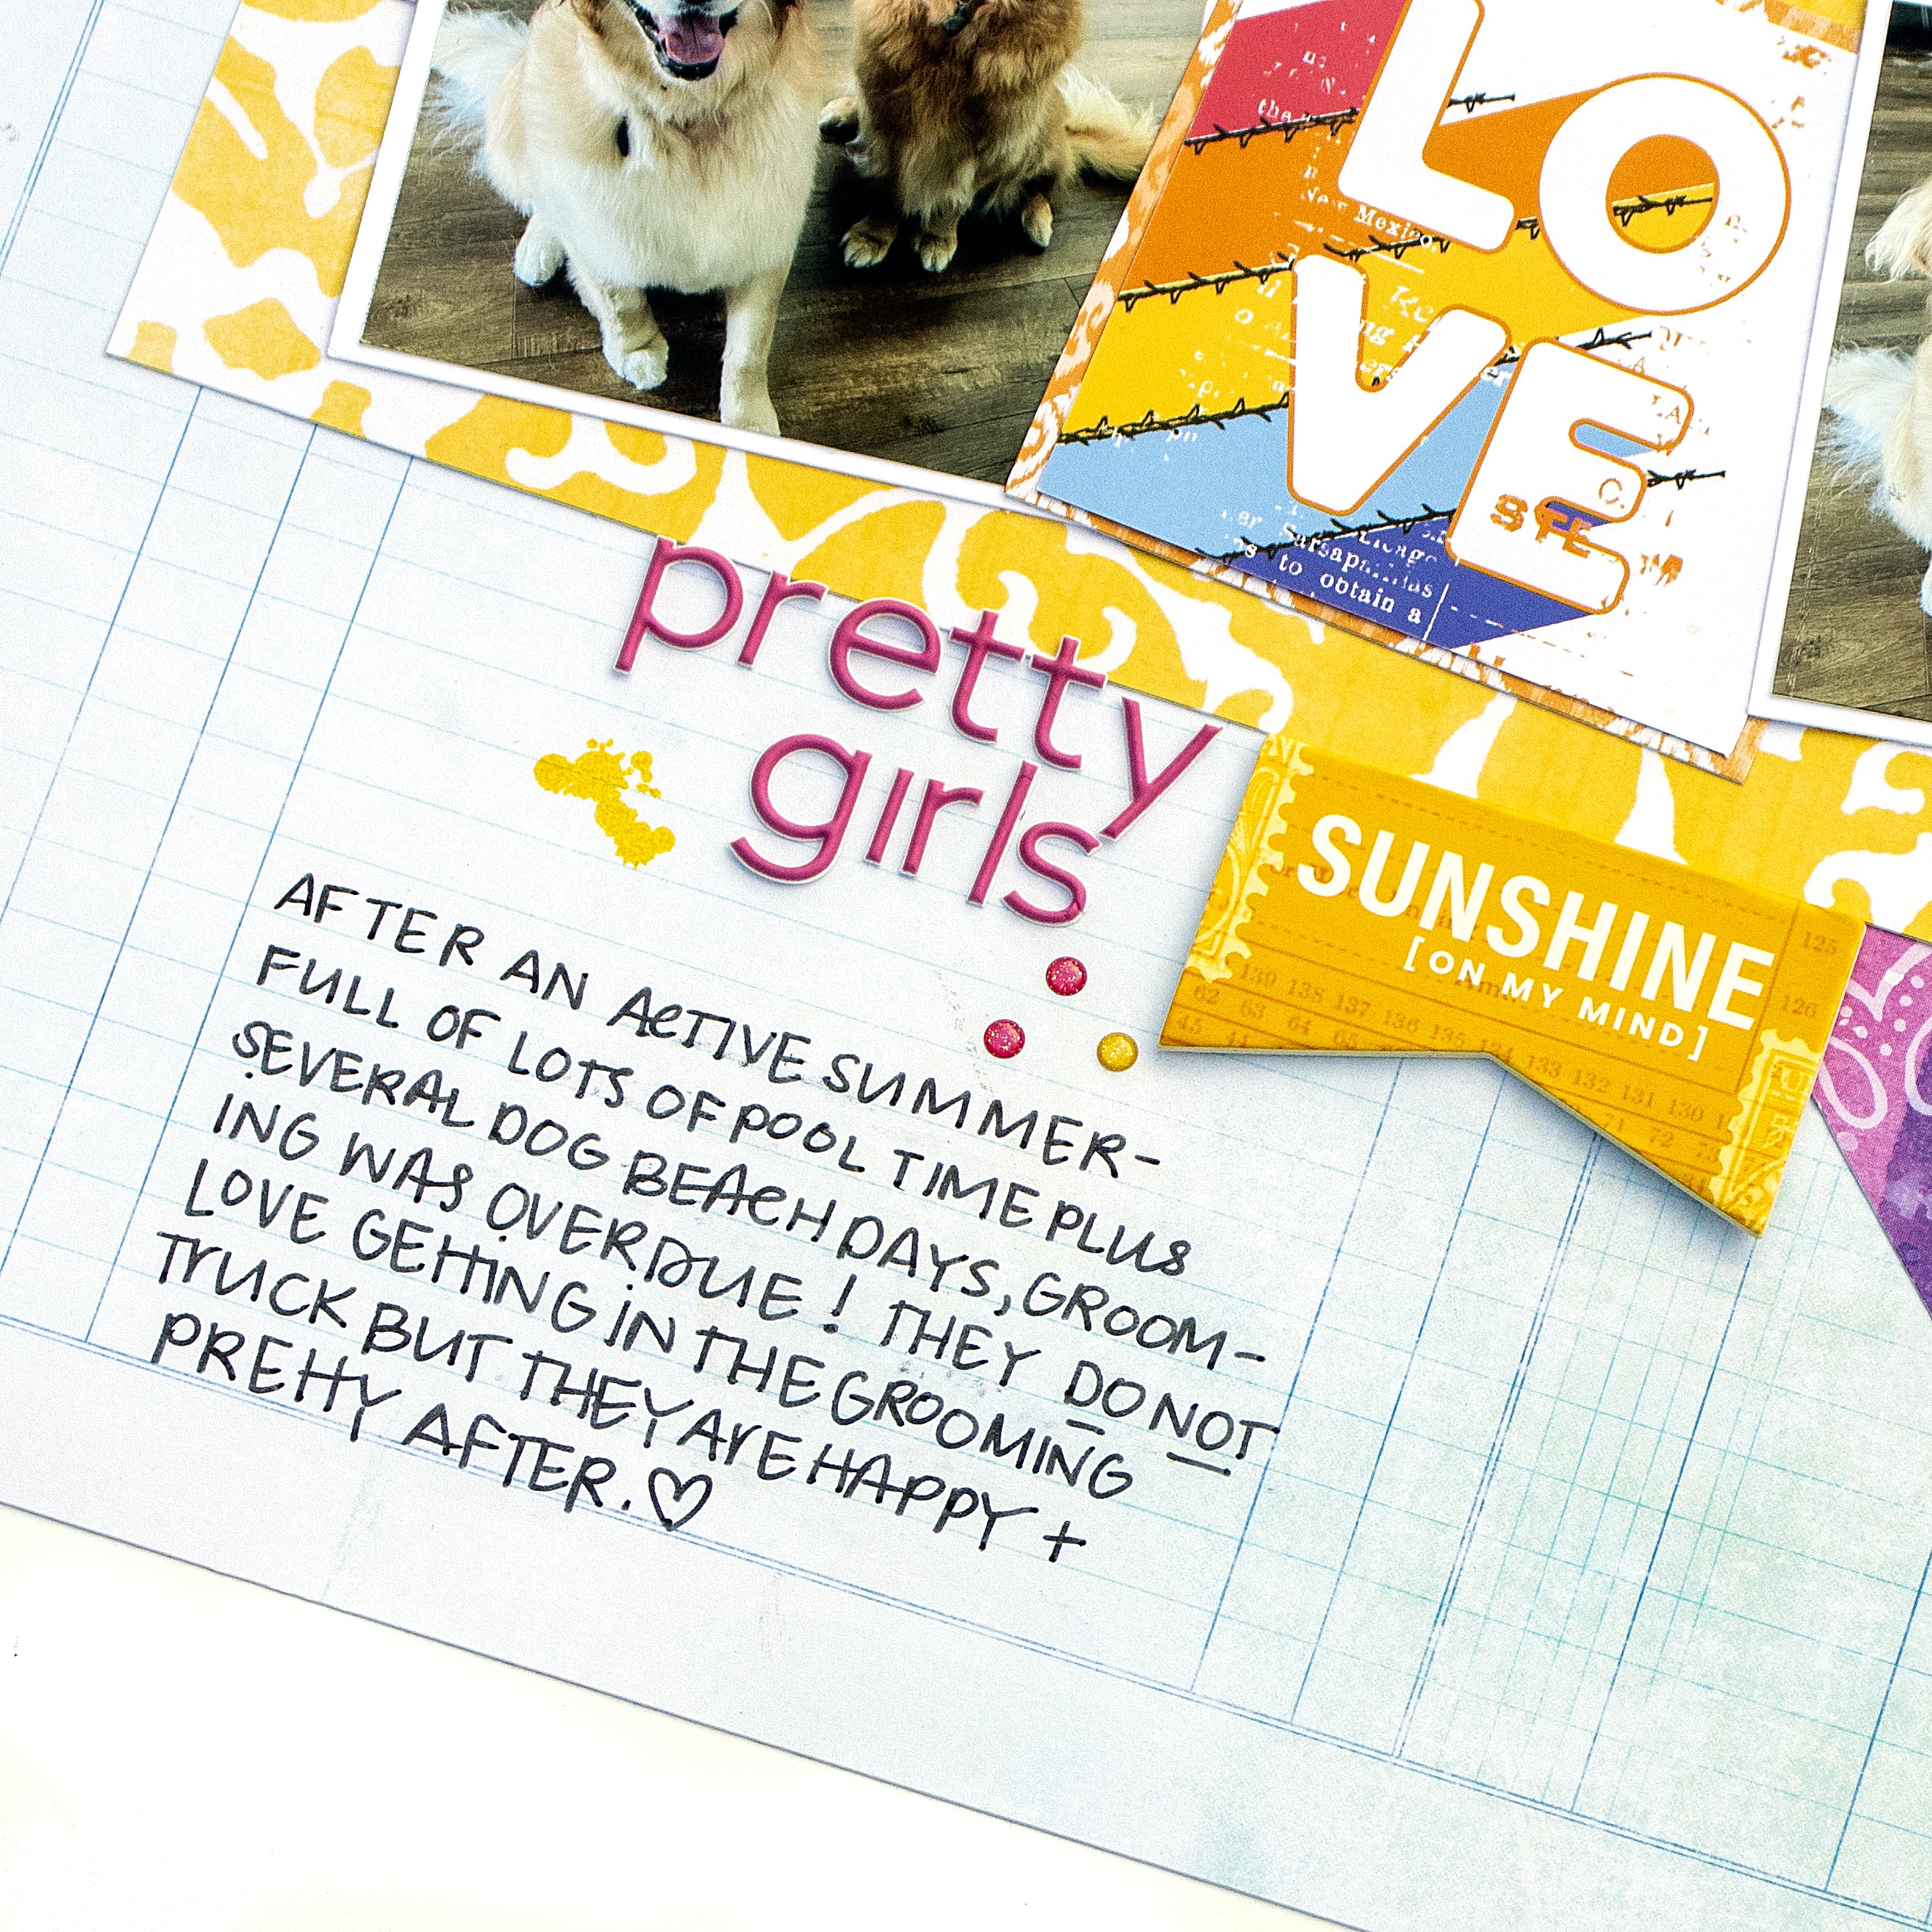
I tried to make three photos work in this spread but, ultimately, it was more important to include this homebody quote, which was trimmed down from a 3×4 pocket card. This quote perfectly captures this documented week, and this season of life, in my memory planner. When it comes to using sketches, everything is a suggestion, not a rule and this goes for memory planning, too!
Probably my favorite element of this spread was inspired by a journal card from the Spice Market Modern Memory Keeping Kit. I love the stamps peaking out from the corner of the page and decided to replicate it here. This also mimics the vertical element along the edge of the other page.
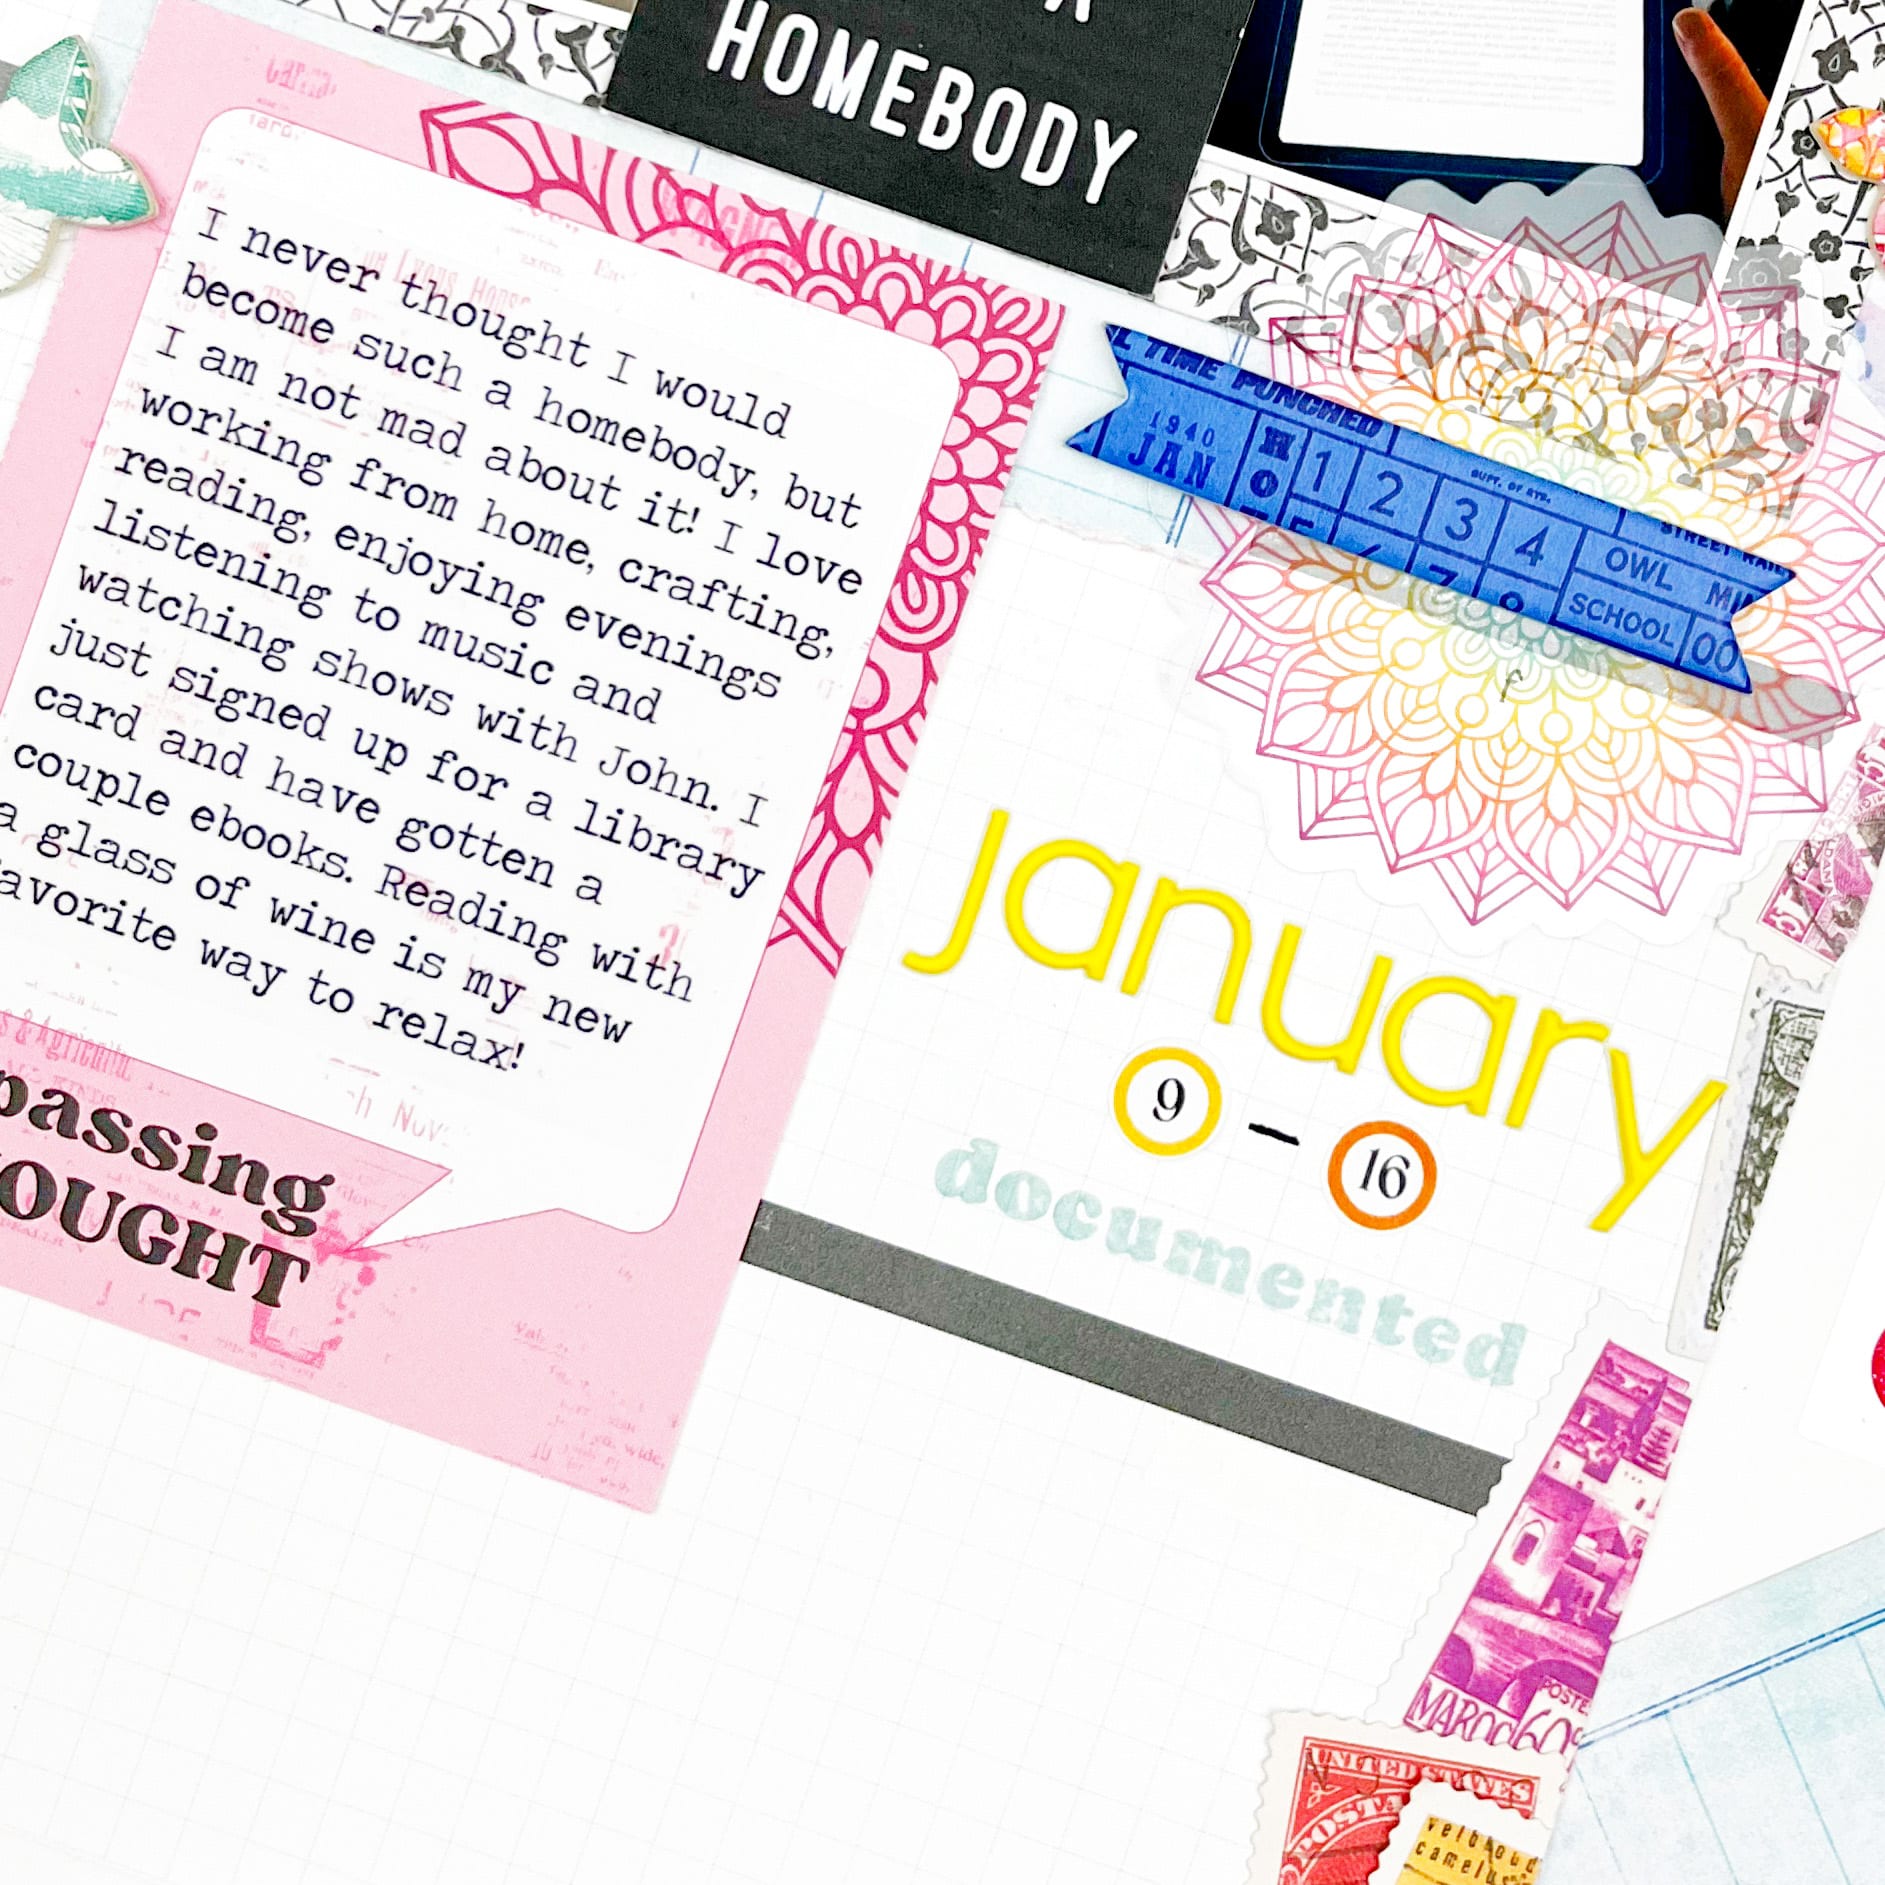
When it comes to titles in a memory planner, consider making the week you are documenting a standalone title. Here, I combined the puffy alphas stickers from the Spice Market Traveler’s Notebook Memory Keeping Kit, stickers from the Spice Market Planner Add-On Kit as well as a sentiment stamp from the Falling for Sketches Class Bundle. While I liked the white space on the sketch, I decided to use that space for journaling. After typing my journaling on the computer, I printed it on a piece of clear sticker paper and adhere the text to the thought bubble on the pocket card.
How fun were these sketches? If you are creating alongside us, make sure to share your creations by tagging @cocoa_daisy on social media or posting to the Cocoa Daisy Fan Page.